Introdução
Use this guide to replace the motherboard in the Dell Venue Pro.
A damaged or malfunctioning charging port is a common reason for motherboard replacement, since the charging port is integrated into the main logic board.
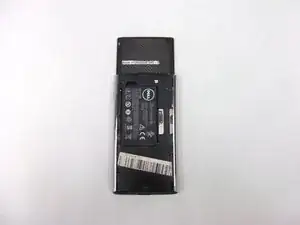
This is an advanced repair that requires removing several internal components. Before beginning, power off your device and remove the back cover and battery.
-
-
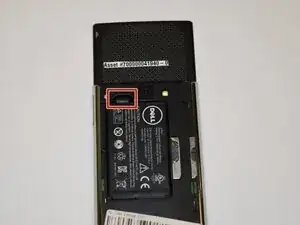
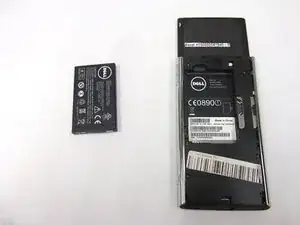
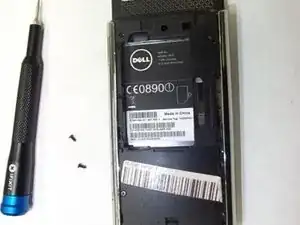
Use your finger to lift the battery using the notch in the upper left corner of the compartment.
-
-
-
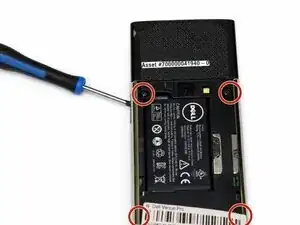
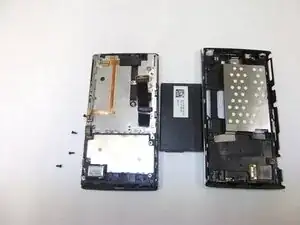
Use a Phillips #00 screwdriver to remove the 4.6 mm screws securing the midframe to the phone.
-
-
-
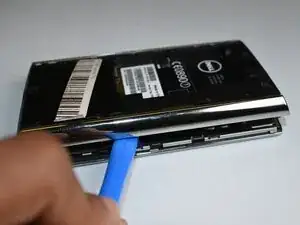
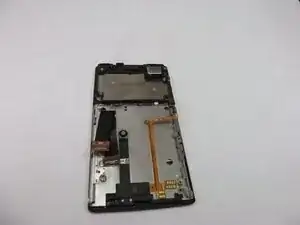
Insert a plastic opening tool into the seam between the midframe and the phone body.
-
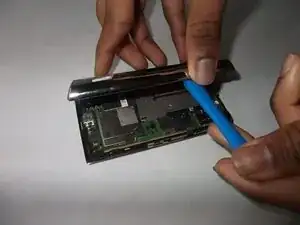
Gently twist the tool to release the clips around the edges.
-
Once all clips have disengaged, lift the midframe away from the phone and set it aside.
-
-
-
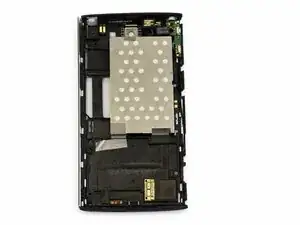
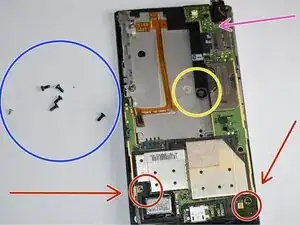
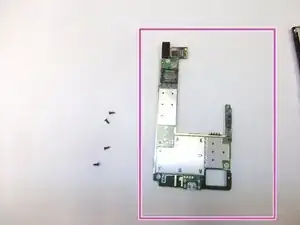
Expose the Motherboard
-
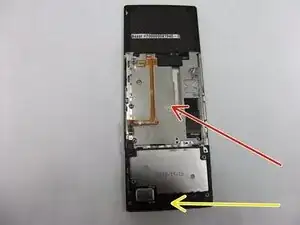
With the midframe removed, the motherboard should now be fully visible.
-
Identify the following components before continuing:
-
SIM card reader near the top of the device
-
Metal shielding covering the center of the motherboard
-
Micro-USB charging port at the bottom
-
Secondary daughterboard connection on the left side
-
Set the midframe aside.
-
-
-
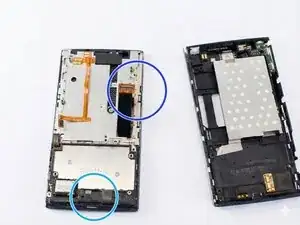
Disconnect Ribbon Cables
-
At this point, the motherboard should be fully visible, as shown in your reference photos. You should see:
-
Use tweezers or a fingernail to gently lift the flex cable connectors straight up from their sockets. Disconnect the following cables:
-
Display cable
-
Micro-USB charging port at the bottom
-
Any remaining flex cables attached to the motherboard
-
-
-
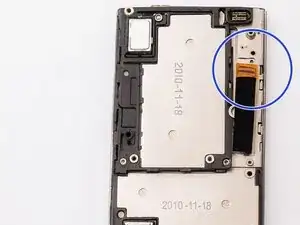
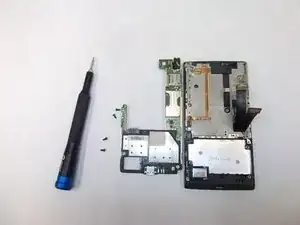
Remove the Motherboard Screws
-
Use a Phillips #00 screwdriver to remove the 2.68 mm screws securing the motherboard to the frame.
-
Screws are located near:
-
The bottom right corner (charging port area)
-
The middle left side
-
The top of the motherboard
-
Set all screws aside.
-
-
-
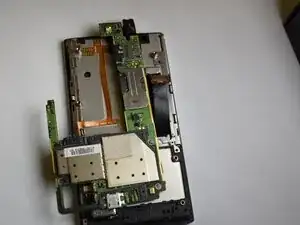
Starting from the top edge, gently lift the motherboard up and away from the phone housing.
-
The micro-USB charging port may fit snugly in its opening. Lift carefully to avoid bending the board.
-
Once free, remove the motherboard from the device.
-
After reassembly, power on the device and confirm that it boots normally.
Plug in a charger to verify that the charging port functions correctly and that the device charges as expected.