Introdução
The Dell Venue Pro uses a portrait slide-out QWERTY keyboard located beneath the display assembly. If your keyboard buttons stop responding, keys stick, or the slider mechanism becomes misaligned, the keyboard assembly may need to be replaced.
This guide walks you through the steps required to remove the midframe, disconnect the keyboard flex cable, and install a new keyboard assembly.
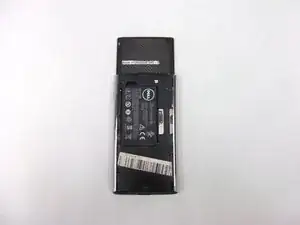
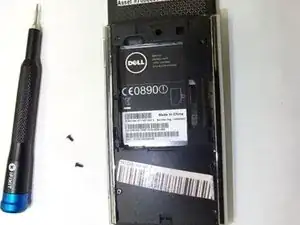
Before beginning, power off your device and remove the back cover, battery, and SIM card.
Ferramentas
-
-
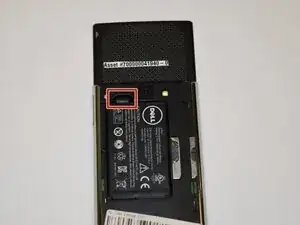
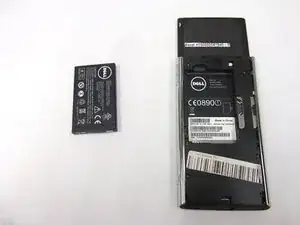
Use your finger to lift the battery using the notch in the upper left corner of the compartment.
-
-
-
Detach the Midframe
-
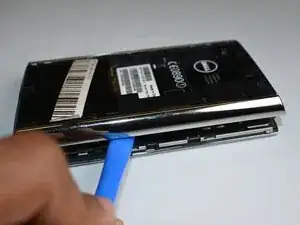
Insert a plastic opening tool into the seam between the midframe and the phone body.
-
Work your way around the edges to release the clips.
-
Once all clips are disengaged, lift the midframe away from the device.
-
-
-
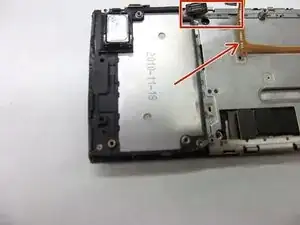
Locate the Keyboard Flex Cable
-
-With the midframe removed, the motherboard and flex connectors will be visible. Find the keyboard ribbon cable it is a thin, wide flex cable running from the slider mechanism to the motherboard.
-
Use tweezers or a fingernail to flip up the locking tab on the keyboard ZIF connector.
-
Slide the keyboard flex cable straight out of the connector.
-
Disconnect the Keyboard Ribbon Cable : Use tweezers or a fingernail to lift the locking tab on the ZIF connector. Gently slide the ribbon cable out of the connector.
-
-
-
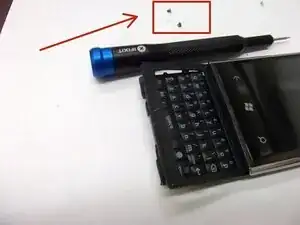
Remove the Slider Assembly Screws
-
The keyboard is attached to the slider mechanism beneath the display.
-
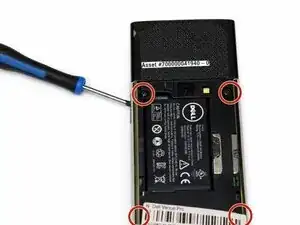
Use a Phillips #00 screwdriver to remove the 4 Phillips screws (≈ 2.0 mm length) securing the slider rails to the frame.
-
Set the screws aside and keep track of their locations for reassembly.
-
-
-
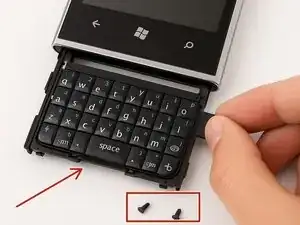
Slide the Keyboard Assembly Out
-
Carefully push the slider rails forward to move the keyboard assembly out from beneath the display.
-
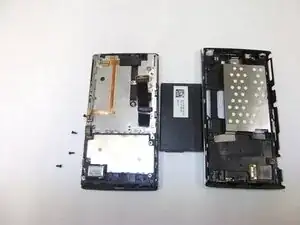
Once fully extended, lift the keyboard assembly away from the back of the display housing.
-
-
-
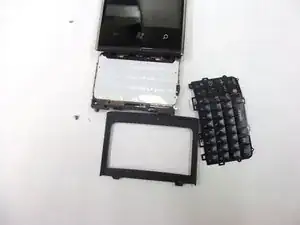
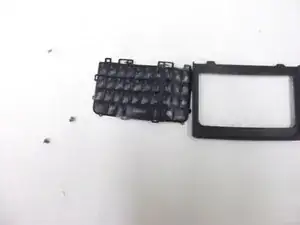
Remove the Keyboard from the Frame
-
Lift the keyboard assembly away from the bezel/frame.
-
If any screws remain attached to the keyboard or frame, remove them now.
-
Set the keyboard aside.
-


After reassembly, power on the device and test the keyboard. Confirm that all letter keys, the space bar, and modifier keys respond correctly, and that the slider mechanism moves smoothly. If all functions operate normally, the repair is complete