Introdução
When the CPU fan is no longer working, a computer is in danger of overheating. This can cause serious permanent damage to the motherboard among other internal issues. This guide will demonstrate the process of removing and replacing a CPU fan.
-
-
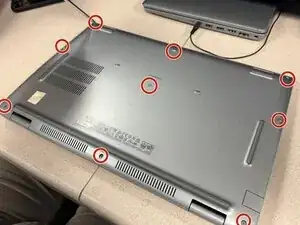
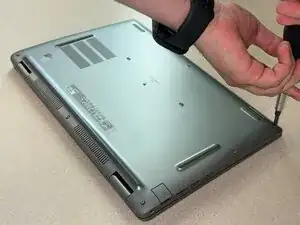
Insert a plastic opening tool into the space between the bottom and top case beginning near the hinge.
-
Slide the opening tool around the perimeter to release the clips that attach the bottom case to the device.
-
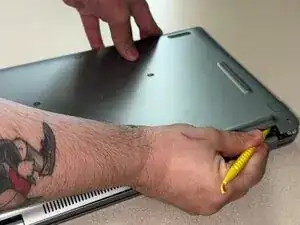
Remove the bottom casing from the laptop.
-
-
-
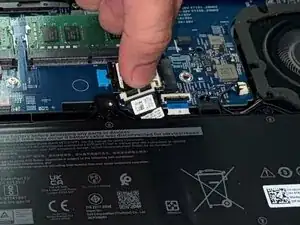
Lift straight up with the built-in pull-tab to disconnect the battery connector from the socket on the motherboard.
-
-
-
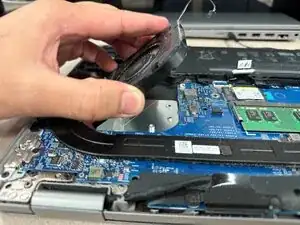
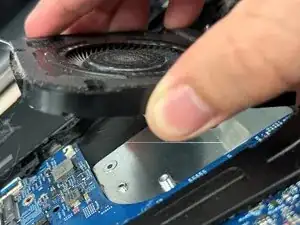
Use the point of a spudger to push on alternating sides of the fan connector to "walk" it out of its socket.
-


To reassemble your device, follow these instructions in reverse order. Apply new adhesive where necessary after cleaning the relevant areas with isopropyl alcohol (>90%). Take your e-waste to an R2 or e-Stewards certified recycler.