
Introdução
This guide will teach you how to disassemble your Dell Precision 3510 laptop to replace the display assembly. Check out the Troubleshooting Pages and confirm that the display assembly will need to be replaced.
Before you begin the steps to replace the Dell Precision 3510 computer's display assembly, power the computer off completely and unplug any external devices. You can power off your computer by holding down the power button in the upper right-hand corner of the keyboard for 10-15 seconds.
Ferramentas
-
-
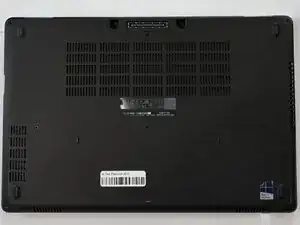
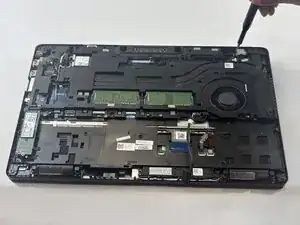
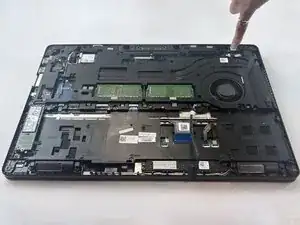
Flip the computer over so that you are looking at the bottom.
-
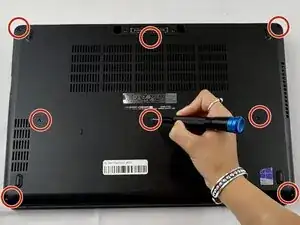
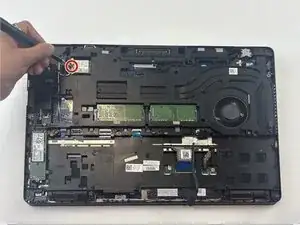
Use a Phillips #000 screwdriver to remove the eight 6.5 mm screws from the base cover.
-
-
-
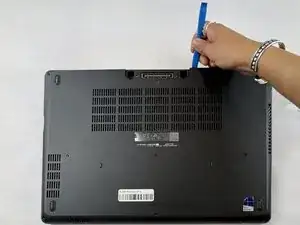
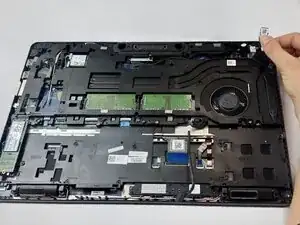
Use the opening tool to carefully pry the base cover from the computer.
-
Remove the base cover from the laptop.
-
-
-
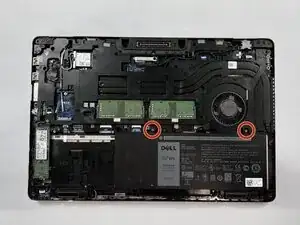
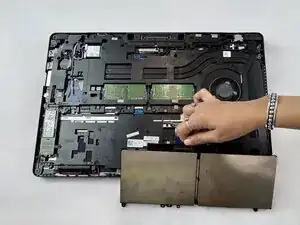
Gently unplug the cable connected to the top of the battery.
-
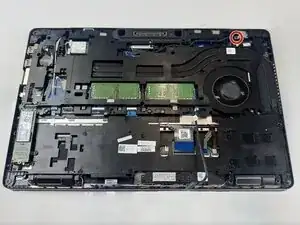
Remove the battery from the laptop.
-
-
-
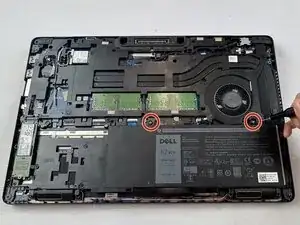
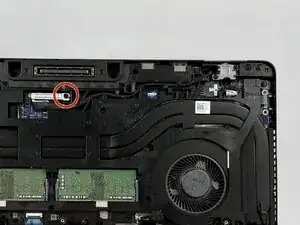
Use a Phillips #000 screwdriver to remove the single 3 mm screw from the metal bracket that secures the power port.
-
-
-
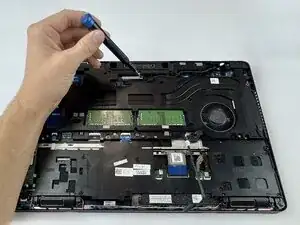
Lift the metal bracket and gently remove the power connector port.
-
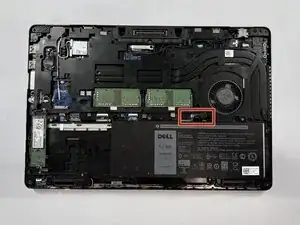
Unplug the power connector port cable from the system board.
-
-
-
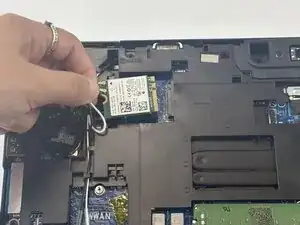
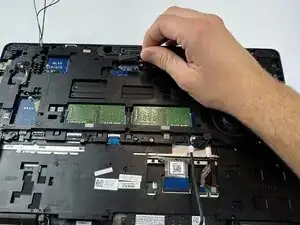
Use a Phillips #000 screwdriver to remove the single 3 mm screw securing the metal bracket to the WLAN card.
-
Remove the metal bracket from the system board.
-
-
-
Use a Phillips #000 screwdriver to remove the 6.5 mm screws from each display hinge bracket.
-
Remove the two hinge brackets from the computer.
-
-
-
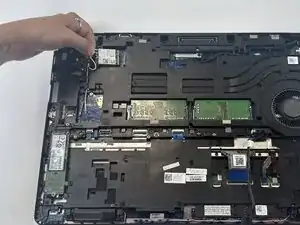
Use a Phillips #000 screwdriver to remove the 3 mm screw from the metal bracket that secures the eDP cable.
-
Gently disconnect the eDP cable from the system board.
-
Unroute the display cable from the system board.
-
-
-
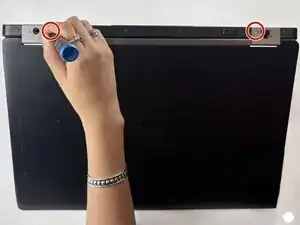
Use a Phillips #000 screwdriver to remove the four 4.5 mm screws that secure the display assembly to the system board.
-
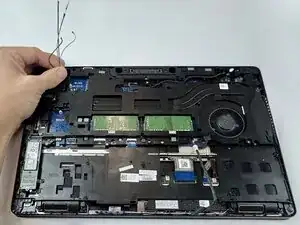
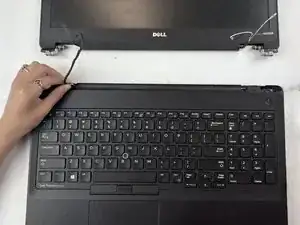
Flip the computer face up.
-
Carefully remove the WLAN cables and the display cable from the laptop.
-

To reassemble your device, follow these instructions in reverse order.