Introdução

  1. Vm3U3WFkLFrodACD
    Vm3U3WFkLFrodACD
    YbYSFaT43upR6KKU
    RIqp1cDEWUPEWXdX
    • Remove the battery and access panel from the computer.

  2. VrxuTJefFRpcMHCE
    • Remove the eight screws that secure the hard drive to the computer.

  3. oNi1FnhF1Y3nMhkv
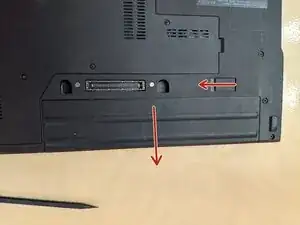
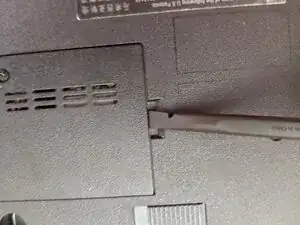
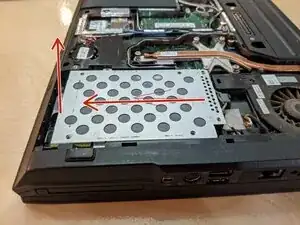
    • Disconnect the drive from the SATA connector by sliding it away, then pull the fabric strip up.

  4. Y6kHFa3ckmxoC1dP
    • Remove the six screws securing the hard drive to the plate.

Conclusão

Re-assemble your device by doing the instructions in reverse order, with the new hard drive/SSD.

Hezekiah Brown

Membro desde: 11/02/21

6277 Reputação

0 comentários