Introdução
This guide will show you how to replace the Dell Latitude 7400 motherboard (model P102G, with common board part numbers such as 0V2PHX, 0GWDG0, or 0V9M6F). Also known as the Latitude 7400 (14”, 2019) or Latitude 7400 Ultrabook, this device relies on its motherboard as the main logic board responsible for power delivery, system processing, and communication between components. You may need to replace it if your laptop experiences symptoms such as failure to boot, no display, unexpected shutdowns, or charging issues—refer to the corresponding sections on your troubleshooting page for more details.
Before beginning, make sure to power off your laptop completely and disconnect from any external power source.
Ferramentas
-
-
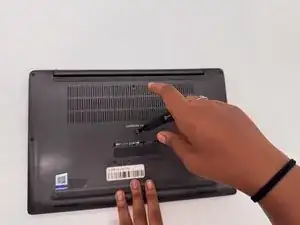
Lay the laptop on a flat hard surface facing downward.
-
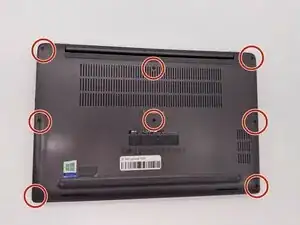
Use a Phillips #0 screwdriver to remove the eight 3 mm screws that secure the lower case.
-
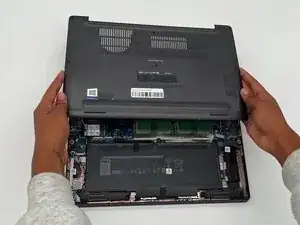
Lift the lower case off and set that aside.
-
-
-
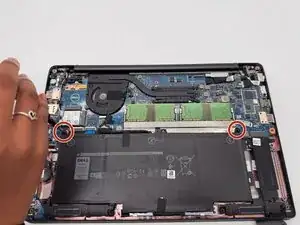
Use a Phillips #0 screwdriver to loosen the two 3 mm captive screws that secure the battery.
-
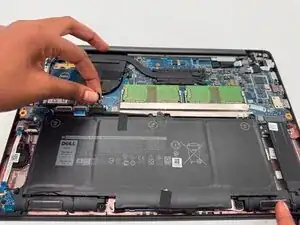
Gently grip the battery connector loop and lift it to disconnect the battery connector.
-
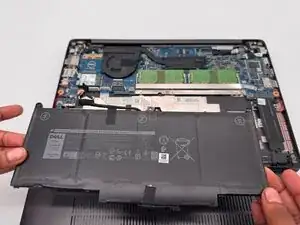
Lift the battery up and out.
-
-
-
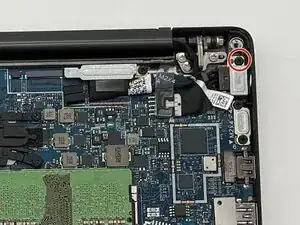
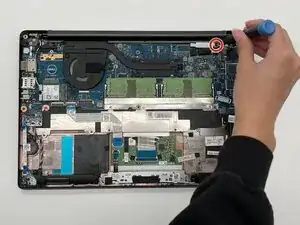
Use a Phillips #0 screwdriver to remove the screw securing the bracket.
-
Lift and remove the metal bracket.
-
-
-
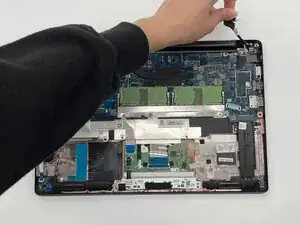
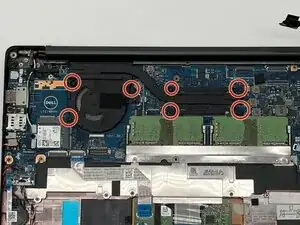
Use a Phillips #0 screw and unscrew the seven 3 mm screws that secure the fan and heat sink.
-
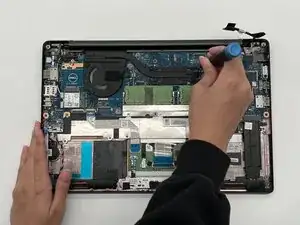
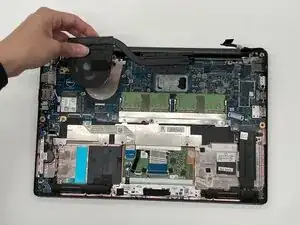
Remove the fan and heat sink and set it aside.
-
-
-
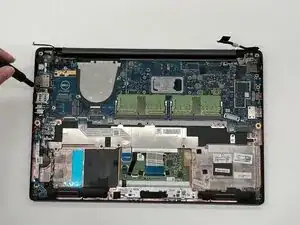
Remove the single Phillips screw that secures the WLAN card.
-
Using a spudger tool, gently lift the WLAN card and remove.
-
-
-
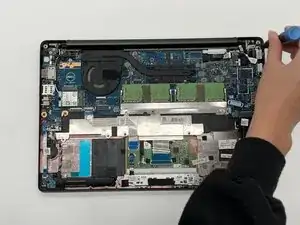
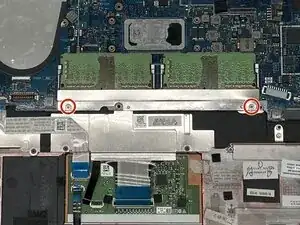
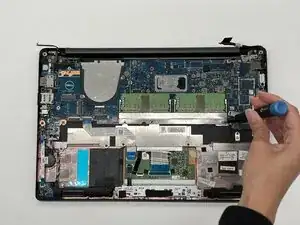
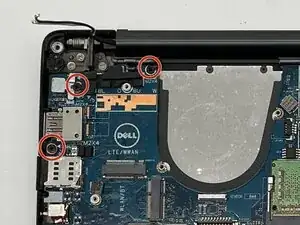
Remove the the two Phillips screws on the metal bracket beneath the RAM modules.
-
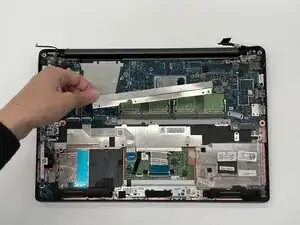
Remove the bracket.
-
-
-
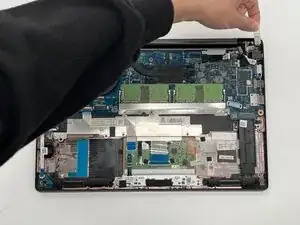
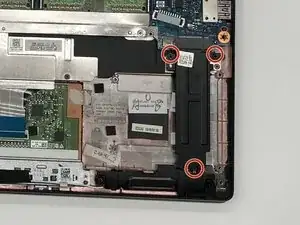
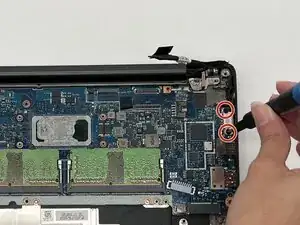
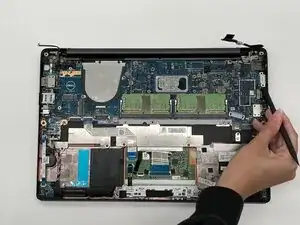
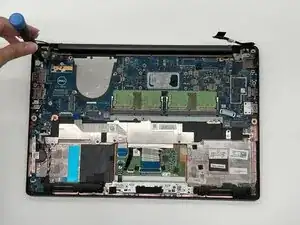
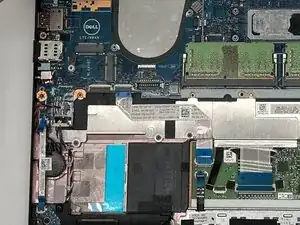
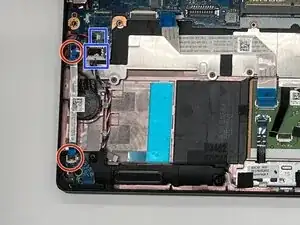
Remove the two 3 mm Phillips screws.
-
Using a spudger, gently lift the metal plate and set it aside.
-
-
-
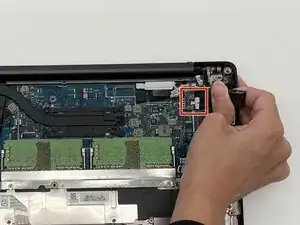
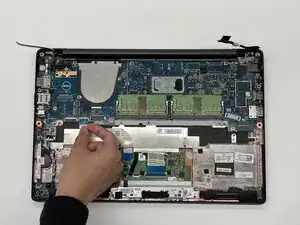
Flip up the locking ZIF locking flap securing the ribbon cable.
-
Disconnect the ribbon cable.
-
-
-
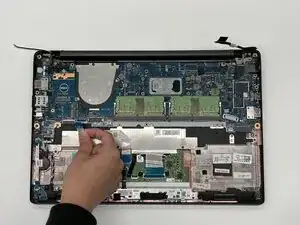
Gently pull on the two no-fuss ribbon cable connectors straight out of their socket to disconnect them.
-
Gently grip the sides of the two JST connectors and pull straight away from the socket.
-
Remove the CMOS Battery and set it aside.
-
-
-
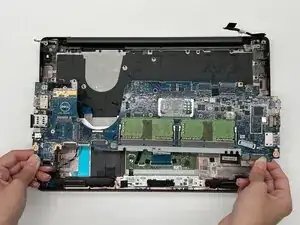
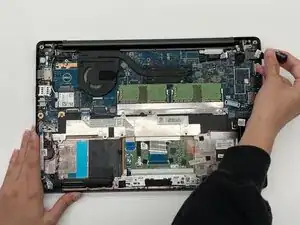
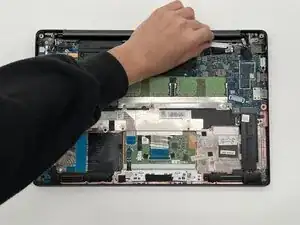
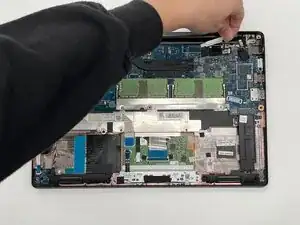
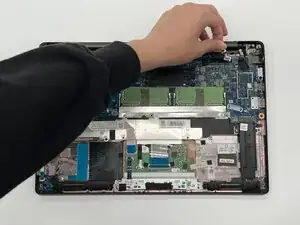
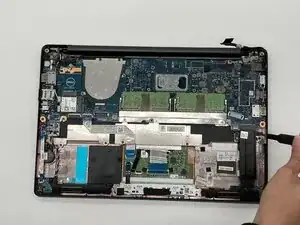
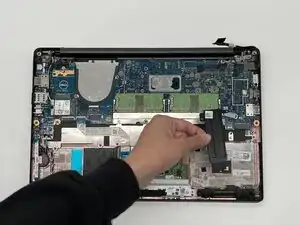
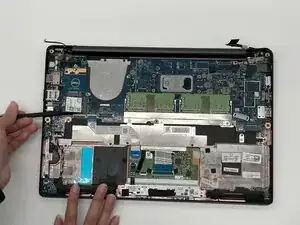
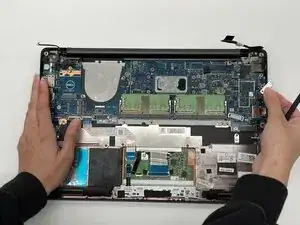
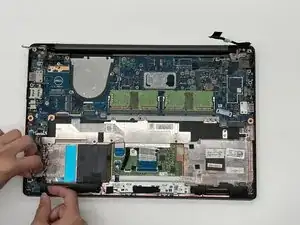
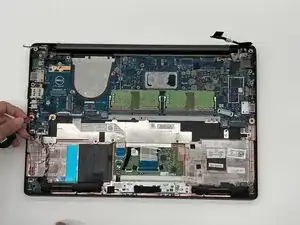
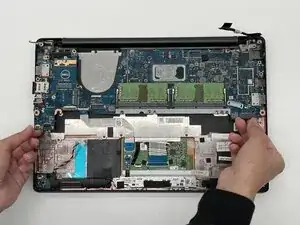
Gently grab and lift the old motherboard and set it aside.
-
Get a new motherboard and place it in the space where the old motherboard was.
-


To reassemble your device, follow the above steps in reverse order.
Take your e-waste to an R2 or e-Stewards certified recycler.
Repair didn’t go as planned? Try some basic troubleshooting or ask our Answers community for help.