Introdução
This guide shows the process of how to disassemble and remove the motherboard from the chassis.
-
-
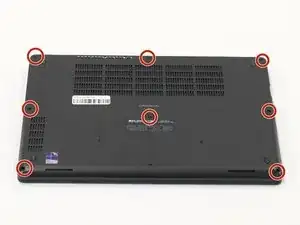
Orient your laptop so that you have access to the lower case, with the vents facing upwards.
-
Use a Phillips screwdriver to loosen the eight screws securing the bottom cover.
-
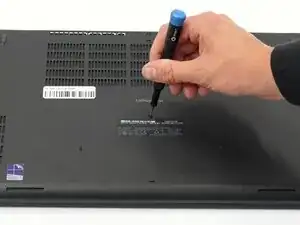
Insert the end of an iFixit opening tool or an opening pick into the seam between the bottom and top case to release the clips holding them together.
-
Slide the opening tool or pick around the edge of the laptop until the case is fully released.
-
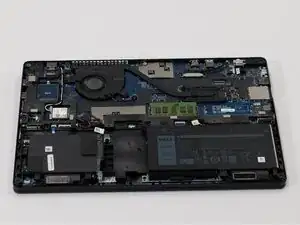
Remove the lower case.
-
-
-
Orient your laptop so that you have access to the bottom cover, with the fan vents facing upwards.
-
Use a Phillips #00 screwdriver to loosen the eight screws securing the bottom cover.
-
Insert the end of an iFixit opening tool or opening picks into the seam between the bottom and top case to release the clips holding them together.
-
Slide the opening tool or pick around the edge of the laptop until it is fully separated.
-
Remove the bottom cover.
-
-
-
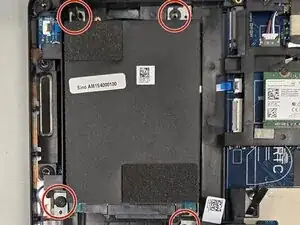
Unscrew the four screws securing the hard drive with a Phillips screwdriver.
-
Remove the hard drive with your hand.
-
-
-
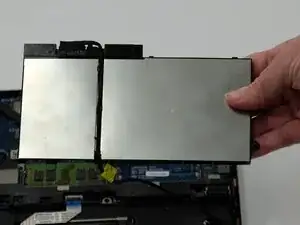
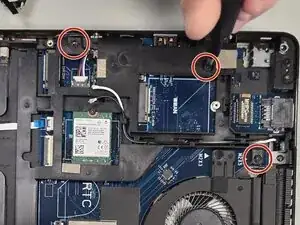
Remove all 3.4 mm-long screws securing the midframe and slowly take it out, unseating the Wi-Fi antenna cables in the process.
-
-
-
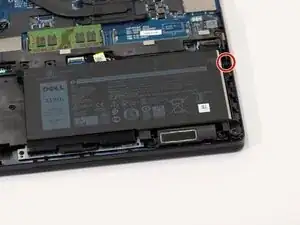
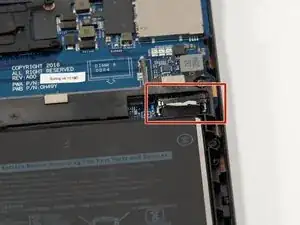
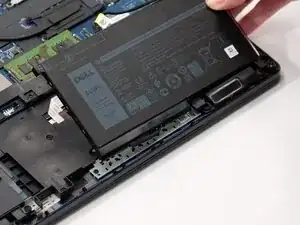
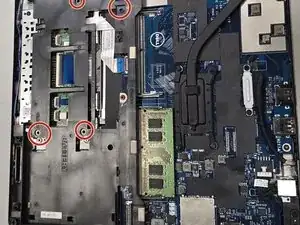
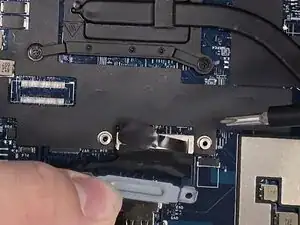
Remove the screws securing the metal brackets holding the power connectors with a Phillips screwdriver.
-
Remove the brackets.
-
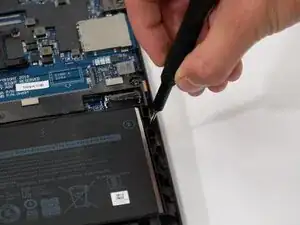
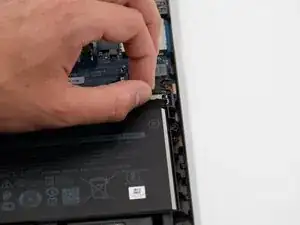
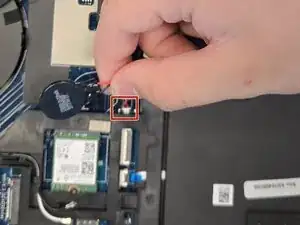
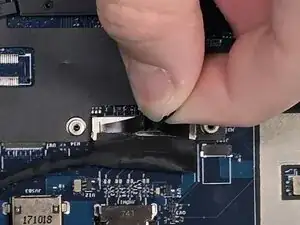
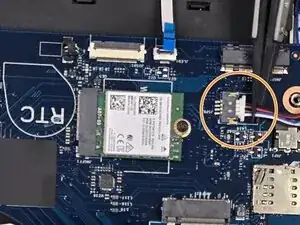
With your hand, pull the black pull tab directly up to disconnect it.
-
-
-
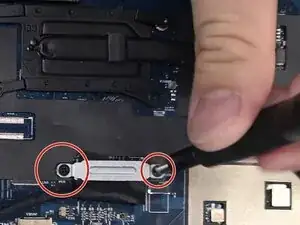
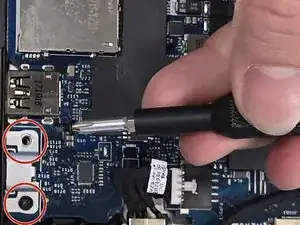
Unscrew the bracket above the type-C USB port held in by two phillips screws.
-
Using your hand, set it aside.
-
-
-
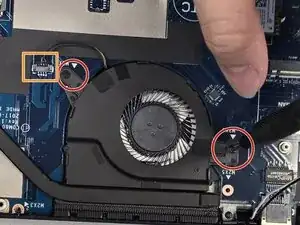
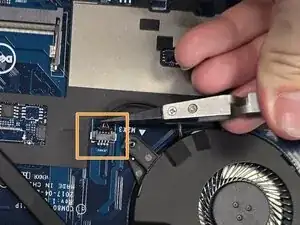
Remove the two Phillips screws securing the fan.
-
Disconnect the fan connector.
-
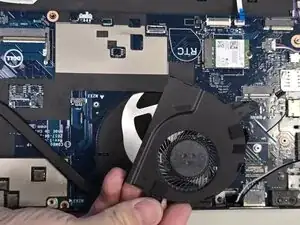
Remove the fan.
-
-
-
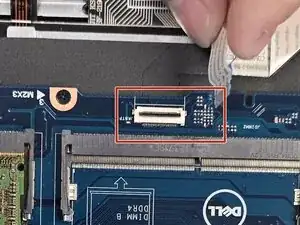
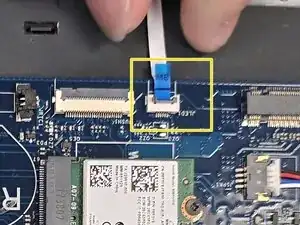
Using your hand, flip up the locking flaps and detach the touchpad ribbon cables connected to the motherboard.
-
Detach the power cables for the speakers using the tweezers.
-
Flip up the locking flap and disconnect the ribbon cables for the keyboard LED interface with your hand.
-
-
-
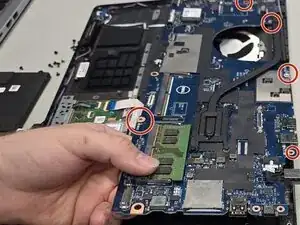
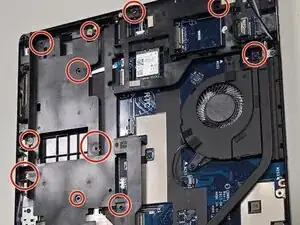
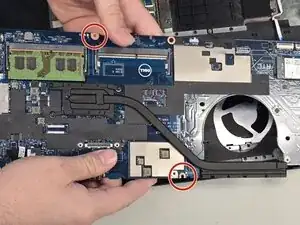
Remove the remaining five screws holding the motherboard to the chassis.
-
With your hand, remove the motherboard from the chassis.
-


To reassemble your device, follow the above steps in reverse order.
Take your e-waste to an R2 or e-Stewards certified recycler.
Repair didn’t go as planned? Try some basic troubleshooting or ask our Answers community for help.