Introdução
If you have a problem with the screen in your Dell Latitude 5580, follow this guide. Some issues users come across include:
- Dead pixels after extended use
- A cracked or damaged screen
- Faulty connectors causing display issues
Follow this guide after troubleshooting and concluding a screen replacement is required. It will require slightly difficult procedures like disassembling the main hinge and a good portion of the internal components. Be careful during the removal of the screen bezel because it is thin and can break, as well as dealing with all the screws and internal components in general.
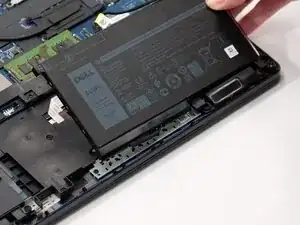
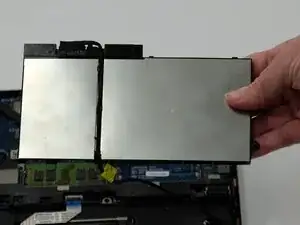
Before you begin this repair, power off your laptop and unplug it from the charging adapter. Also, disconnect the battery connector from the motherboard.
Ferramentas
-
-
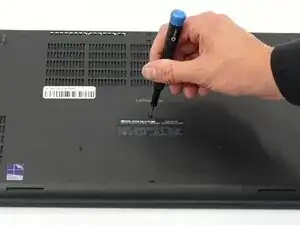
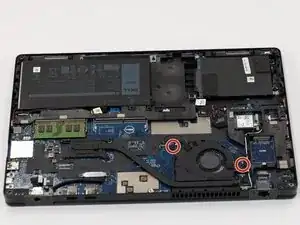
Orient your laptop so that you have access to the bottom cover, with the fan vents facing upwards.
-
Use a Phillips #00 screwdriver to loosen the eight screws securing the bottom cover.
-
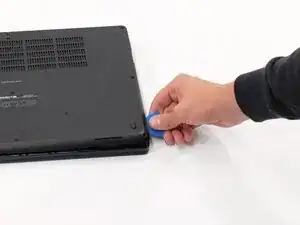
Insert the end of an iFixit opening tool or opening picks into the seam between the bottom and top case to release the clips holding them together.
-
Slide the opening tool or pick around the edge of the laptop until it is fully separated.
-
Remove the bottom cover.
-
-
-
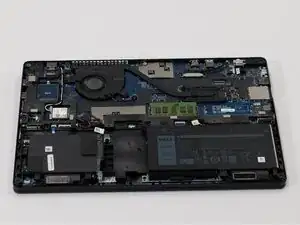
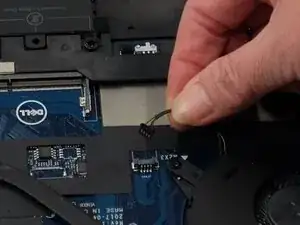
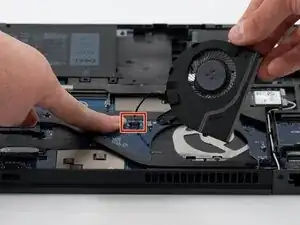
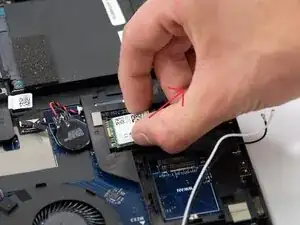
Use the point of a spudger to push on alternating sides of the connector to "walk" the JST connector out of its socket.
-
If that doesn't work, use a pair of tweezers to firmly grip the sides of the connector and pull straight away from the socket. Hold the tweezers closer to the connector to get a better grip.
-
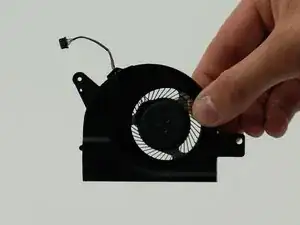
Remove the fan from your laptop.
-
-
-
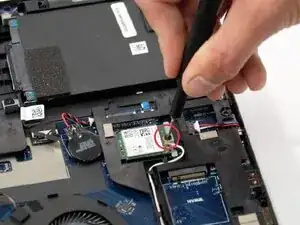
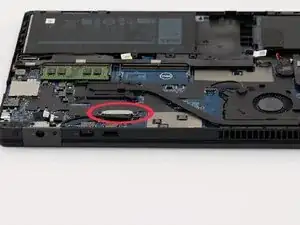
Use a Phillips #00 screwdriver to remove the single 3.1 mm screw holding down the green Wi-Fi card.
-
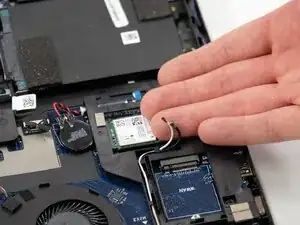
Slide a thin, ESD-safe pry tool or angled tweezers under the metal neck of the coaxial cable connectors on the Wi-Fi card (as close to the head as possible) and lift straight up from the board.
-
Slide the Wi-Fi card out of the socket to remove it.
-
-
-
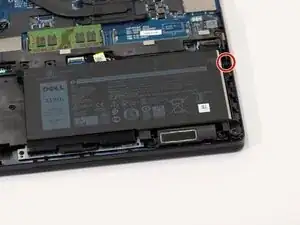
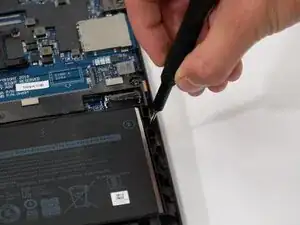
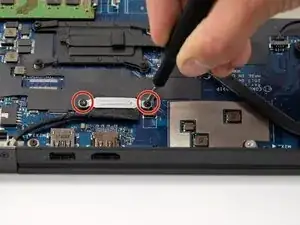
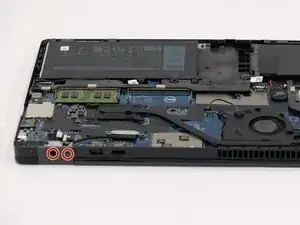
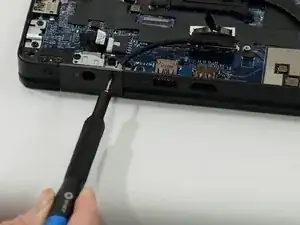
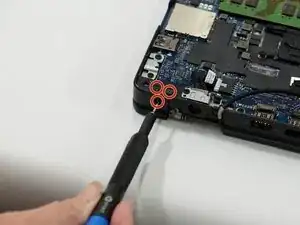
Remove the two 3.00 mm Phillips #00 screws securing the cover to the display cable port.
-
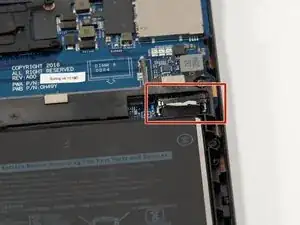
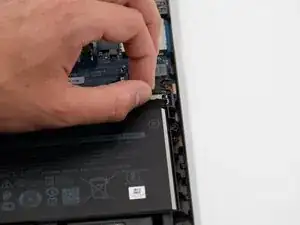
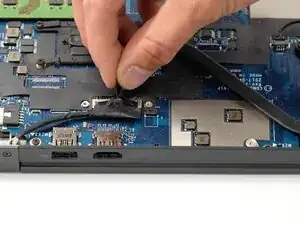
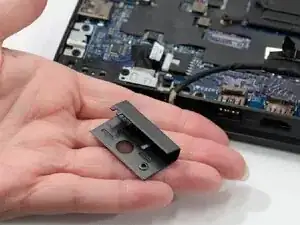
Pull the black tab on the display cable connector to safely separate from the motherboard.
-
-
-
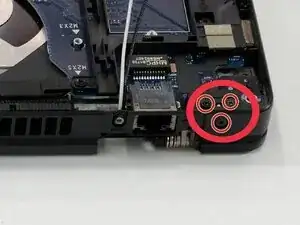
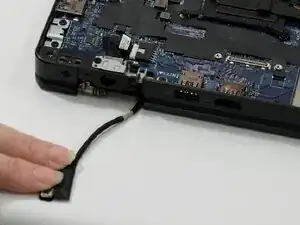
Remove the two 3.00 mm Phillips #00 screws securing the hinge covers.
-
Slide the hinge covers down and off the laptop. Since they have a slight “lip” wrapping around the hinge, you may have to prop the laptop up slightly.
-
-
-
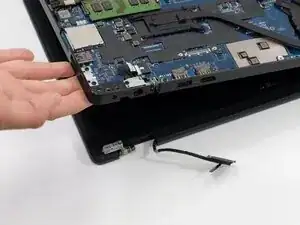
Move the Wi-Fi card wiring and display cable away from the hinge.
-
Lift the display and separate it from the rest of the laptop.
-
-
-
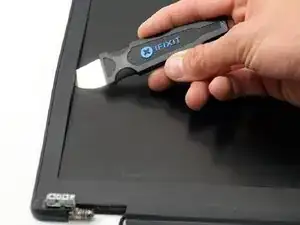
Insert the end of a spudger in between the bezel and the screen and work around the edges of the bezel, separating it from the screen.
-
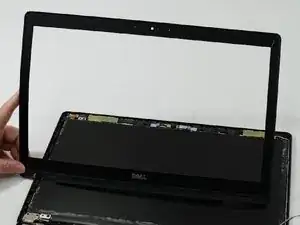
Remove the bezel completely.
-
-
-
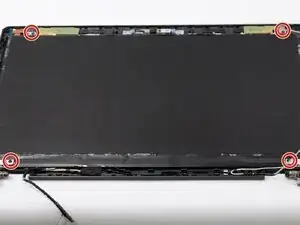
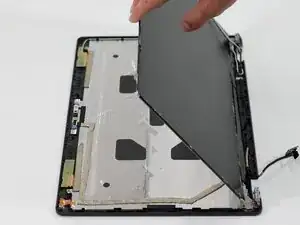
Use a Phillips #00 screwdriver to remove the four 3.0 mm screws securing the screen.
-
Carefully rotate the screen over, pivoting at the bottom where the cable connects.
-
-
-
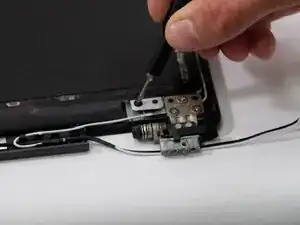
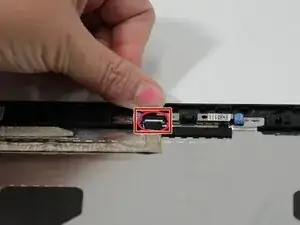
Carefully disconnect the display ribbon connector.
-
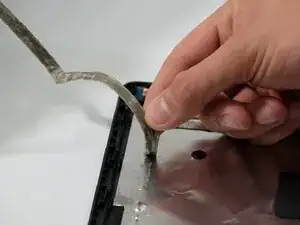
Separate the adhered ribbon cable from the panel.
-
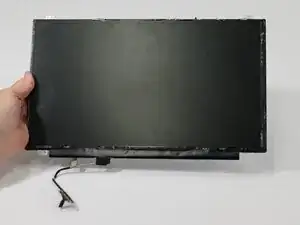
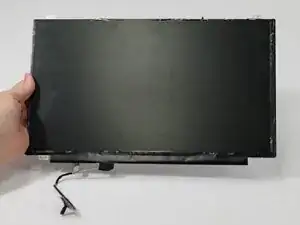
Remove the screen.
-


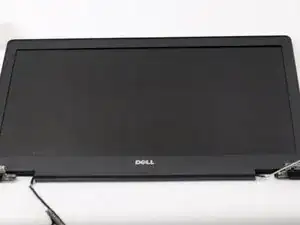
To reassemble your device, install your new display by connecting the display cable and follow these instructions in reverse order. Take your e-waste to an R2 or e-Stewards certified recycler.