Introdução

The SSD (Solid State Drive) stores files on your Dell Latitude 5490 laptop.

In this guide, you will learn how to replace a damaged SSD in your Dell Latitude 5490 laptop.

The SSD is used for fast, reliable storage. If programs or your laptop start-up slowly, it may be time to replace your SSD. Upgrading or replacing the SSD can significantly improve your laptop’s performance. An operational SSD can restore your computer to optimal condition.

  1. tKXxQBgnu3kGv5Lk
    tKXxQBgnu3kGv5Lk
    CcJSqNMxVPPakddk
    udqIx3uoyNTOBRBj
    • Power off the laptop before beginning the disassembly process.

    • Close the device and flip the laptop over so the backplate is facing up.

  2. VP1ZRoqALkHPYfGB
    VP1ZRoqALkHPYfGB
    wQATXGCow1LCOLnZ
    • Using a Phillips #0 Screwdriver, loosen all eight captive screws in the backplate.

    • You do not need to fully remove the screws. Instead, unscrew them until you can easily jostle the screws.

  3. qGERMPvFWZVXB2vO
    qGERMPvFWZVXB2vO
    1iHqoEj5ZFNG5ebn
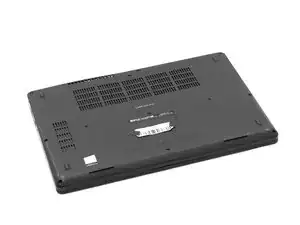
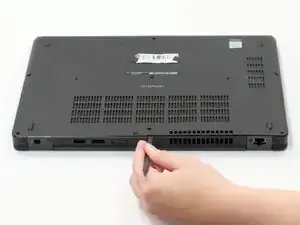
    • Using the spudger, pry the backplate from the laptop starting from external chassis (the back side of the laptop).

    • Continue prying in a clockwise direction around the backplate until it is able to be removed with just your hands.

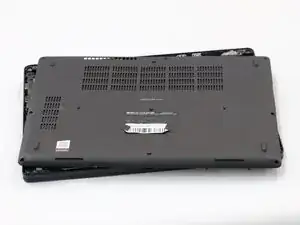
    • Remove the backplate and put it aside for reassembly.

  4. E4xrmJQ3hW1DrHYS
    E4xrmJQ3hW1DrHYS
    3TUE2bVxgYvF1ZiM
    • Using your finger, remove the battery connector using the handle found on top.

    • You do not need to remove the connector completely from the laptop. Doing so may result in damage to your computer. Instead, pull the handle so the connector is suspended above the pins.

  5. MLBHc6vNkMqROATf
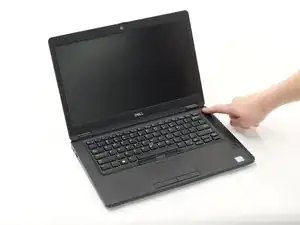
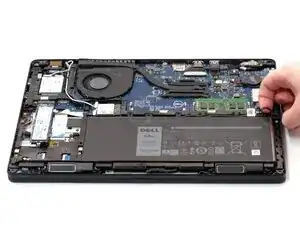
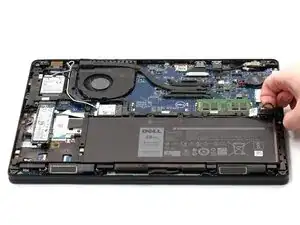
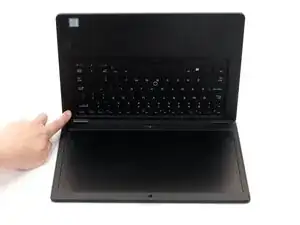
    • Hold down the power button for 15 seconds to discharge the remaining electricity within the laptop.

  6. Qvx1xZcBIGvWFohG
    Qvx1xZcBIGvWFohG
    HZdruspLhWZofjHN
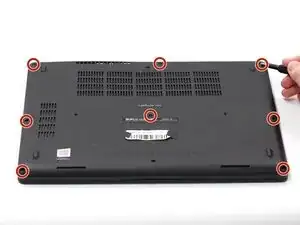
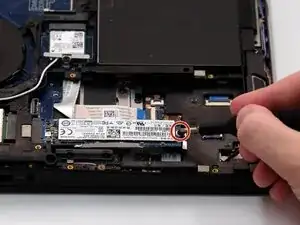
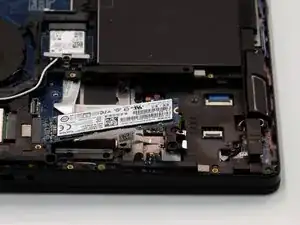
    • Remove the single 4 mm screw connecting the back of the SSD to the laptop using a Phillips #0 screwdriver.

    • When the screw is removed, the SSD will be angled with an incline to one side.

  7. JwUuBIrTscliKFpV
    JwUuBIrTscliKFpV
    VAvYQAxEgZEJrx3K
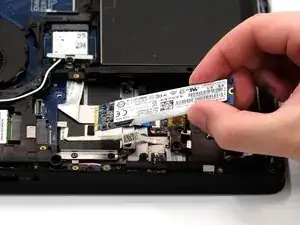
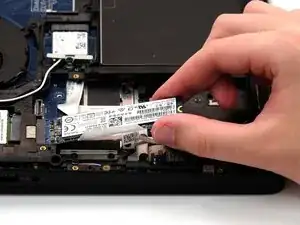
    • Carefully slide the SSD straight out from the rear side, from the end where the screw was previously secured.

    • The SSD should come out easily with no tension.

Conclusão

To reassemble your device, follow these instructions in reverse order.

Jordan

Membro desde: 09/10/25

661 Reputação

0 comentários