Introdução

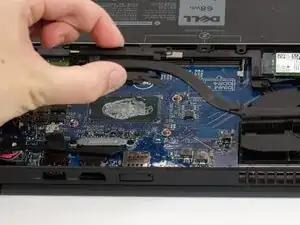
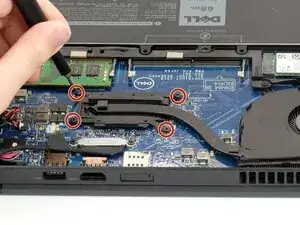
The heatsink dissipates heat by directing the heat from the CPU (Central Processing Unit) to the fans, ensuring optimal operating temperatures.

In this guide, we will show you how to install and replace the heatsink in your Dell Latitude 5490 laptop.

If the heatsink is corroded or damaged the entire assembly will need to be replaced. Replacing a broken heatsink will allow your laptop to function without faltering. An operational heatsink protects your laptop against heat related damage and can extend its lifetime.

  1. tKXxQBgnu3kGv5Lk
    tKXxQBgnu3kGv5Lk
    CcJSqNMxVPPakddk
    udqIx3uoyNTOBRBj
    • Power off the laptop before beginning the disassembly process.

    • Close the device and flip the laptop over so the backplate is facing up.

  2. VP1ZRoqALkHPYfGB
    VP1ZRoqALkHPYfGB
    wQATXGCow1LCOLnZ
    • Using a Phillips #0 Screwdriver, loosen all eight captive screws in the backplate.

    • You do not need to fully remove the screws. Instead, unscrew them until you can easily jostle the screws.

  3. qGERMPvFWZVXB2vO
    qGERMPvFWZVXB2vO
    1iHqoEj5ZFNG5ebn
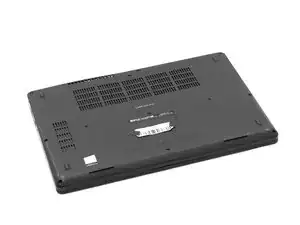
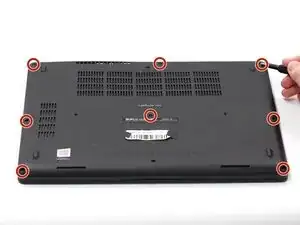
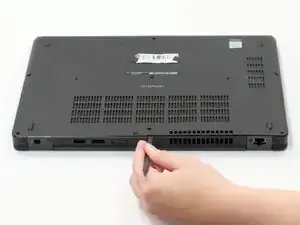
    • Using the spudger, pry the backplate from the laptop starting from external chassis (the back side of the laptop).

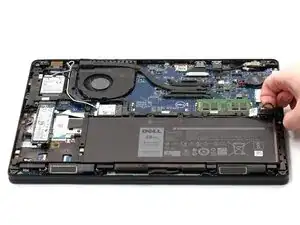
    • Continue prying in a clockwise direction around the backplate until it is able to be removed with just your hands.

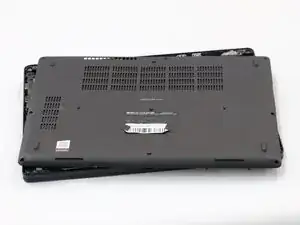
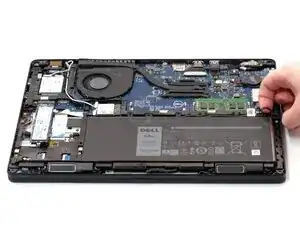
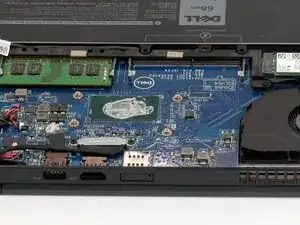
    • Remove the backplate and put it aside for reassembly.

  4. E4xrmJQ3hW1DrHYS
    E4xrmJQ3hW1DrHYS
    3TUE2bVxgYvF1ZiM
    • Using your finger, remove the battery connector using the handle found on top.

    • You do not need to remove the connector completely from the laptop. Doing so may result in damage to your computer. Instead, pull the handle so the connector is suspended above the pins.

  5. MLBHc6vNkMqROATf
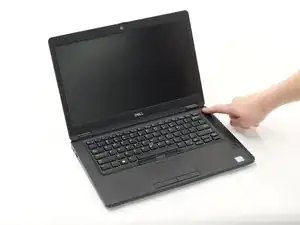
    • Hold down the power button for 15 seconds to discharge the remaining electricity within the laptop.

  6. qoLOHAJkytDjFGDp
    • Remove the four 7 mm screws from the heatsink using a Phillips #0 screwdriver.

  7. jQ3LQHedQuGRIpkZ
    jQ3LQHedQuGRIpkZ
    SAEkIANYdEILLJVc
    NJOluVSOEFeAgugG
    • Using your fingers, gently pull the heatsink from the CPU.

  8. ySLirZHbREJFCeBs
    ySLirZHbREJFCeBs
    DT2g4ZVSxafONpKj
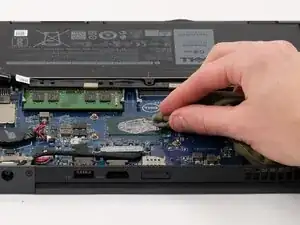
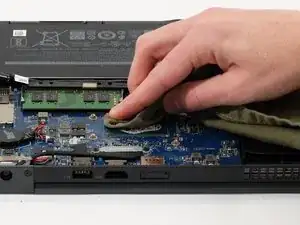
    • Clean the old thermal paste from the CPU using a lint-free cloth and high-concentration isopropyl alcohol.

    • If you are replacing just the thermal paste and not the entire heatsink, clean the thermal paste from the heatsink.

    • For reassembly, apply a pea-sized amount of thermal paste to the shiny metal part of your CPU, then lightly press the heatsink into place.

Conclusão

To reassemble your device, follow these instructions in reverse order.

Jordan

Membro desde: 09/10/25

661 Reputação

0 comentários