
Introdução
The chassis frame is a plastic frame which is used to secure components in your laptop.
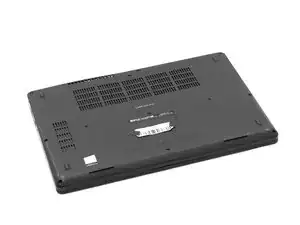
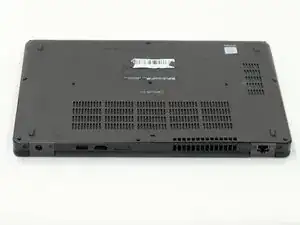
In this guide, you will learn how to disassemble your Dell Latitude 5490 laptop's chassis frame.
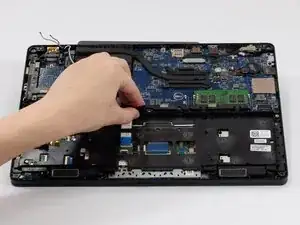
Disassembling the chassis frame is required to access and specific components within your laptop.
Ferramentas
-
-
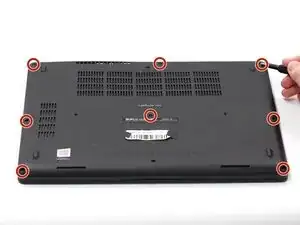
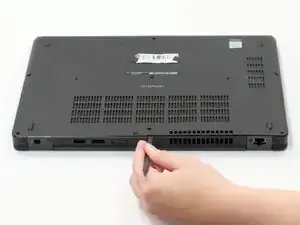
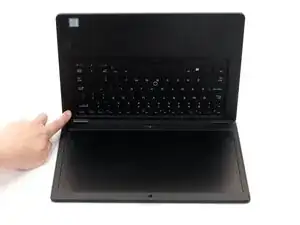
Using the spudger, pry the backplate from the laptop starting from external chassis (the back side of the laptop).
-
Continue prying in a clockwise direction around the backplate until it is able to be removed with just your hands.
-
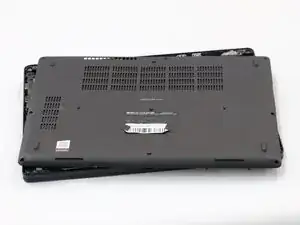
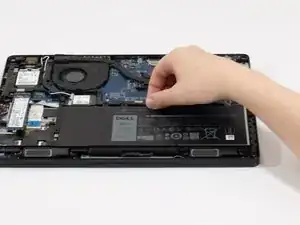
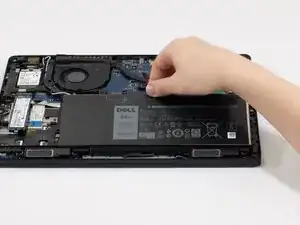
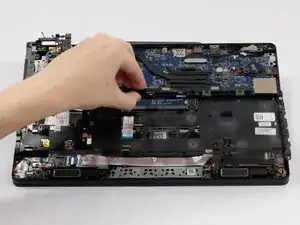
Remove the backplate and put it aside for reassembly.
-
-
-
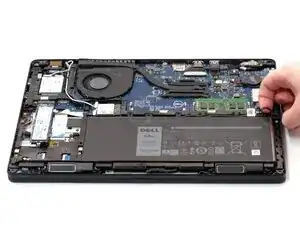
Hold down the power button for 15 seconds to discharge the remaining electricity within the laptop.
-
-
-
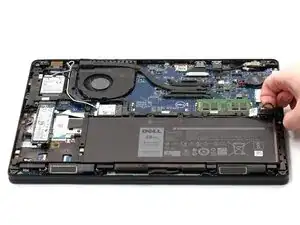
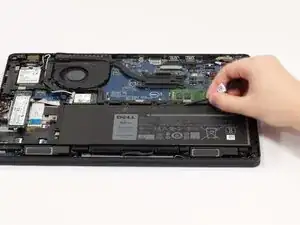
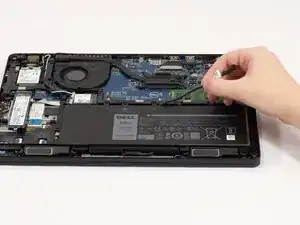
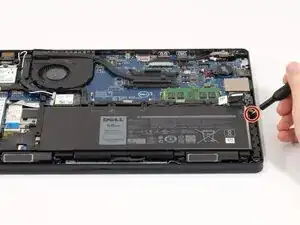
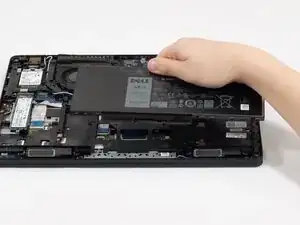
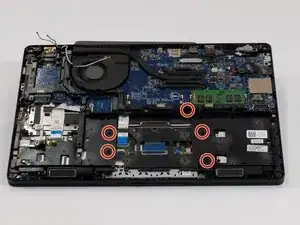
Remove the single marked 4 mm screw from the righthand side of the battery using a Phillips #0 screwdriver.
-
-
-
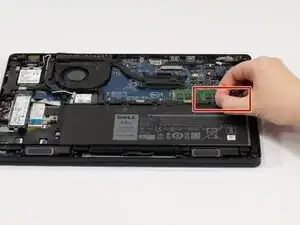
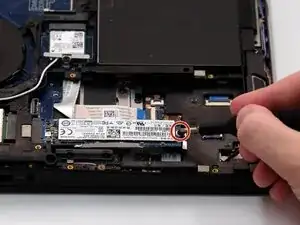
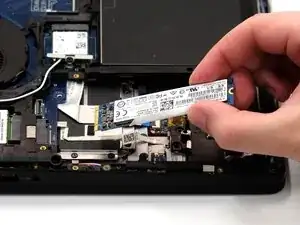
Remove the single 4 mm screw connecting the back of the SSD to the laptop using a Phillips #0 screwdriver.
-
-
-
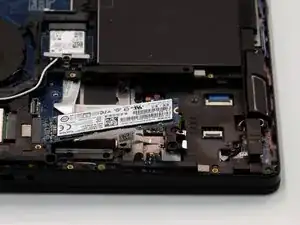
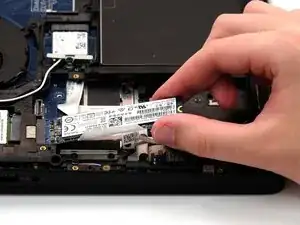
Carefully slide the SSD straight out from the rear side, from the end where the screw was previously secured.
-
-
-
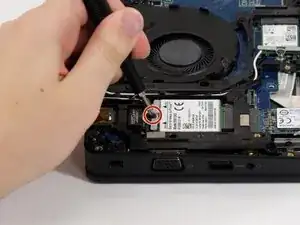
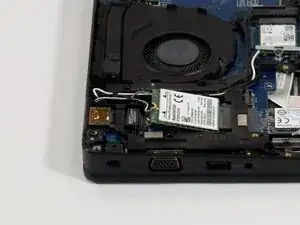
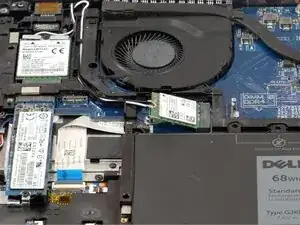
Remove the 4 mm screw holding the bracket above the WWAN card with a Phillips #0 screwdriver.
-
-
-
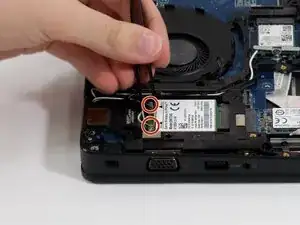
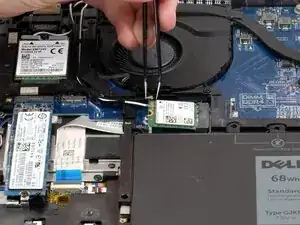
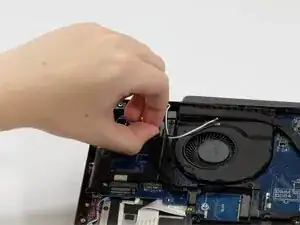
Carefully remove both antenna connectors. Ensure that you pull the antenna connectors straight up from the socket.
-
Using angled tweezers, hook one end of the tweezer under the connector. Set the other side at the end of the connector on the WWAN card. Keeping the tweezers flat, lightly squeeze.
-
-
-
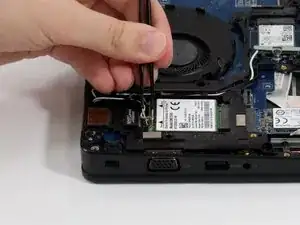
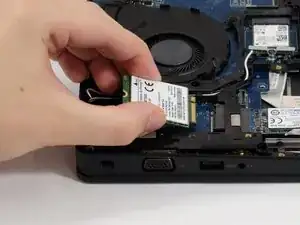
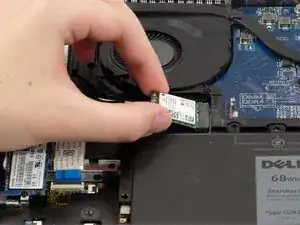
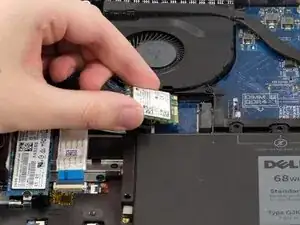
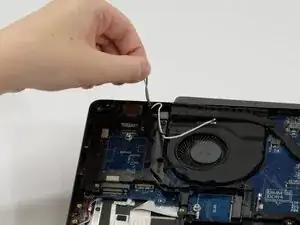
Carefully slide the WWAN card out from the rear side, from the end where the antennas and bracket were.
-
-
-
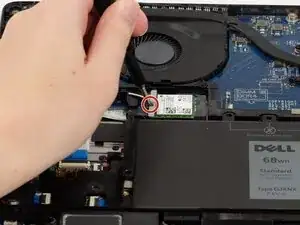
Remove the 4 mm screw holding the bracket above the WLAN card with a Phillips #0 screwdriver.
-
-
-
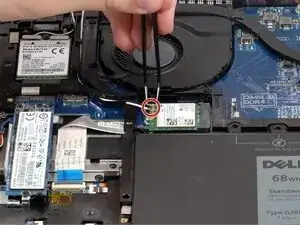
Carefully remove both antenna connectors. Ensure that you pull the antenna connectors straight up from the socket.
-
Using angled tweezers, hook one end of the tweezer under the connector. Set the other side at the end of the connector on the WLAN card. Keeping the tweezers flat, lightly squeeze.
-
-
-
Carefully slide the WLAN card out from the rear side, from the end where the antennas and bracket were.
-
-
-
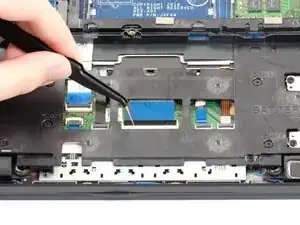
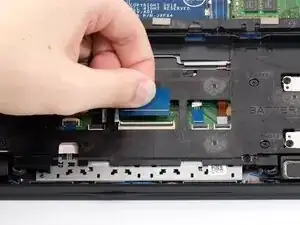
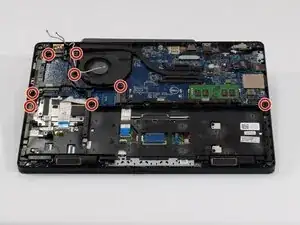
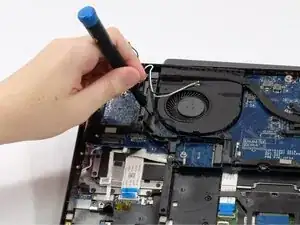
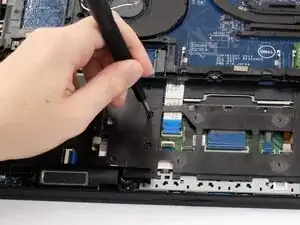
Using the angled tweezers, lift the small latches on the ribbon cables that are routed through the chassis. Gently remove them.
-
To reassemble your device, follow these instructions in reverse order.
