Introdução
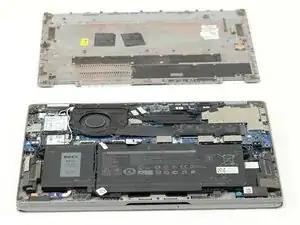
This guide covers how to access and replace the Wi-Fi card in a Dell Latitude 5320 2-in-1. The Wi-Fi card allows the device to connect to wireless networks and Bluetooth accessories. Depending on the card installed, wireless performance and compatibility may vary. The Dell Latitude 5320 2-in-1 shipped with multiple Wi-Fi card options; if your device uses a Wi-Fi 5 card, upgrading to Wi-Fi 6E or Wi-Fi 7 can improve connection speed, stability, security, and Bluetooth compatibility.
Before starting the repair, power off the Dell Latitude 5320 2-in-1, unplug it from the charger, and disconnect the battery.
Ferramentas
-
-
Shut down your laptop completely.
-
Unplug the laptop from any charging cables or other connected accessories.
-
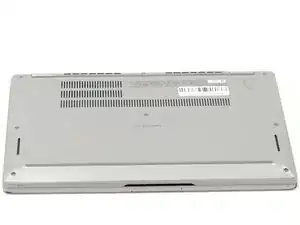
Flip the laptop over so the bottom case is facing upward.
-
-
-
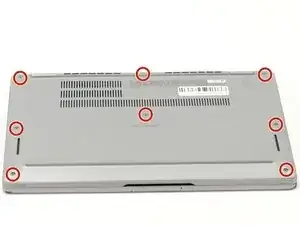
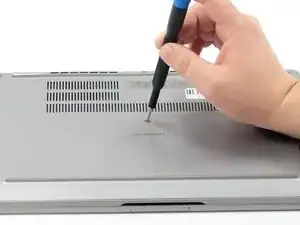
Using a Phillips #000 screwdriver, loosen the eight captive screws that secure the bottom cover.
-
-
-
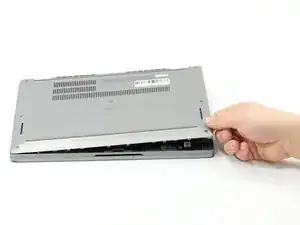
Insert an opening tool into the seam between the bottom cover and the rest of the device.
-
Gently work your way around the edges until the clips release. Lift the cover away and set it aside.
-
-
-
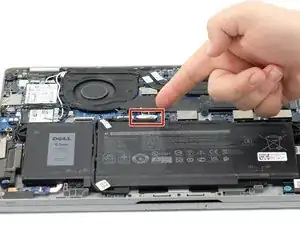
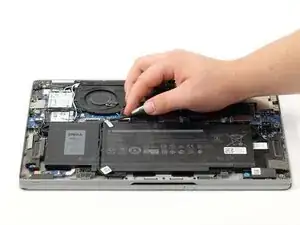
Gently lift the battery cable straight up from its socket on the motherboard to disconnect it.
-
-
-
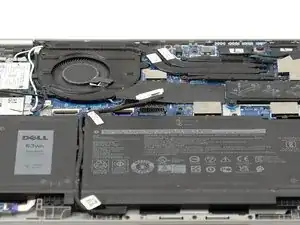
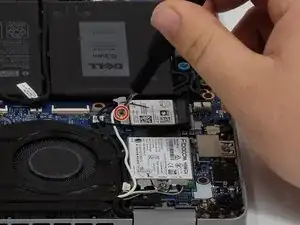
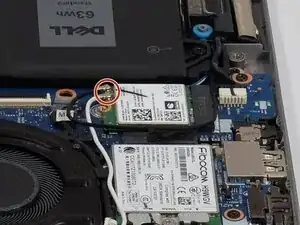
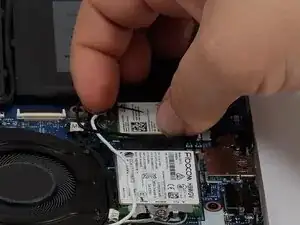
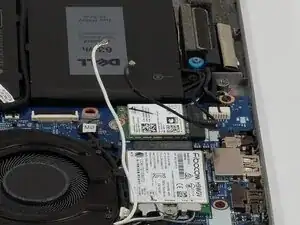
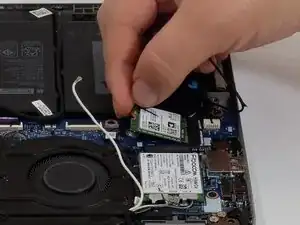
Using a Phillips #000 screwdriver, loosen the single captive screw that secures the metal retaining bar over the Wi-Fi card’s U.FL connectors.
-
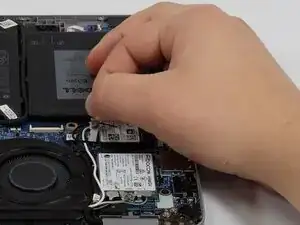
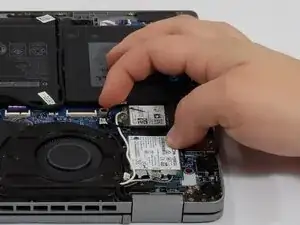
Remove the retaining bar.
-

To reassemble your device, follow these instructions in reverse order.