
Introdução
This guide will cover a step-by-step, detailed process on how to access your Dell Latitude 5320 2-in-1 SSD and replace it. The SSD is responsible for storing data from your device permanently in memory. Users may be interested in replacing the SSD if they experience a drop in performance or are unable to access or install large applications or files. When replacing an SSD, users should also consider upgrading the capacity of their SSD by installing one with more storage capacity.
Before opening your Dell Latitude 5320 2-in-1, ensure you visit the troubleshooting pages for proper diagnosis. This will help you identify any potential issues and avoid complications during upgrades or component removal.
Before you begin disassembly on your Dell Latitude 5320 2-in-1, make sure the device is powered off, unplugged from the charger, and the battery is disconnected.
Ferramentas
-
-
Shut down your laptop completely.
-
Unplug the laptop from any charging cables or other connected accessories.
-
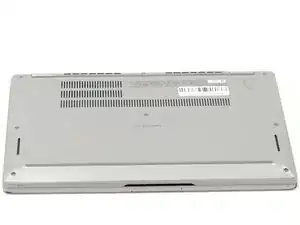
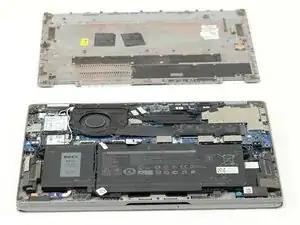
Flip the laptop over so the bottom case is facing upward.
-
-
-
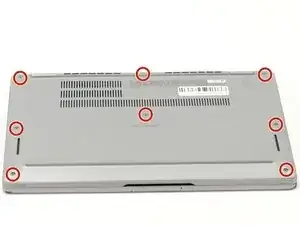
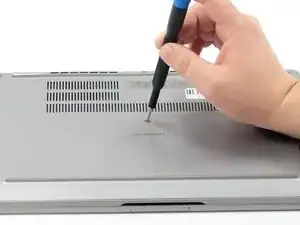
Using a Phillips #000 screwdriver, loosen the eight captive screws that secure the bottom cover.
-
-
-
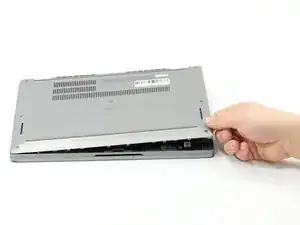
Insert an opening tool into the seam between the bottom cover and the rest of the device.
-
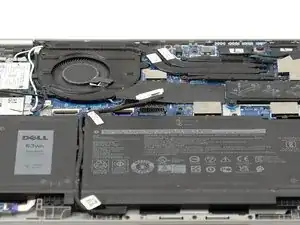
Gently work your way around the edges until the clips release. Lift the cover away and set it aside.
-
-
-
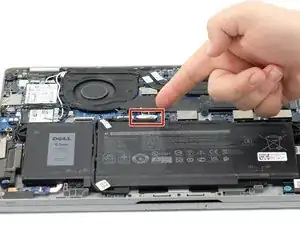
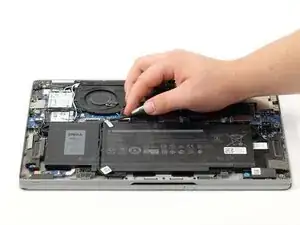
Gently lift the battery cable straight up from its socket on the motherboard to disconnect it.
-
-
-
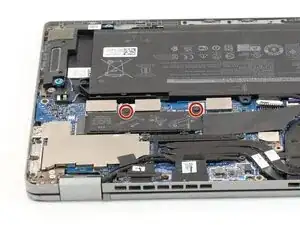
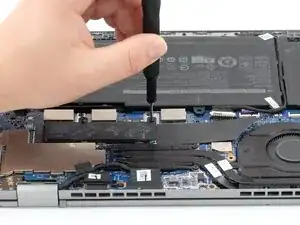
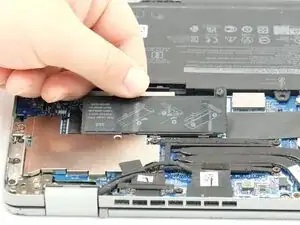
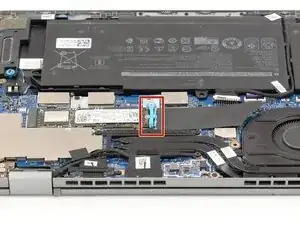
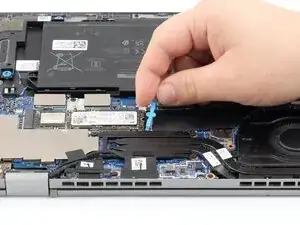
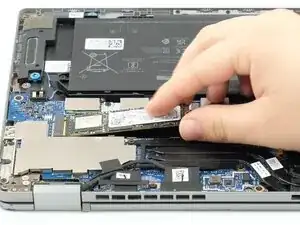
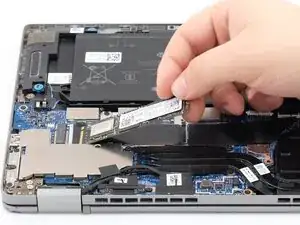
Using a Phillips #000 screwdriver, remove the two 2mm screws holding the SSD cover in place.
-

To reassemble your device, follow these instructions in reverse order.