
Introdução
If you noticed the battery in your Dell Latitude 5320 2-in-1 is quickly depleting from a full charge, taking longer to charge, or overheating, this guide will provide a detailed step-by-step process to access the battery and replace it. Users are likely to replace the battery in their Dell Latitude 5320 2-in-1 for the issues mentioned above, but also for an upgrade in battery capacity and improved charging speeds with newer batteries supporting fast charging.
Make sure to diagnose your Dell Latitude 5320 2-in-1 correctly before continuing to take anything apart. Visit the troubleshooting pages for further guidance.
Before you begin taking anything apart on your Dell Latitude 5320 2-in-1, make sure your device is powered off, the battery is drained, and unplugged from the charger.
Ferramentas
-
-
Shut down your laptop completely.
-
Unplug the laptop from any charging cables or other connected accessories.
-
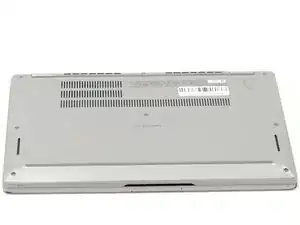
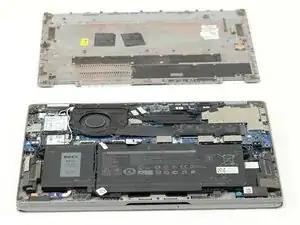
Flip the laptop over so the bottom case is facing upward.
-
-
-
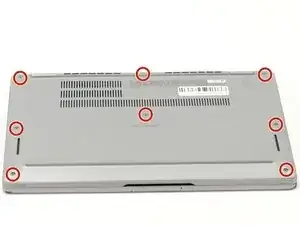
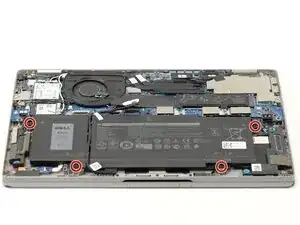
Using a Phillips #000 screwdriver, loosen the eight captive screws that secure the bottom cover.
-
-
-
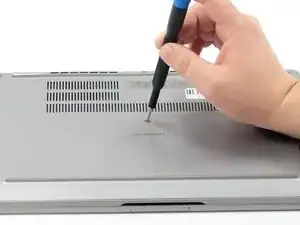
Insert an opening tool into the seam between the bottom cover and the rest of the device.
-
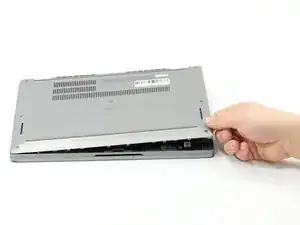
Gently work your way around the edges until the clips release. Lift the cover away and set it aside.
-
-
-
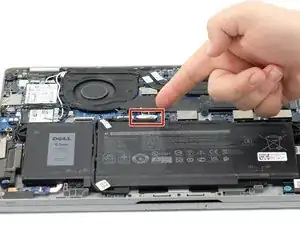
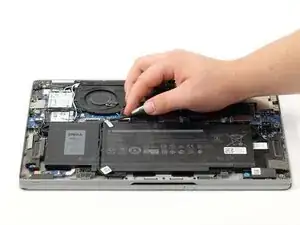
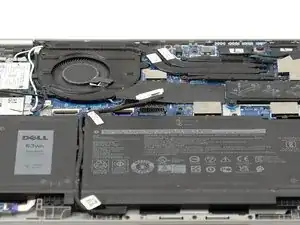
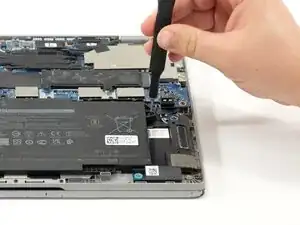
Gently lift the battery cable straight up from its socket on the motherboard to disconnect it.
-

To reassemble your device, follow these instructions in reverse order.