
Introdução
If your display assembly is not functioning properly anymore, this guide will show you how to replace your display assembly for the Dell Latitude 5289 2-in-1.
Before beginning this repair, make sure to turn off the laptop, undock it if it is connected to a docking device, unplug all cables from the laptop, open the display and press and hold the power button for a few seconds to ground the system board, remove any installed ExpressCards or Smart cards, and remove the MicroSD from the laptop.
Ferramentas
-
-
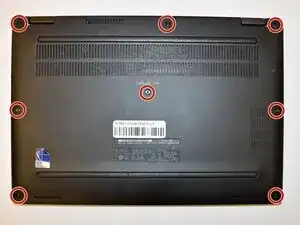
Loosen the eight 5 mm captive screws in the base cover using a Phillips #00 screwdriver.
-
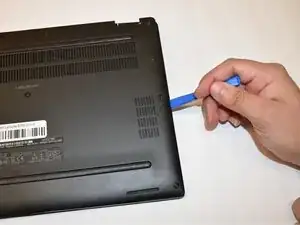
Gently pry the base cover with an opening tool starting from the hinges at the top edge.
-
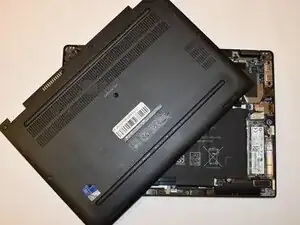
Lift the cover off of the laptop.
-
-
-
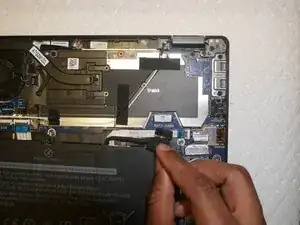
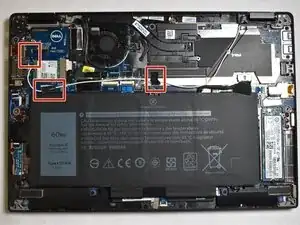
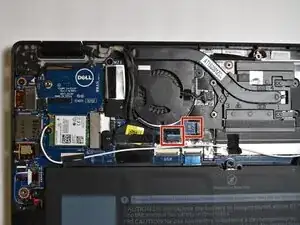
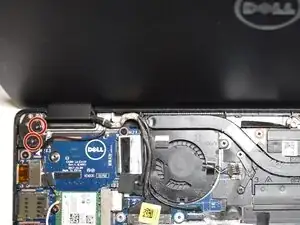
Disconnect the IR camera and touchscreen cable.
-
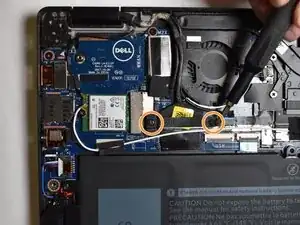
Remove the 1.7 mm screws that secure the eDP bracket using a Phillips #00 screwdriver. Lift the bracket away from the computer.
-
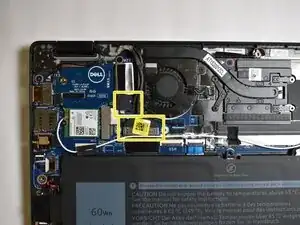
Disconnect the G-sensor and eDP cables.
-
-
-
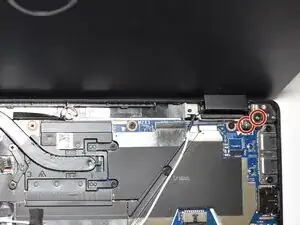
Place the base of the computer with the display assembly at 270 degrees.
-
Remove the 4.0 mm screws that secure the display hinge brackets using a Phillips #00 screwdriver.
-
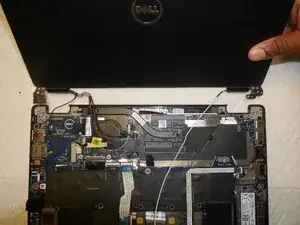
Lift the display assembly away from the computer.
-
To reassemble your device, follow these instructions in reverse order.