Introdução
If your laptop refuses to power on, shuts down randomly, or has serious hardware issues that cannot be fixed with simple part swaps, the motherboard may need to be replaced. The motherboard is the main board that connects every part of your laptop and lets all the components communicate. Replacing it can solve major power and stability problems. To do this, you will open the bottom cover, disconnect the battery, and remove all attached parts like the SSD, RAM, fan, and cables. Lift out the old board, set the new one in place, reconnect everything the way it was, and screw it down. Once the laptop is reassembled, power it on and make sure all devices are detected.
-
-
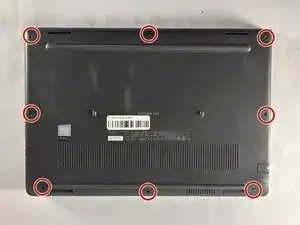
Close the laptop lid and set the laptop down with the lower case facing you.
-
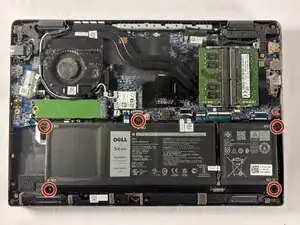
Use a Phillips #00 screwdriver to remove the seven 7 mm-long screws securing the lower case.
-
-
-
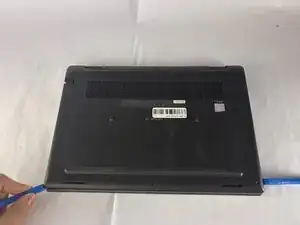
Insert an opening tool into the seam between the lower case and chassis.
-
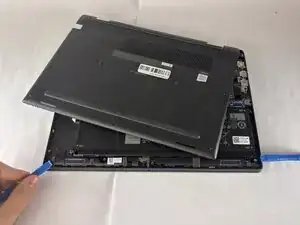
Pry around the entire perimeter until the lower case fully releases.
-
Remove the lower case.
-
-
-
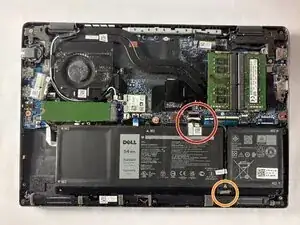
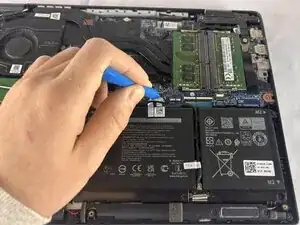
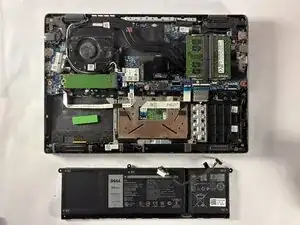
Use an opening tool to gently push the battery connector directly out of its motherboard socket.
-
Disconnect the second cable by pushing the connector toward the battery as well.
-
-
-
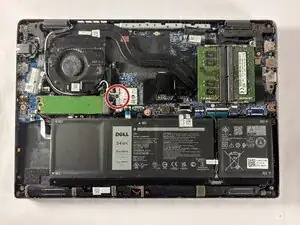
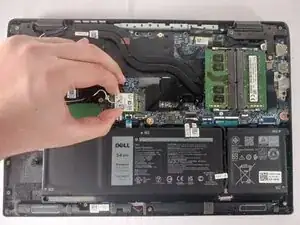
Use the tip of a spudger to pry up and disconnect the two Wi-Fi card coaxial cables.
-
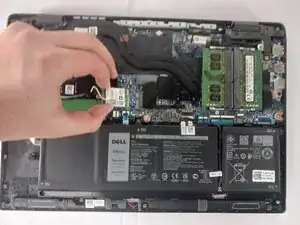
Pull the Wi-Fi card directly out of its socket.
-
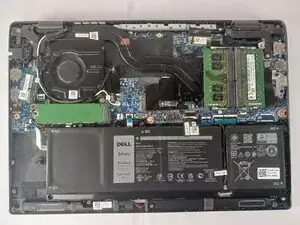
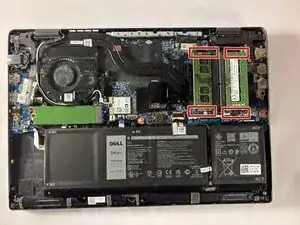
-
-
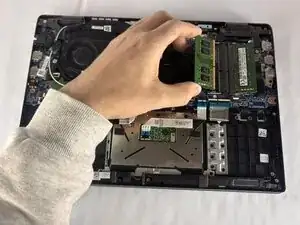
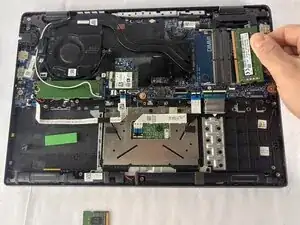
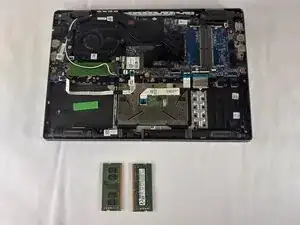
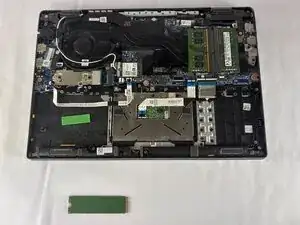
Two clips secure each RAM module in place, one on each side. Using your fingers, spread the clips away from the RAM module.
-
-
-
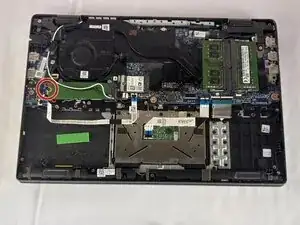
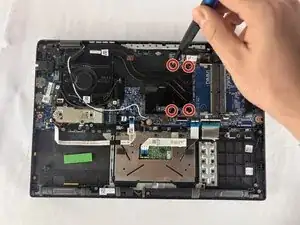
Remove the four 3 mm-long Phillips screws securing the heat sink.
-
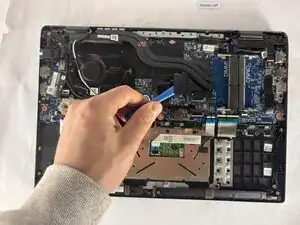
Use an opening tool to lift the heat sink.
-
Remove the heat sink.
-
-
-
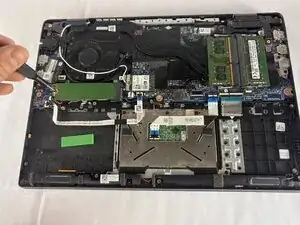
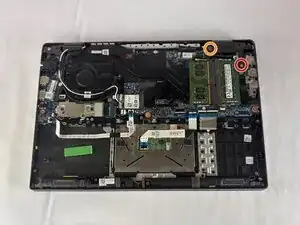
Remove the two Phillips #00 screws securing the right hinge:
-
One 6 mm-long screw
-
One 4 mm-long screw with a Phillips #00 Screwdriver.
-
Lift the right hinge.
-
-
-
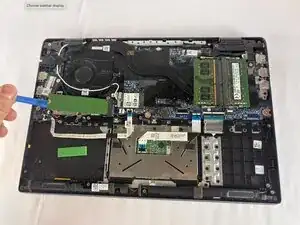
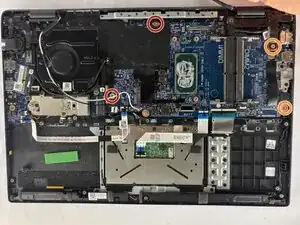
Remove the two 2 mm-long Phillips screw.
-
Remove the two 6 mm-long Phillips screw.
-
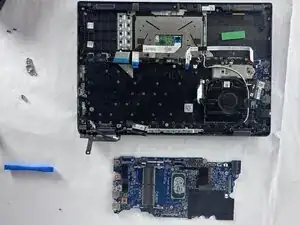
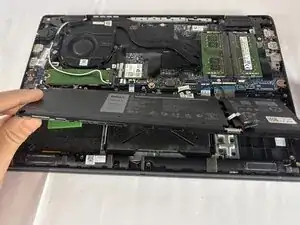
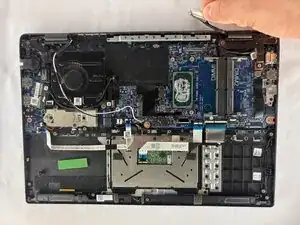
Slowly lift the motherboard from the laptop housing.
-

To reassemble your device, follow the above steps in reverse order.
Take your e-waste to an R2 or e-Stewards certified recycler.
Repair didn’t go as planned? Try some basic troubleshooting or ask our Answers community for help.