Introdução
If the touchscreen becomes unresponsive, cracked, or physically separated from the frame, replacing the touchscreen glass/digitizer will restore touch functionality.
Ferramentas
-
-
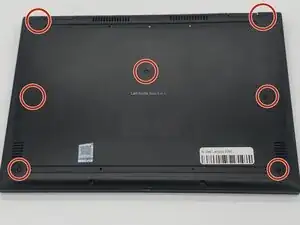
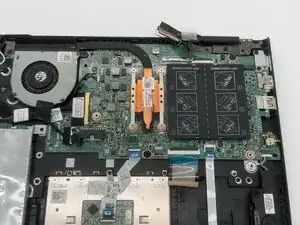
Flip the laptop over so that the bottom side is facing up. Place it on a soft, static free surface to prevent damage.
-
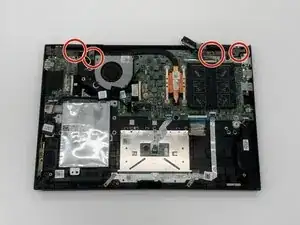
Use a Phillips #0 screwdriver to carefully remove all seven 7 mm-long screws securing the back cover.
-
-
-
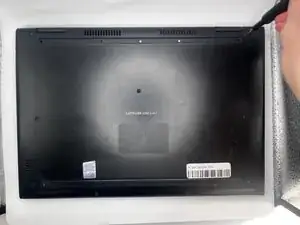
Insert an opening tool into the seam between the back cover and chassis.
-
Pry around the perimeter of the back cover until it fully releases.
-
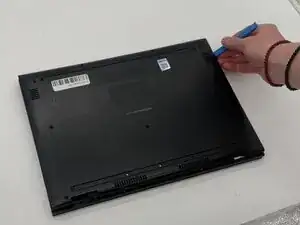
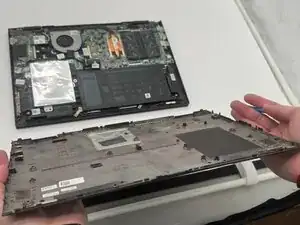
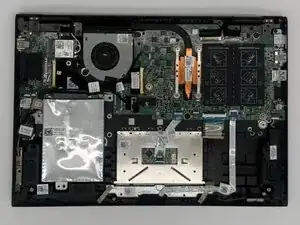
Lift off the back cover slowly and set it aside.
-
-
-
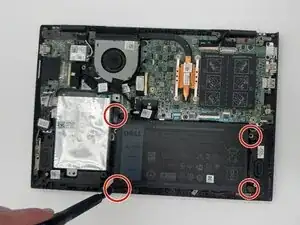
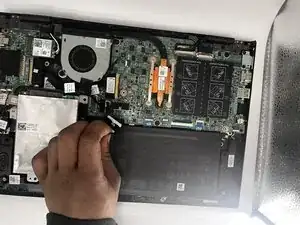
Disconnect the battery from the motherboard by gently pulling the connector straight out of its socket.
-
-
-
Carefully lift out the old battery from its compartment, ensuring that no cables or connectors are pulled or damaged.
-
-
-
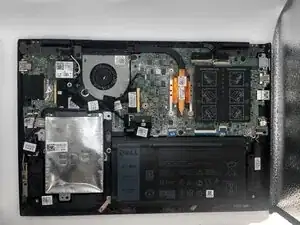
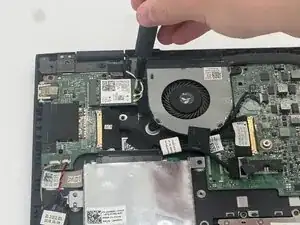
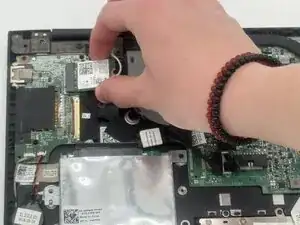
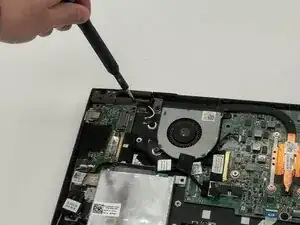
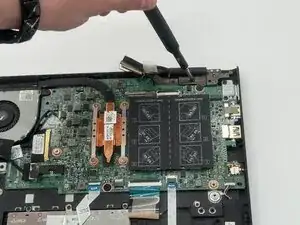
Use the pointed end of a spudger to disconnect the two coaxial cables.
-
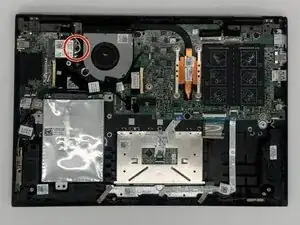
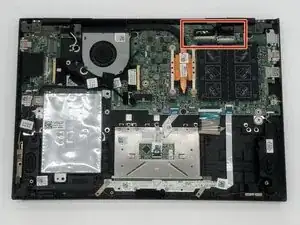
Pull the WLAN card directly out of its socket.
-
-
-
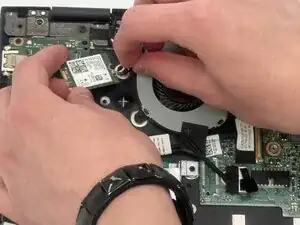
Flip up each of the two locking flaps that secure the two connectors in the upper-right corner of the board.
-
Disconnect the two connectors.
-
-
-
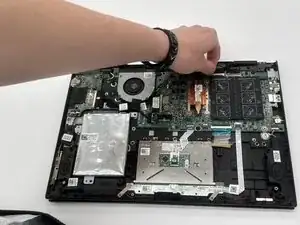
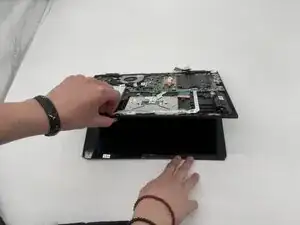
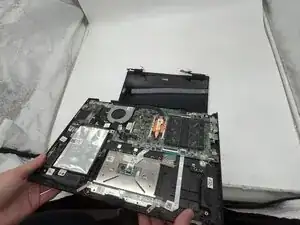
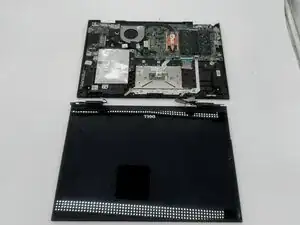
Lift the base of the laptop, keeping one hand on the screen. The display assembly should disconnect from the motherboard.
-
-
-
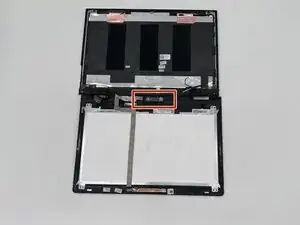
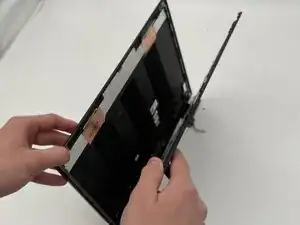
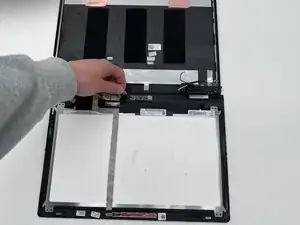
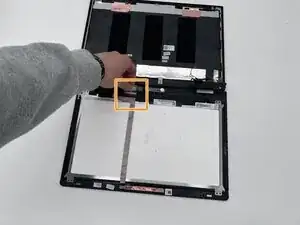
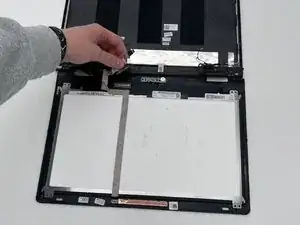
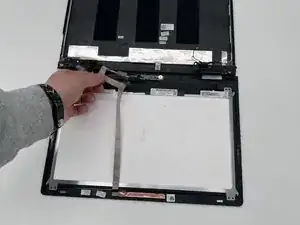
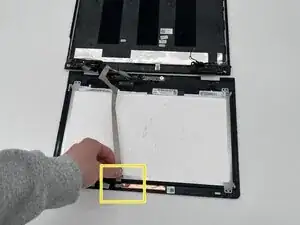
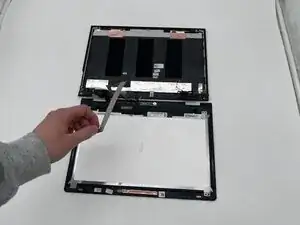
Disconnect the cable connected to the camera.
-
Then peel the rest of the LDC cable off the touchscreen.
-


To reassemble your device, follow the above steps in reverse order.
Take your e-waste to an R2 or e-Stewards certified recycler.
Repair didn’t go as planned? Try some basic troubleshooting or ask our Answers community for help.