Introdução
A damaged or malfunctioning display may show flickering, dead pixels, cracks, or a completely black screen. The display assembly contains the LCD, touchscreen (for touchscreen models), hinge attachments, and camera module. Replacing it requires disconnecting delicate cables and removing the hinge screws that secure the display to the laptop base. Before beginning, ensure the laptop is fully powered off, the battery is removed for safety, and you have enough space to open the screen fully while working.
Ferramentas
-
-
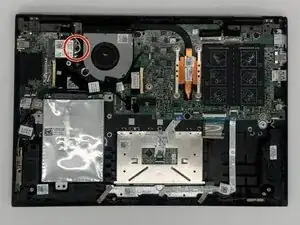
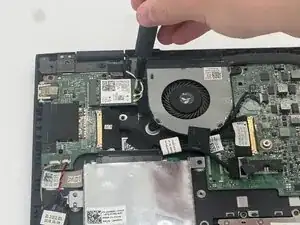
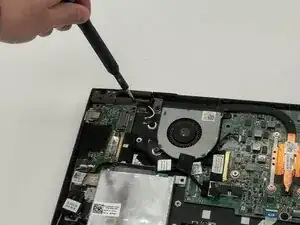
Use the pointed end of a spudger to disconnect the two coaxial cables.
-
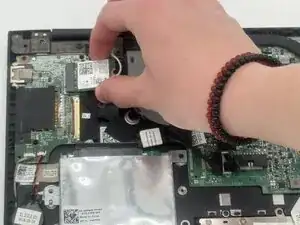
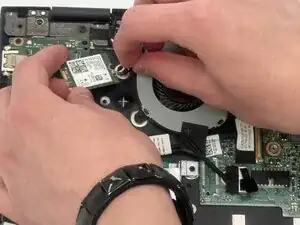
Pull the WLAN card directly out of its socket.
-
-
-
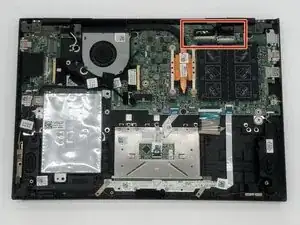
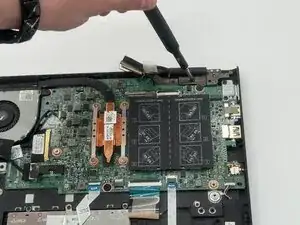
Flip up each of the two locking flaps that secure the two connectors in the upper-right corner of the board.
-
Disconnect the two connectors.
-
-
-
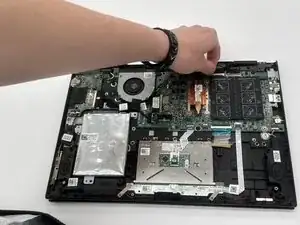
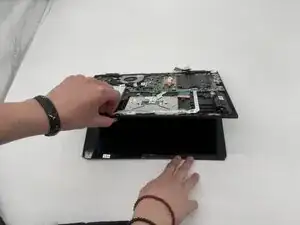
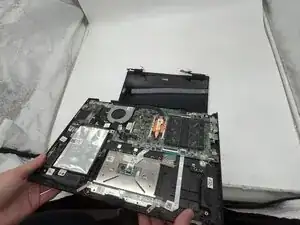
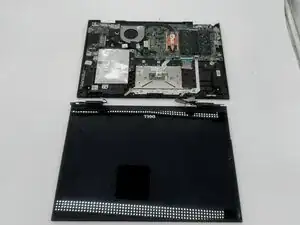
Lift the base of the laptop, keeping one hand on the screen. The display assembly should disconnect from the motherboard.
-
-
-
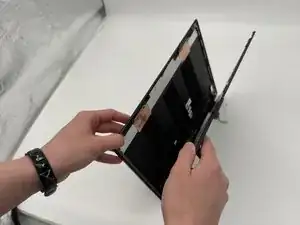
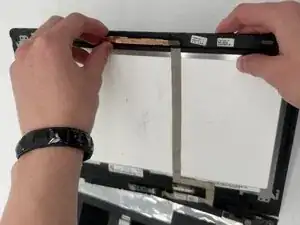
Carefully lift the top bezel of the screen to expose the camera assembly.
-
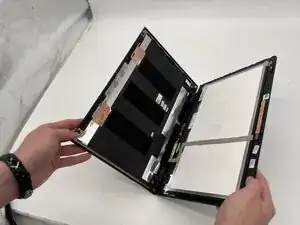
Use your fingers to gently pull the camera module away from the frame.
-
Work slowly along the edge to release any adhesive holding the camera in place.
-
-
-
Hold the bezel firmly with both hands and gently lift the camera assembly upward.
-
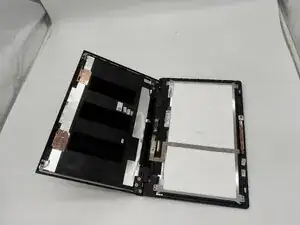
Peel back any remaining adhesive strips securing the camera to the top bezel.
-
Slowly slide the camera module out of the frame until it is fully detached.
-

To reassemble your device, follow the above steps in reverse order.
Take your e-waste to an R2 or e-Stewards certified recycler.
Repair didn’t go as planned? Try some basic troubleshooting or ask our Answers community for help.