Introdução
Does the keyboard on your Dell Latitude 14 Rugged 5414 no longer respond, register certain keys, or function reliably? This guide will walk you through the process of replacing the keyboard so you can restore full typing capability to your laptop.
Before beginning the repair, it’s important to confirm that the issue is truly hardware-related by reviewing the unresponsive keyboard troubleshooting page and testing for software, driver, or debris-related problems. Checking these possibilities first can save you time and prevent unnecessary disassembly. If the keyboard remains unresponsive after troubleshooting, then replacement is the most effective solution.
Be sure to completely power off the laptop and disconnect it from any chargers or external devices before starting the repair. Work on a clean, static-free surface to avoid electrostatic discharge, which can damage internal components.
-
-
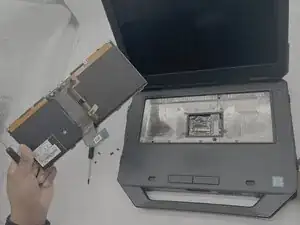
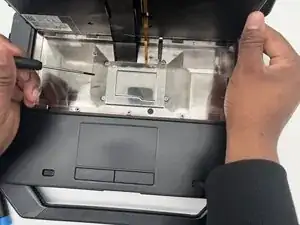
Open the top cover to reveal the keyboard.
-
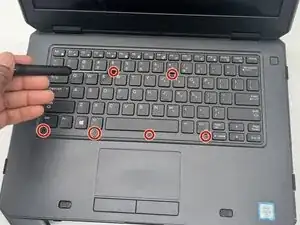
Use your Phillips #0 screwdriver to remove the 6 screws from the keyboard.
-
-
-
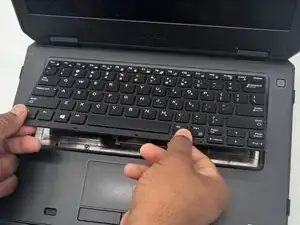
Use your plastic opening tool to carefully push the keyboard toward the display and release the connectors from the near edge by the touchpad.
-
Gently lift the keyboard from the space bar edge.
-
-
-
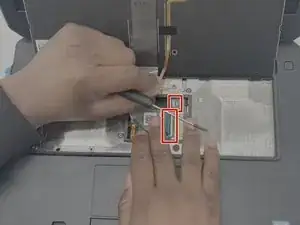
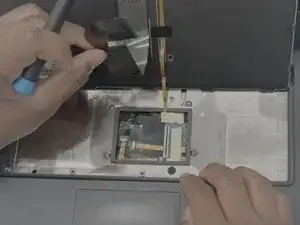
Use a JIS #1 screwdriver to remove the four screws securing the metal plate to the motherboard.
-
Use a spudger to pry the plate off and expose the two keyboard cables beneath.
-
-
-
Remove the tape from the smaller cable.
-
Use a spudger or a clean fingernail to flip up the locking flaps on both ZIF connectors—this is the unlocked position.
-
Use tweezers or your fingers to gently pull both cables out of the sockets on the motherboard.
-
Remove the keyboard from the laptop.
-


To reassemble your device, follow these instructions in reverse order. Take your e-waste to an R2 or e-Stewards certified recycler.