Introdução
IIs the battery in your Dell Latitude 14 Rugged 5414 overheating, draining unusually fast, or no longer holding a stable charge? This guide will walk you through the proper steps to safely replace your battery and restore dependable power to your device.
Before assuming the battery is failing, try testing the laptop with different, known-working chargers to rule out charging-adapter issues. If the problem persists across multiple chargers, it's likely the battery is faulty, and you can confidently proceed with this replacement guide.
Before beginning any repair, fully power down your laptop and disconnect it from all external power sources to prevent electrical damage or accidental startup. It is also wise to work on a clean, static-free surface to avoid electrostatic discharge, which can harm internal components.
Ferramentas
-
-
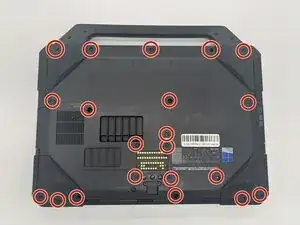
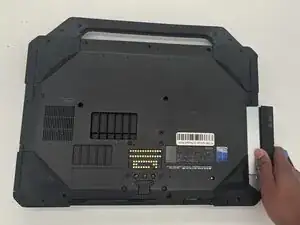
Flip the laptop over so the bottom side is facing up.
-
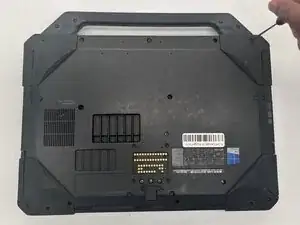
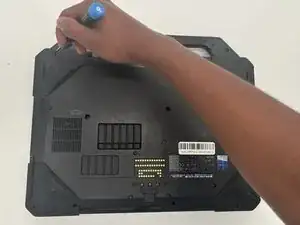
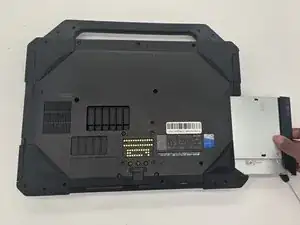
Use a JIS #1 screwdriver to remove all twenty-one 7 mm screws that secure the bottom cover.
-
-
-
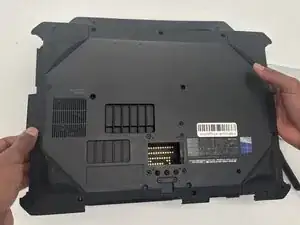
Lift the bottom cover of the laptop starting from the corner.
-
Insert an opening tool or heavy duty nylon spudger into the seam between the top and bottom case and slide it around the perimeter to release the clips holding it together.
-
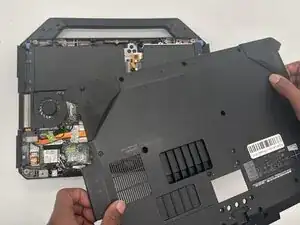
Remove the bottom cover.
-
-
-
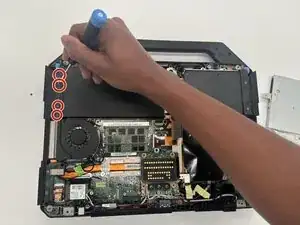
Use a JIS #0 screwdriver to remove the four 4 mm screws securing the battery to the chassis.
-
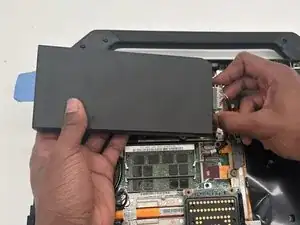
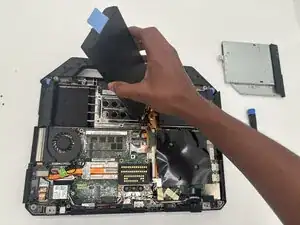
Use the blue tab to lift the battery from the left edge to access the battery connector on the right edge.
-
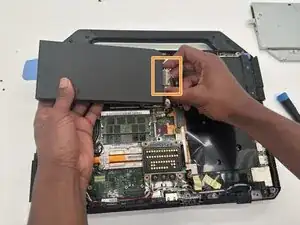
Carefully disconnect the battery cable from the motherboard by pulling the connector straight out of the socket.
-
Once the battery is fully disconnected, lift the battery out of the laptop.
-
To reassemble your device, follow these instructions in reverse order.
Take your e-waste to an R2 or e-Stewards certified recycler.
For optimal performance, calibrate your newly installed battery after completing this guide.
Repair didn’t go as planned? Try some basic troubleshooting or ask our Answers community for help.

Um comentário
There's a battery bay door on the end opposite of the HDD caddy; it has a similar removal mechanism [open door, push in blue latch, pull out battery]. That would probably be easier than this.
Ralph L -