Introdução

This guide will tell you how to replace the screen. The screen has issues very seldom as the only real way it ends up not displaying correctly is if the screen itself gets damaged or there is a connection issue within the laptop.

  1. CfImIZCU4ZOgyPYb
    CfImIZCU4ZOgyPYb
    JBrEq6bYEMVRSVqJ
    n1jfX6rWoAIdqiUa
    • First, make sure your computer is turned off.

    • Remove the battery by flipping the two switches under the battery and pulling it out

  2. IIaY1QVBFysvMiDr
    IIaY1QVBFysvMiDr
    sCPBSMAMm4DuryVr
    BdW3RGrVjnOgUxqS
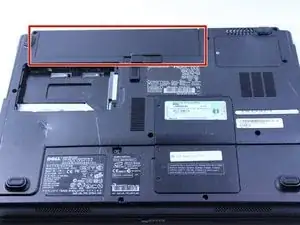
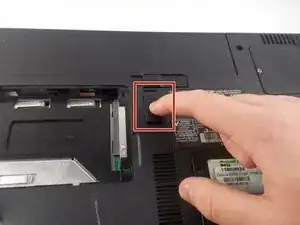
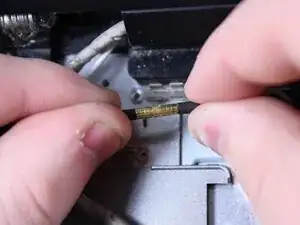
    • Push the tab from the battery, downwards to unlock the battery.

    • The tab should be in the position next to the unlocked indicator.

  3. HeWYRkVSRMdVDoPi
    HeWYRkVSRMdVDoPi
    DA6vx1qTZUCOQNUc
    Op5U2WRoFVUHUWlX
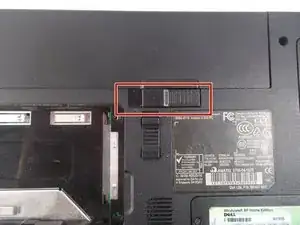
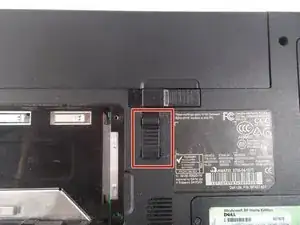
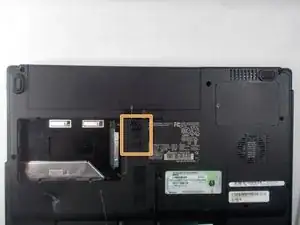
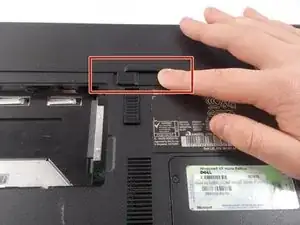
    • Now, push the other tab (the one right under the battery) from right to left.

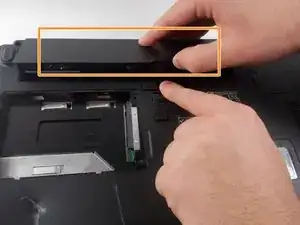
    • Now the battery will be loose; lift the battery up and out of the computer.

  4. bHsQacNce5ErROJi
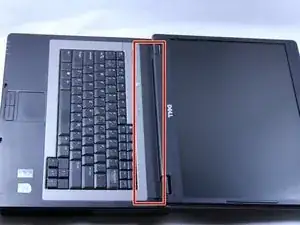
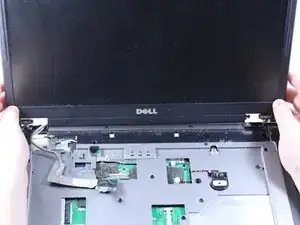
    • Put down the computer and open up the screen.

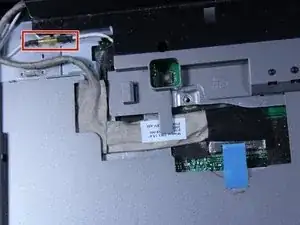
    • There is a long piece of plastic underneath the screen that you will have to remove.

  5. FfRBSJpMDRPDTeQ1
    FfRBSJpMDRPDTeQ1
    FRmqFpEfXFNMWVfS
    L1XvB3oFHhKJYaJY
    • When you pry the plastic plate off, be careful and pry gently so you do not crack the plastic.

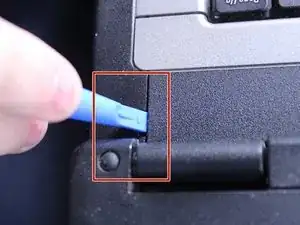
    • Insert the plastic opening tool into the little slot.

    • Lift up gently and remove the plastic cover.

  6. PBahZGyT2GYxI1Nb
    • Remove the two 4mm screws at the top of the keyboard.

    • The keyboard is now loose but don't pull it out just yet. It is still connected underneath. Be gentle when lifting keyboard so you do not damage this connection.

  7. ZXtOwesVPG5r36IL
    ZXtOwesVPG5r36IL
    iGqaKHQOiL2YlMOJ
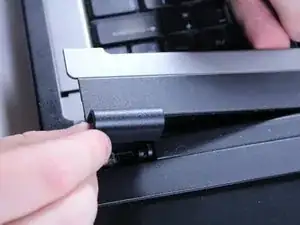
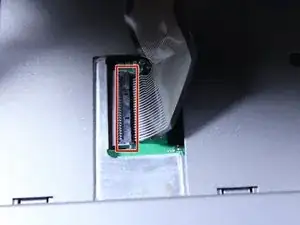
    • Lift keyboard up slightly and you will see the keyboard connection.

    • This black tab has to be lifted up to remove the keyboard.

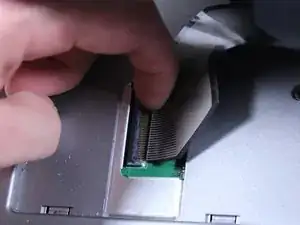
    • Put your finger underneath the tab and pull back gently as indicated.

    • You can now remove the keyboard.

  8. V3hOtQAlwSjYcaxY
    V3hOtQAlwSjYcaxY
    r1YPUlTEmGU2niFN
    • Detach the blue display connector.

  9. nSWpRWNIMjtUjHap
    nSWpRWNIMjtUjHap
    jPrgqhNwJqoXGIU2
    • Detach the connector by pulling the two ends straight apart.

    • Avoid twisting or pulling at an angle to prevent damage.

  10. 4eHbXfFXkYdxMQiu
    • Use a Phillips #1 screwdriver to remove two 6 mm screws.

  11. Ik1VbbCJu2sOOiMq
    Ik1VbbCJu2sOOiMq
    vFnSPF2k14aqVy4M
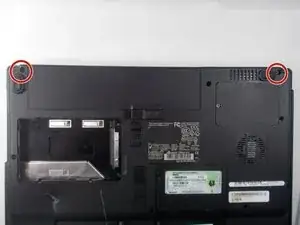
    • Close the computer and flip it over so that the back is facing up.

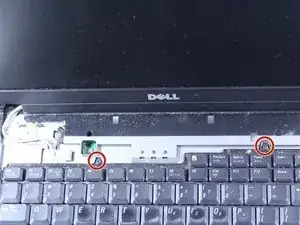
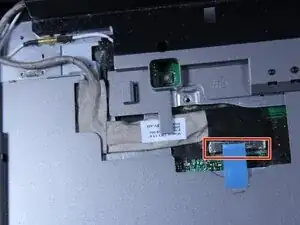
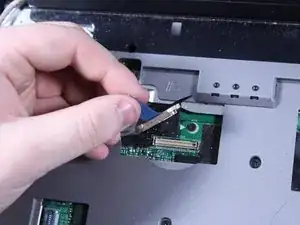
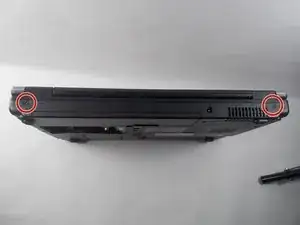
    • Remove the two 6mm screws that are behind each of the screen's pivot points using a Phillips #1 screwdriver.

    • Open up the screen and now it can be lifted up and off of the computer.

Conclusão

To reassemble your device, follow these instructions in reverse order.

Patrick McNeil

Membro desde: 19/10/16

955 Reputação

0 comentários