Introdução
This guide is for the Dell Inspiron 9300 laptop, on how to replace the laptop's trackpad. The trackpad allows you to interact with the computer, and move the laptop's cursor without a mouse. Signs of a malfunctioning trackpad include an unresponsive cursor or unresponsive clicking.
Warning: Make sure the laptop is completely powered down before starting this repair. Tampering with the LCD cable connector (Step 5), the low profile connector (Step 7), and the trackpad ribbon cable (Step 7), can be harmful to the laptop if done with the power still on. Do this by holding down the power button for 15-30 seconds, and wait until the screen turns completely black.
Ferramentas
-
-
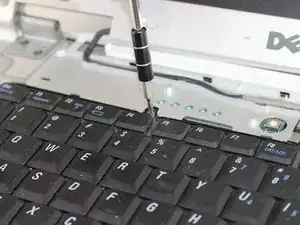
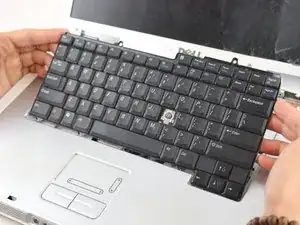
Remove the two 5mm Phillips screws retaining the keyboard.
-
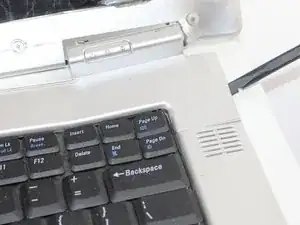
Pull the keyboard up and toward the monitor to reveal the ribbon cable beneath.
-
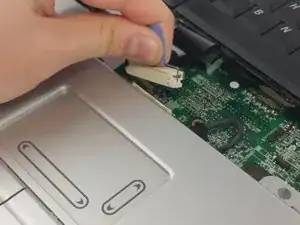
Firmly grasp the blue tape attached to the keyboard ribbon cable connector and pull upward, away from the motherboard.
-
-
-
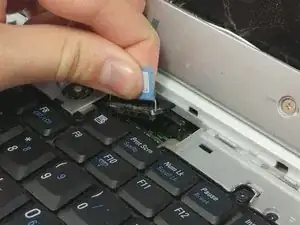
Firmly grasp the blue tape attached to the LCD display ribbon cable connector and pull upward away from the motherboard.
-
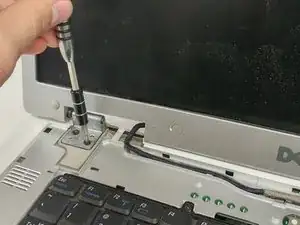
Remove the two 5mm Phillips screws holding the display hinge on both sides of the laptop.
-
-
-
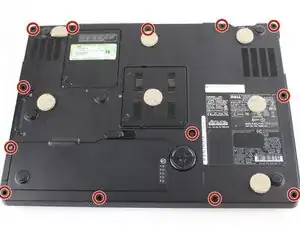
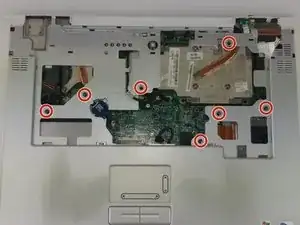
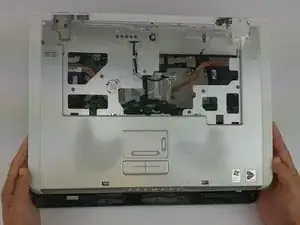
Remove the seven 6mm Phillips screws holding the trackpad/palm rest to the motherboard.
-
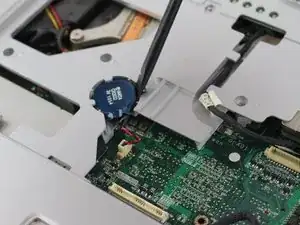
Gently pry the CMOS battery out of its retaining clip using a spudger.
-
-
-
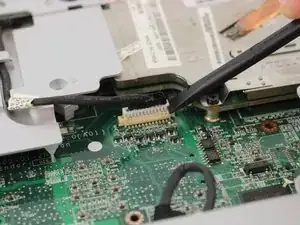
Remove the low profile connector for the keyboard status lights located next to the video card heat sink using a spudger.
-
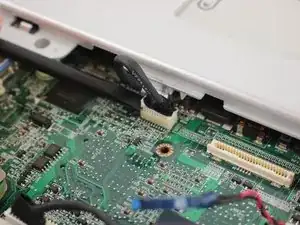
Remove the trackpad ribbon cable from the motherboard using a spudger.
-
To reassemble your device, follow these instructions in reverse order.