Introdução
This guide will give you step by step instructions to removing your Dell Inspiron 13-7359 laptop speaker. You will need a phillips head #0 screwdriver and a plastic spudger.
Ferramentas
-
-
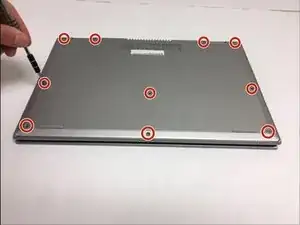
First flip over the laptop to expose the back panel
-
Use a Phillips #0 screwdriver to unscrew all ten 7mm Phillips head screws holding the back panel in place.
-
-
-
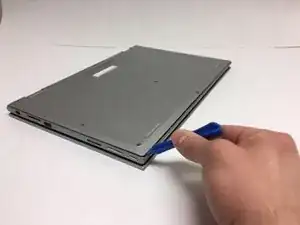
With a plastic spudger, carefully remove the back panel by prying each corner off individually
-
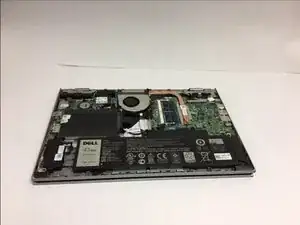
Slowly pick up the panel and set it aside
-
-
-
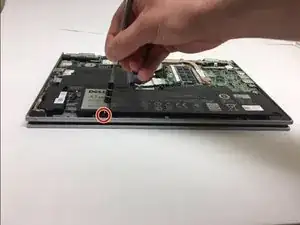
The battery will be the largest black component in the device located near the bottom edge. Using a Phillips #0 screwdriver, unscrew the two 3mm Phillips head screws holding in the battery.
-
-
-
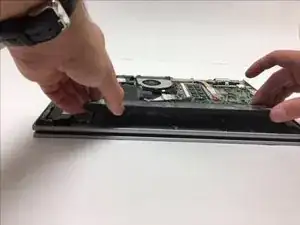
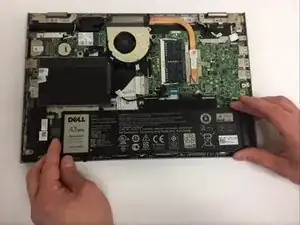
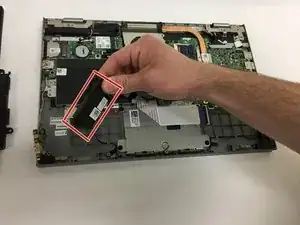
To remove the old battery, slightly lift the bottom edge of the battery with your hands
-
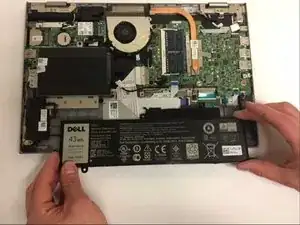
Now slowly pull the battery towards you to fully detach the battery
-
-
-
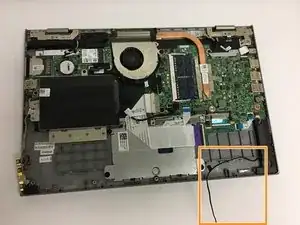
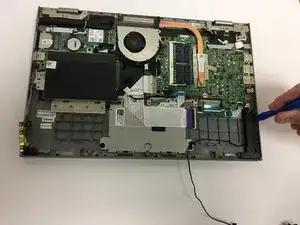
Following the removal of the Battery, remove the left speaker.
-
As you lift the left speaker, carefully lift the wire that connects the left and right speakers.
-
-
-
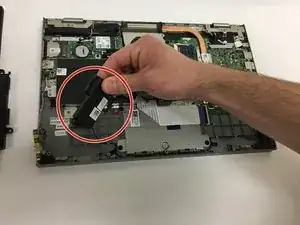
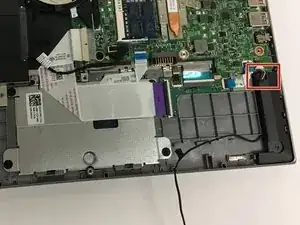
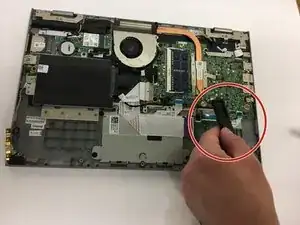
Disconnect the small wires attached to the top of the right side speaker as marked in the photo.
-
-
-
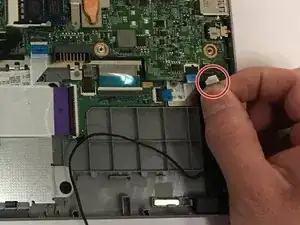
Use the plastic spudger to safely and easily detach the right speaker from the device.
-
Lift the right speaker out to complete the removal.
-

To reassemble your device, follow these instructions in reverse order.