
Introdução
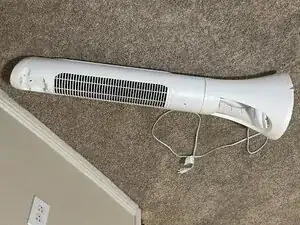
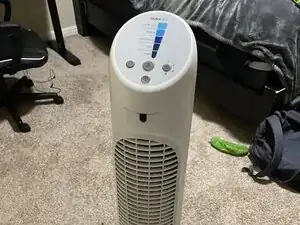
Over time, tower fans accumulate pet hair, dust, and other debris due to normal operation. This buildup can happen very quickly, especially if you’re a pet owner like myself. It can cause many issues such as restricted airflow, inefficient fan operation, and unusual noises during use. This guide will go through the disassembly and cleaning process for a Honeywell HYF260 Tower Fan. No specialized skills or tools are required, but use caution when removing parts and cleaning the internal components. Happy disassembling and cleaning!
Ferramentas
Peças
-
-
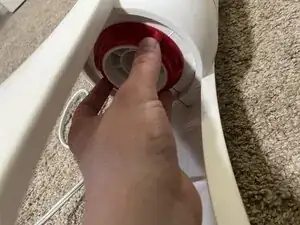
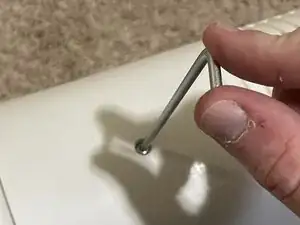
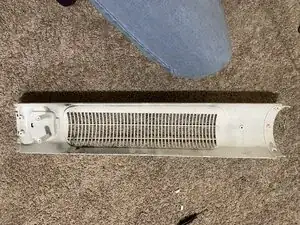
Twist the red locking mechanism at the bottom counterclockwise.
-
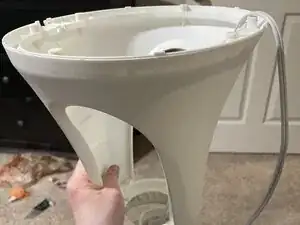
Detach the base. This should come off with ease.
-
-
-
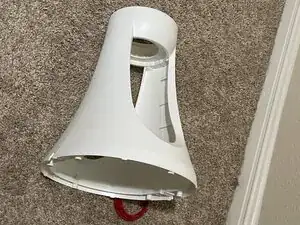
Two screws will be revealed.
-
Unscrew both screws with a TORX T15 screwdriver.
-
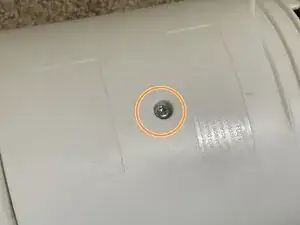
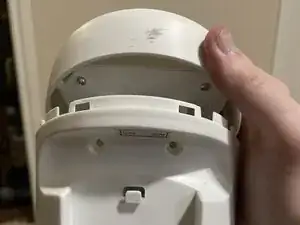
Do the same to the third screw located on the back-middle of the tower.
-
-
-
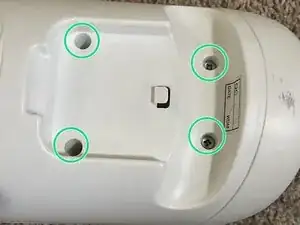
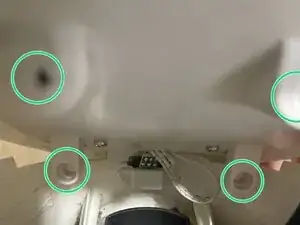
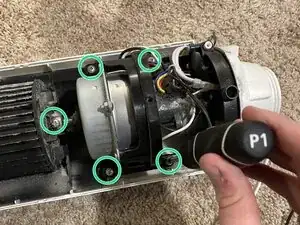
On the top of the back, there are four additional screws.
-
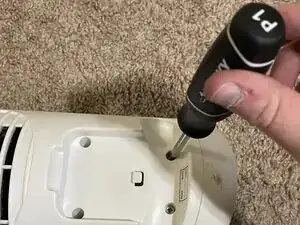
Unscrew these with a Phillips #1 screwdriver.
-
-
-
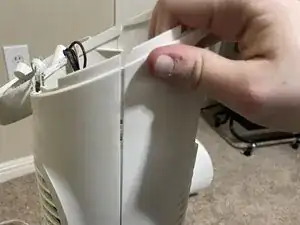
Once the screws are removed, lift up the top to reveal more screws.
-
Remove the outlined screws with your Phillips #1 screwdriver so the top comes off more easily.
-
-
-
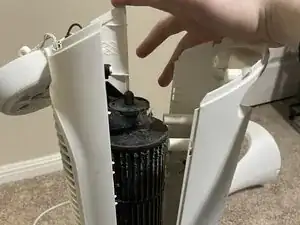
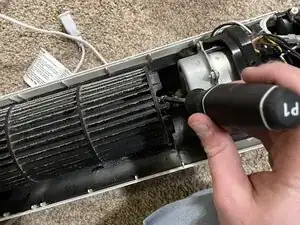
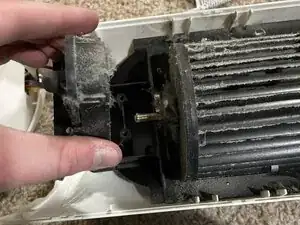
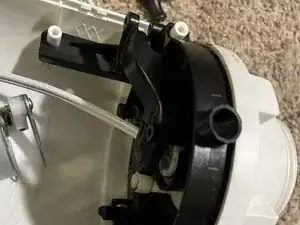
Remove the blade cylinder and its connector.
-
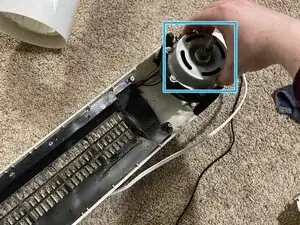
Next, remove the drum, which is outlined by the blue square. This will leave behind the motor disc.
-
-
-
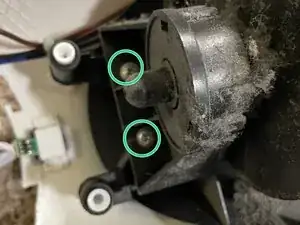
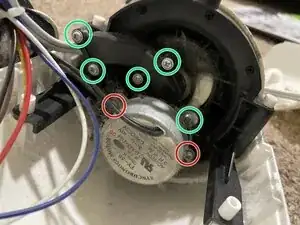
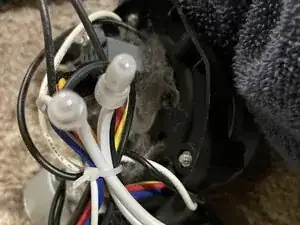
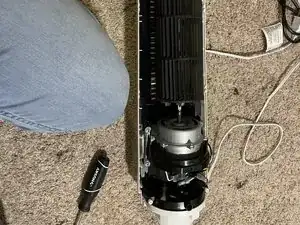
Unscrew the motor disc and its attachments, setting them aside for gentle cleaning.
-
Remove screws with TORX T15 screwdriver.
-
Remove screws with Phillips #1 screwdriver.
-
-
-
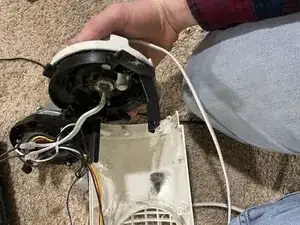
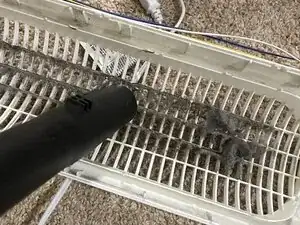
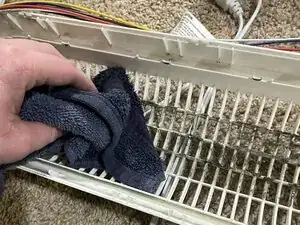
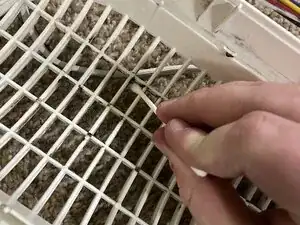
Clean the disassembled components as desired.
-
Pictured is the cleaning of half of the cage as an example. I used a handheld vacuum attachment, a damp towel followed by a dry one, and finally cotton swabs to get between the harder-to-reach areas.
-
-
-
Once everything is free of junk, you can now put the fan back together, following the steps taken in reverse! You should be left with a clean and better-functioning fan.
-
If rattling is heard, you may need to disassemble it again and make sure the screws are tightened, the mechanisms are properly in-place, and that the drum is properly lubricated.
-


To reassemble your device, follow these instructions in reverse order. Take your e-waste to an R2 or e-Stewards certified recycler.

Um comentário
Thank you very much
Jarry K -