
Introdução
This guide will show you how to remove and replace the DJI Phantom 3 Standard gimbal and camera assembly. The Phantom 3 Standard uses a 3‑axis gimbal to stabilize the camera during flight, allowing smooth aerial photography and videography.
You may need to replace the gimbal if the camera no longer moves, if stabilization fails, or if the gimbal has been physically damaged in a crash. For more details on these issues, see the DJI Phantom 3 Standard Camera Mechanism Does Not Move troubleshooting page.
The gimbal is a delicate component that contains motors, sensors, and wiring. Handle it carefully to avoid damaging the ribbon cables or connectors. Do not force the gimbal during removal, and always disconnect the battery before beginning this guide.
Replacing the gimbal restores the drone’s ability to capture stable footage and ensures proper communication between the camera and flight controller.
Ferramentas
-
-
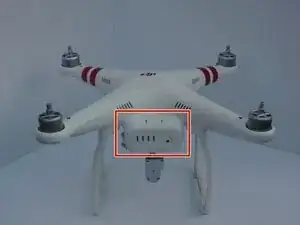
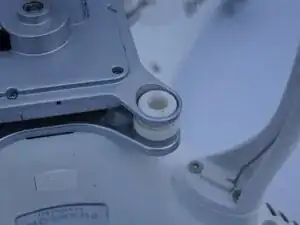
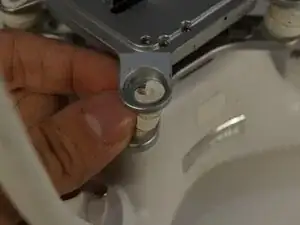
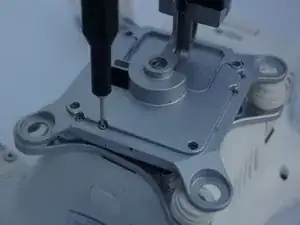
Use a Jimmy to bend back the tops of all four drop pin caps connecting the gimbal to the drone. Don’t be afraid to bend them slightly.
-
-
-
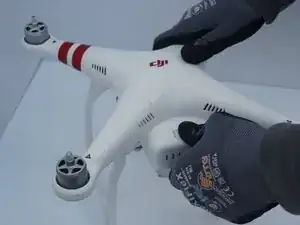
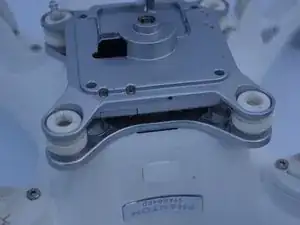
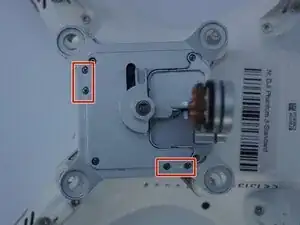
Remove four 8mm screws from the two small covers on the back using a Phillips #00 screwdriver.
-
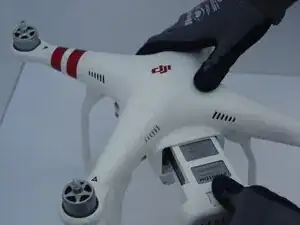
Flip over the mount.
-
-
-
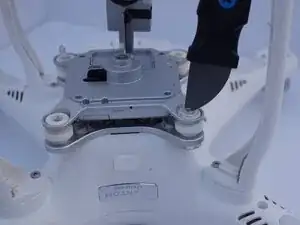
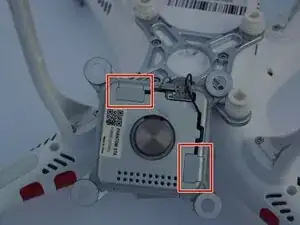
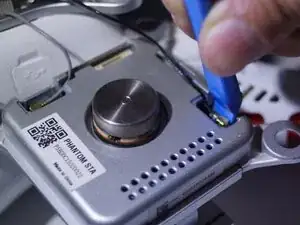
Use an opening tool to pop the coverings off the back of the gimbal, allowing the wire connections to become visible.
-
-
-
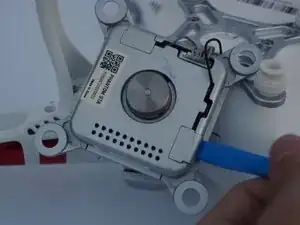
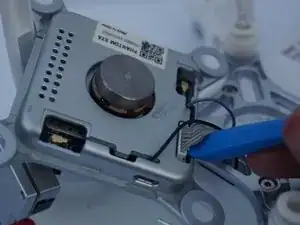
Use the opening tool to remove the white/grey cords by pushing up against the side with the lip.
-
-
-
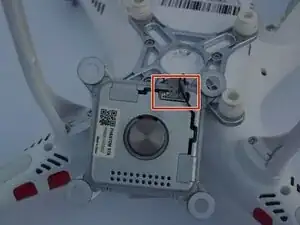
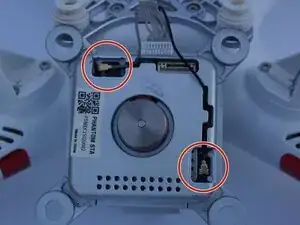
Slowly disconnect the wires by circling the connection point and lifting up slightly until it is free.
-
Use an opening tool to disconnect the wires from the board.
-
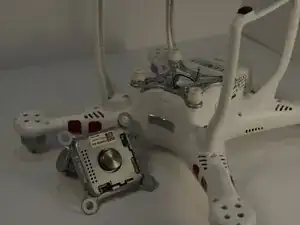
Remove the gimbal.
-

To reassemble your device, follow these instructions in reverse order.
