Introdução
The landing gear on the DJI Phantom 2 Vision supports the drone during takeoff, landing, and while at rest. Over time, the landing gear may become cracked, bent, or unusable due to hard landings, crashes, or other wear and tear. Damaged landing gear can affect the drone's balance and may interfere with the camera gimbal if not repaired.
This guide will walk you through the process of removing and replacing the landing gear assembly on your DJI Phantom 2 Vision. Before beginning this repair, make sure the drone is powered off and the battery is removed to prevent accidental startup or electrical damage.
Ferramentas
Peças
-
-
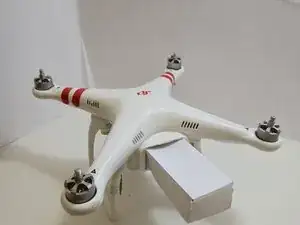
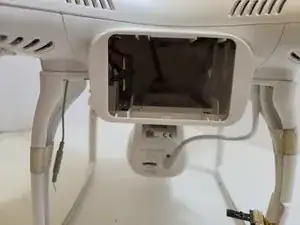
The battery is located on the backside of the drone. You will see a large rectangular indent protruding outward.
-
-
-
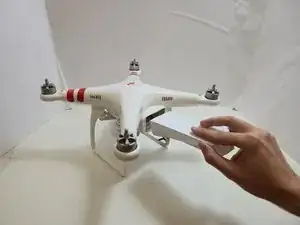
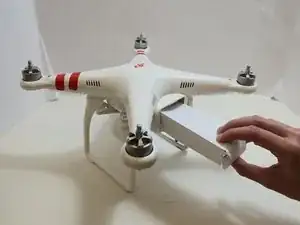
Remove the battery from the compartment by pinching the top and bottom pressure points near the center and pulling the battery towards you.
-
-
-
Flip the drone over so the bottom is facing up.
-
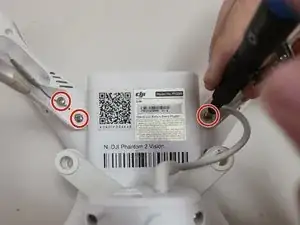
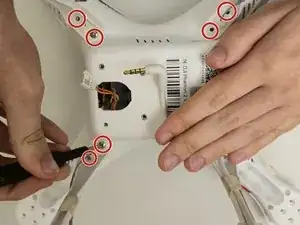
Use a Phillips #00 screwdriver to remove the four 6 mm screws.
-
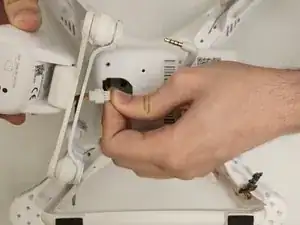
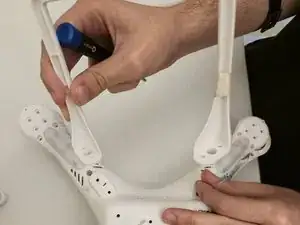
To access the screws, slowly pull back on the mount in the opposite direction.
-
-
-
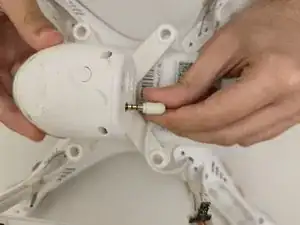
Slowly lift the gimbal housing from the device.
-
Gently disconnect the camera cable from the cable connected to the motherboard.
-
Push on alternating sides of the connector and pull straight away from the socket.
-
-
-
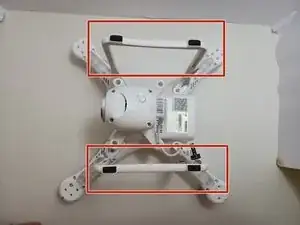
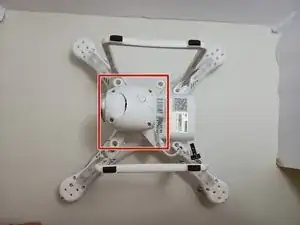
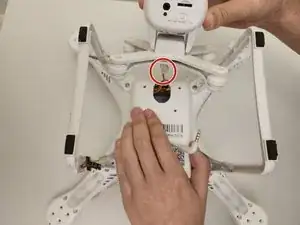
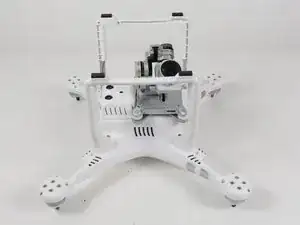
Locate Landing Gear Assembly.
-
Turn the drone upside down to access the landing gear located on the bottom of the device.
-
-
-
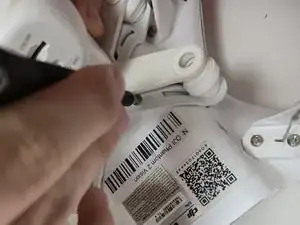
Remove Landing Gear Screws
-
There are two screws located at the base of each landing gear leg.
-
Use a Phillips #1 screwdriver to remove the eight 9 mm screws securing the landing gear to the base of the drone.
-
-
-
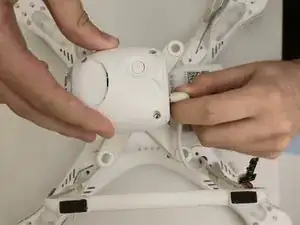
Remove landing gear assembly.
-
After removing all screws, lift each side of the landing gear assembly away from the drone body to detach it completely.
-
-
-
Install replacement Landing Gear
-
Align the replacement landing gear with the mounting holes on the base of the drone.
-
Ensure each landing gear leg is positioned correctly before securing it in place.
-
-
-
Secure Replacement Landing Gear
-
Reinsert the eight 9 mm screws into the mounting holes and tighten them using a Phillips #1 screwdriver to secure the replacement landing gear to the drone body.
-
-
-
Confirm Installation
-
Turn the drone upright and check that the landing gear is securely attached and level before reinstalling the battery or powering on the device.
-


To reassemble your device, follow these instructions in reverse order.