Introdução
The DJI Mini 3 is a lightweight, highly capable drone, but like any compact quadcopter, its arms are vulnerable to damage from crashes or wear over time. A cracked or loose arm can cause unstable flight or prevent the drone from taking off altogether. Fortunately, replacing a damaged arm is a straightforward repair that does not require replacing the entire aircraft.
This Fast Fix guide will walk you step-by-step through removing a damaged rear arm for installation of a new one. The process involves opening the drone’s shell, disconnecting the arm’s wiring, and securely mounting the replacement component. With patience and a little finesse, you can get your Mini 3 back in the air in around an hour.
-
-
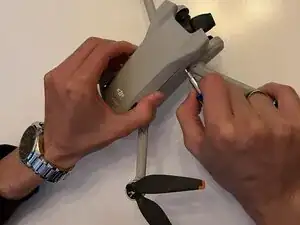
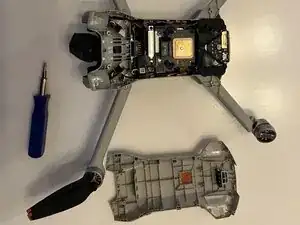
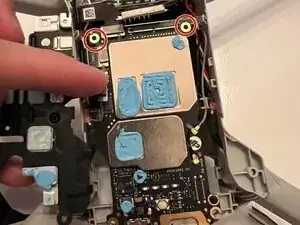
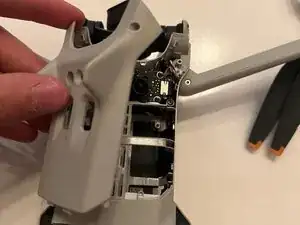
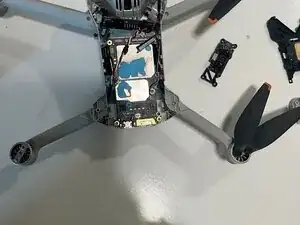
Remove the top plastic shell to get access to the electronics boards underneath. It is best to use a plastic opening tool or spudger.
-
-
-
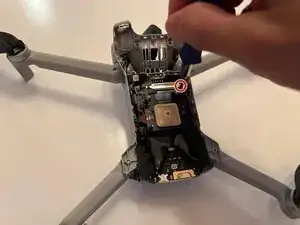
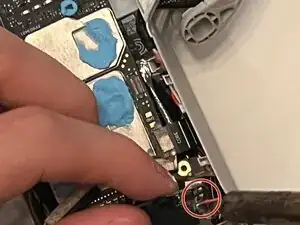
Follow the wires of the broken arm to the electronic speed controller as shown. There should be a red, white, and black wire. Desolder these wires from the pad, and remove the wires from the drone body.
-
-
-
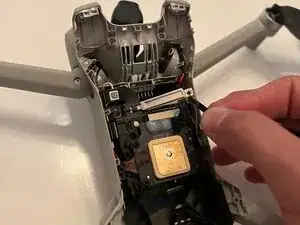
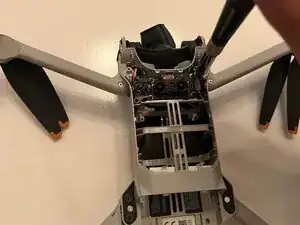
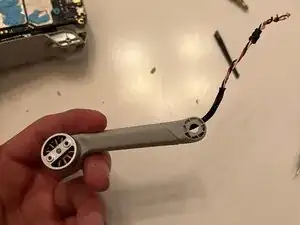
Remove the motor from the drone arm by gently pulling and routing the wires into the new arm to complete the removal of the broken arm.
-


To reassemble your device, follow the above steps in reverse order.
Take your e-waste to an R2 or e-Stewards certified recycler.
Didn’t go as planned? Try some basic troubleshooting or ask our Answers community for help.