Introdução
If your Cyclone under mount range hood (Model CY3000R) does not turn on, or if the led lights do not illuminate, follow this guide to replace the circuit board.
All of the range hood's components, including the fans, LED lights, and control panel, receive electricity from the circuit board. The range hood could occasionally go faulty owing to a power problem with the circuit board.
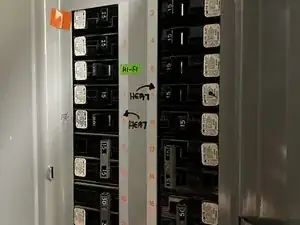
Please locate your fuse box before using the guide so you can turn off the electricity and prevent any unexpected electric shocks.
Ferramentas
Peças
-
-
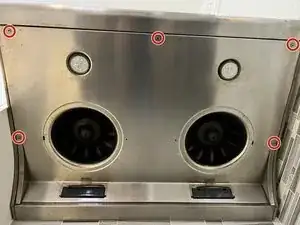
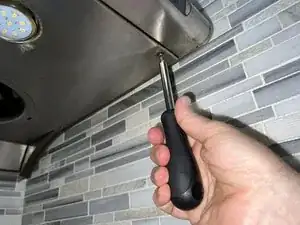
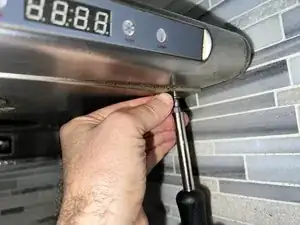
Remove the five 10 mm Phillips #1 screws securing the panel while holding the panel in place.
-
-
-
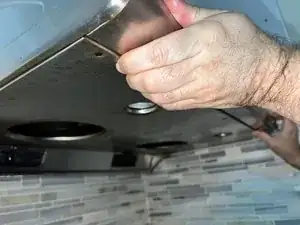
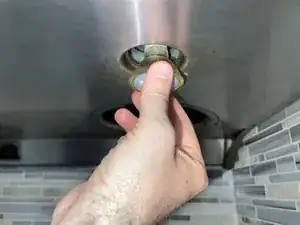
Turn the LED bulbs counterclockwise and remove them.
-
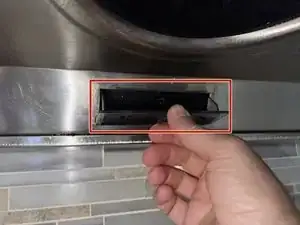
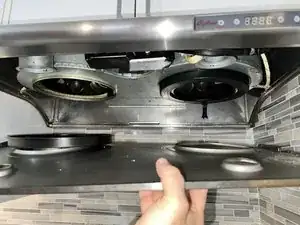
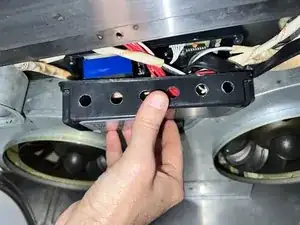
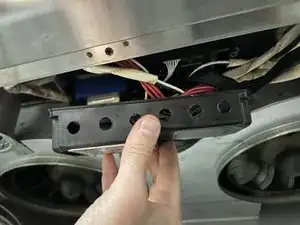
Push the panel down to remove it from the body.
-
-
-
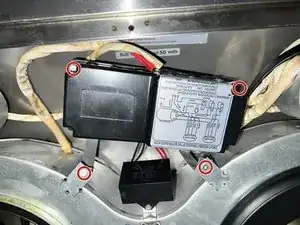
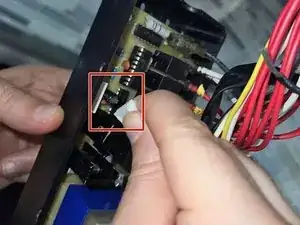
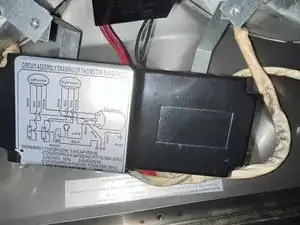
Pull out the ten-pin white head cable located on the left side of the board.
-
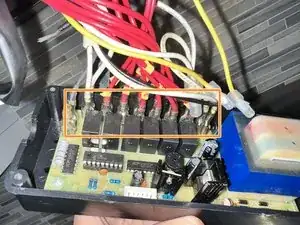
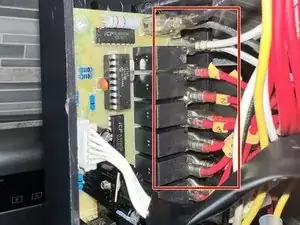
Remove the cables one by one on the right side of the board.
-
-
-
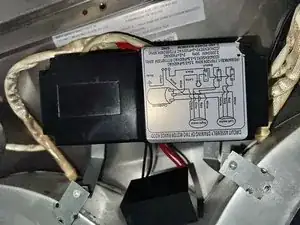
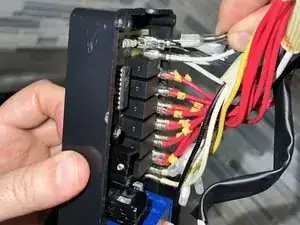
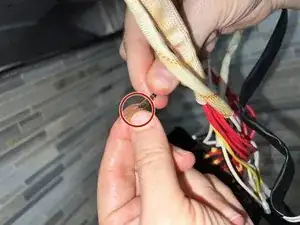
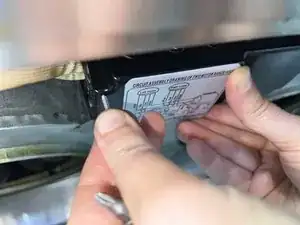
Insert the tips of the wires into the board's protective plastic that comes with your replacement board.
-
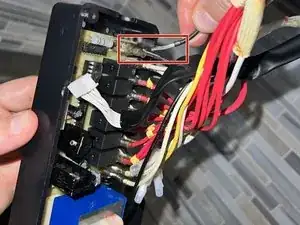
To reinsert the wires, insert the two black wires into the first two slots on the top.
-
The second row is for the white wires, which can be attached in any order; for the remaining red wires, adhere to the ordered numbers attached to the wires.
-
-
-
Replace the lid.
-
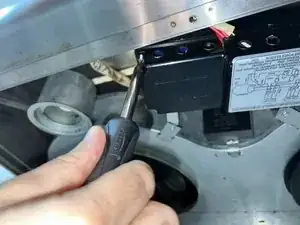
Reinstall the four 5 mm Phillips #1 screws to secure the lid.
-
Shut the panel.
-
-
-
Set the panel in place, and secure all five 10 mm Phillips #1 screws to their respective locations while holding the panel.
-
Replace the LED bulbs.
-

Enjoy your fully functional range.