Introdução
This guide provides a quick and safe method for replacing a dull or damaged Cricut Explore Air 2 blade to ensure clean and precise cuts. Once the blade is replaced, you will be able to create better crafting projects.
This process is largely the same for fine-point and deep-cut blades used in Cricut Explore Air 2 and Maker machines.
This is a simple and quick fix that anyone can do. The blade is sharp, so be careful when handling it. Before you begin, make sure that the Cricut is powered off and unplugged from the outlet or power point
Peças
-
-
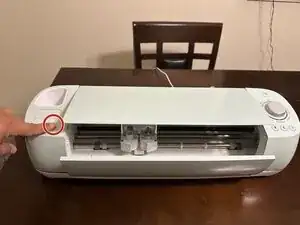
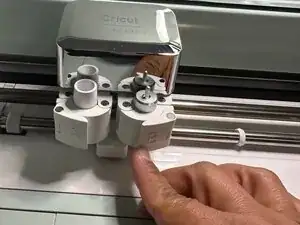
Press the "open" button at the top left of the machine to open the flaps to access the blade for replacement.
-
-
-
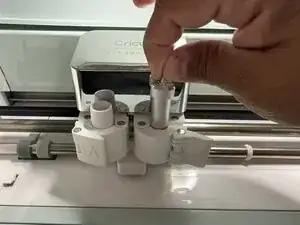
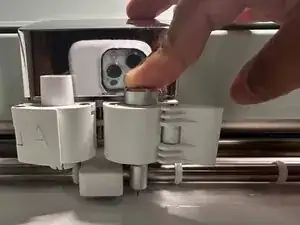
Press down on the plunger at the top of the housing. While holding the plunger down, pull the old blade out from the bottom.
-
-
-
Remove the protective cover from your new blade.
-
Push on the plunger again and insert the new blade into the bottom of the housing.
-
Release the plunger.
-
-
-
Place the blade housing back into Clamp B.
-
Flip the housing flap to the left until it closes and locks the new blade in place.
-
To reassemble your device, follow these instructions in reverse order.