Introdução
The purpose of this guide is to show you how to clean the extruder nozzle on a Lulzbot TAZ3 3D printer. This guide is for anyone that has experience with working with 3D printers. The supplies that you will need are a 13 mm wrench, standard hand pliers, gloves for hot materials, needle nose pliers, propane torch, new 3D printer filament and a brass or steel wire brush. Please note that you must wear gloves while handling the hot materials and use caution while using the propane torch.
-
-
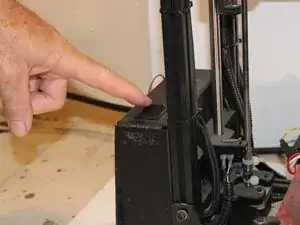
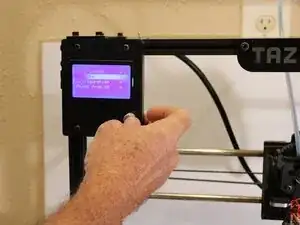
Heat up the extruder with the control panel on the printer to the melting temperature of the stuck filament material.
-
-
-
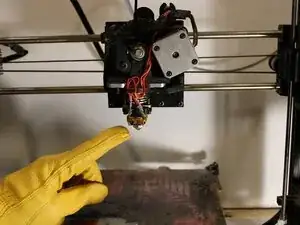
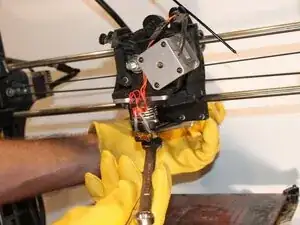
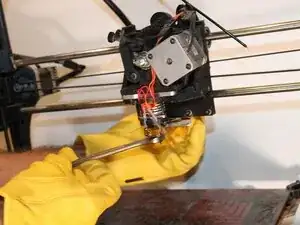
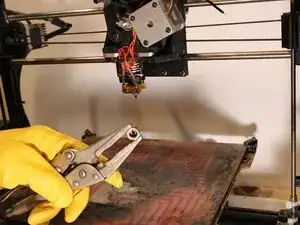
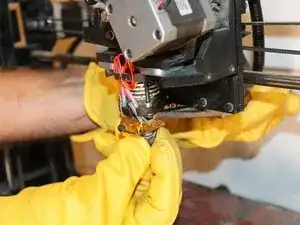
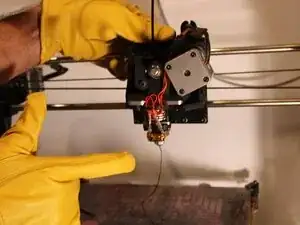
When the extruder is hot, use protective gloves and a 13 mm wrench to unscrew the nozzle from the bottom of the extruder's heater block while holding the block with the pliers to prevent rotation.
-
-
-
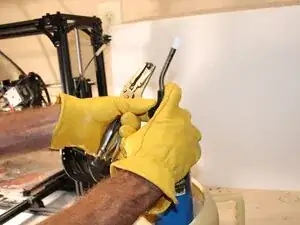
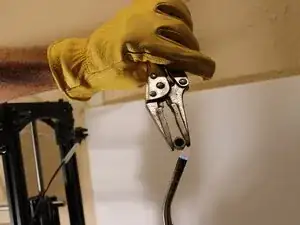
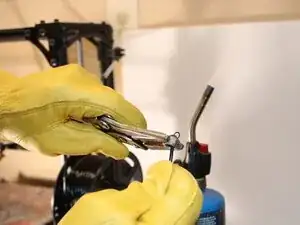
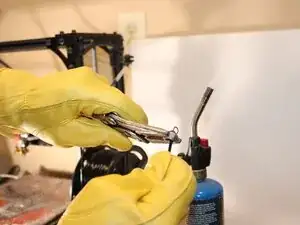
Use the needle nose pliers to hold the nozzle in a gas flame (propane torch, gas stove top, etc.) to super heat the brass nozzle.
-
Clip a couple pieces of filament about 10 inches long to use as a cleaning probe for the nozzle.
-
-
-
Push and pull fresh ends of the filament pieces through the nozzle from the back to remove the blockage and clear the filament path.
-
-
-
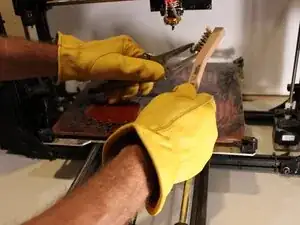
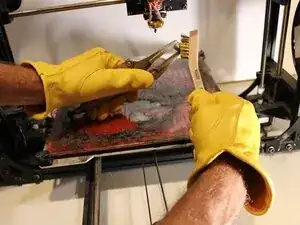
Use a wire brush to clean the outside of the nozzle by brushing off the old or burnt filament residue.
-
-
-
Replace the nozzle onto the extruder in reverse order and test with a filament extrusion from the printers control panel.
-
To reassemble your device, follow these instructions in reverse order.