Introdução
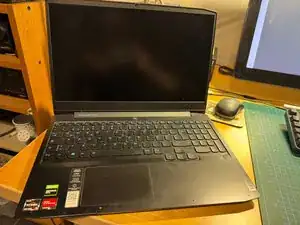
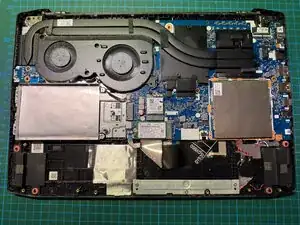
This guide details the process of cleaning a laptop's system board which has been stained with a syrupy substance (read: shower gel, yuck!) through the connector openings. The Laptop did not charge or start anymore. The Hardware Maintenance Manual from Lenovo details all the necessary steps and should be followed. Here, I show the major ones only. Be aware that the disassambly requires care as there are many delicate parts which can easily break.
-
-
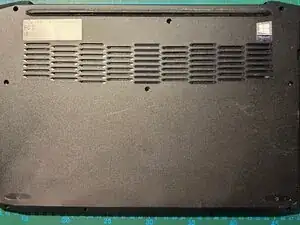
Turn the laptop around, unscrew 10 screws. Note that the longer ones are located at the corners.
-
-
-
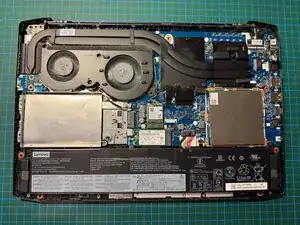
Remove battery: to remove the battery, unscrew four screws and disconnect the battery connector.
-
-
-
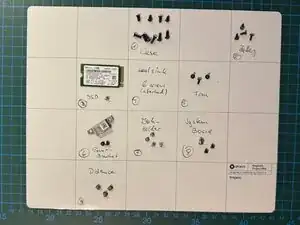
Remove the SSD with one screw. To keep things in order, use a system to group screws together as they are quite different. A very useful addition to my work process is the iFixit magnetic mat, keeping the 33(!) screws in groups for re-assembly.
-
-
-
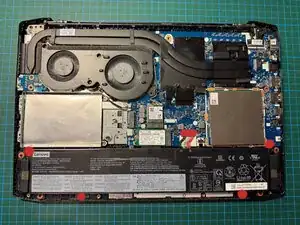
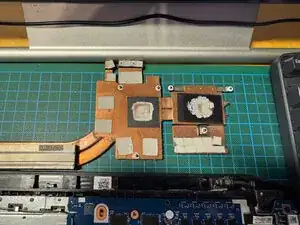
The heatsink is easy to remove. As shown, the thermal compund is brittle and needs renewal when assembling. For now, clean out the old one using paper towel, cotton swabs and Isopropyl alcohol.
-
-
-
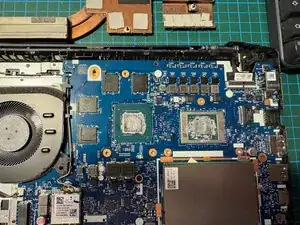
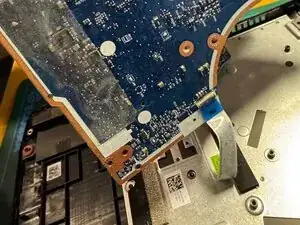
Finally, after disconnecting the fan and the WiFi board and all the ribbon cables, there is one left which is attached to the underside. Disconnect and you have extracted the system board.
-
-
-
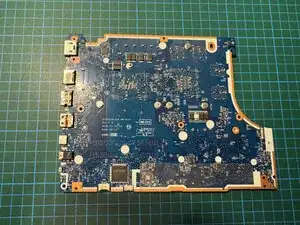
Now with the system board extracted, you can clean the stained sockets from both sides. I had success with rinsing through Isopropyl alcohol from the board side through all affected sockets: power connector, USB, HDMI, etc. Use cotton swabs and a fan to dry thoroughly.
-

To reassemble your device, follow these instructions in reverse order. Don't forget to add new thermal compound. Good luck!