Introdução
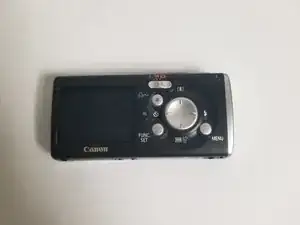
If your Canon PowerShot SD30 is showing a flickering, distorted, cracked, or completely blank display, use this guide to replace the rear LCD screen. The LCD allows you to review photos, frame shots, and navigate settings—so when it fails, normal use of the camera becomes difficult or impossible.
Common symptoms of a failing screen include no image output, unresponsive or partially lit areas, color distortion, or visible physical damage. For help identifying these issues, refer to the relevant sections of the PowerShot SD30 Troubleshooting page.
Before beginning the repair, make sure to power off the camera and remove the battery and memory card. If your existing screen is cracked or shattered, take care when handling broken glass. Because this guide involves opening the camera’s casing and exposing internal components, an ESD-safe work area is recommended to prevent static damage.
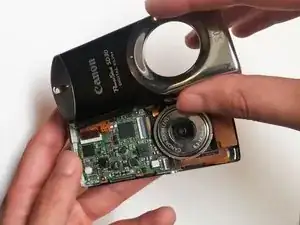
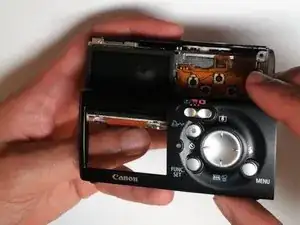
This guide will walk you step-by-step through removing the damaged LCD and installing a replacement screen, allowing you to restore full display functionality and get your Canon PowerShot SD30 working properly again.
Ferramentas
-
-
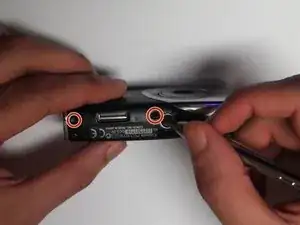
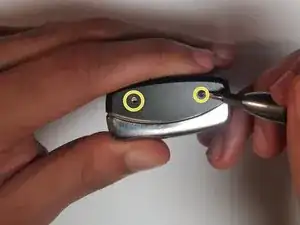
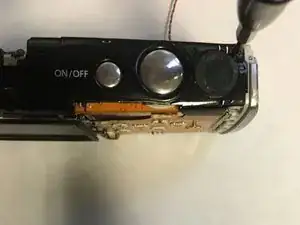
Remove the two 2mm black screws that are located on the underside of the camera.
-
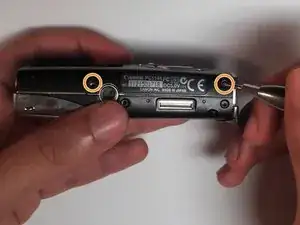
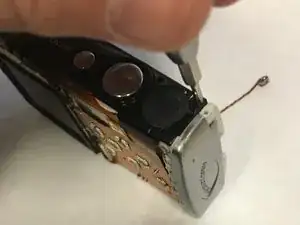
Remove the two 3mm silver screws from the right side of camera.
-
-
-
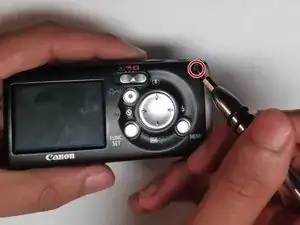
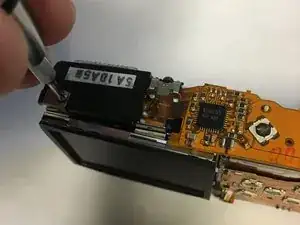
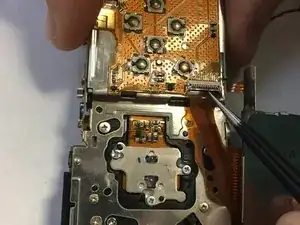
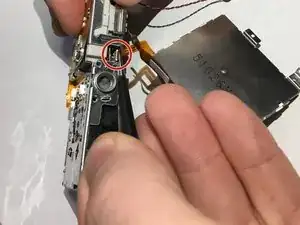
Remove the 2mm screw from the back of the camera.
-
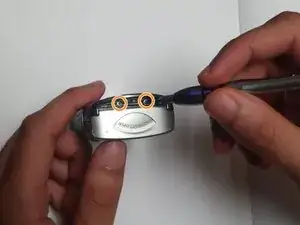
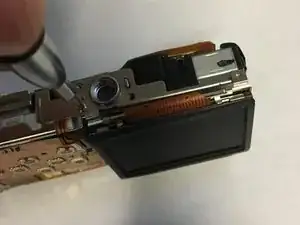
Remove two 2mm screws from the bottom of the camera.
-
Remove two 2mm screws the left side of camera.
-

To reassemble your device, follow these instructions in reverse order.