Introdução
This repair guide covers the replacement of the film door latch on the Canon EOS 50 / 50E / 55 film cameras (also named Canon EOS ELAN II / ELAN II E).
This part is known for its fragility and therefore frequent breakage, but can thankfully be easily replaced to breathe new life into your cherished camera. If your camera's film door won't latch properly, this is most likely the culprit.
You can order replacement latches online on Ebay.
Peças
-
-
Make sure that no film is loaded into the camera and that it is turned off.
-
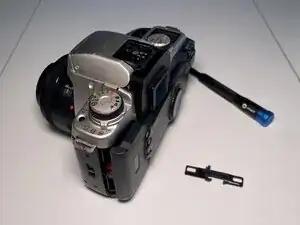
Remove the strap from the camera to facilitate the repair.
-
If you have a lens mounted, you will need to remove it for step 3.
-
-
-
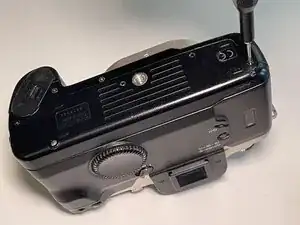
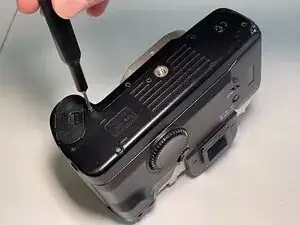
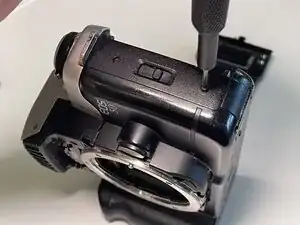
Remove 6 black JIS#00 screws located at the bottom of the camera, as shown in the image. They are all identical, so you can store them together.
-
This will loosen the front body panel of the camera, in order to allow lifting it on the door latch side to access the latching mechanism later on.
-
-
-
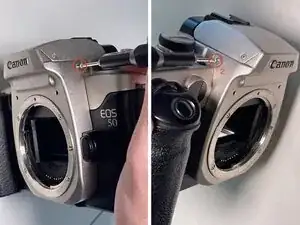
Locate the lens mount cover on the front of the camera. It is made of silver plastic, and bears the "Canon" logo at the top.
-
Before this step, make sure that you have removed any lenses attached to the camera.
-
Unscrew the two JIS#00 screws located on the front side of the lens mount cover, at the top.
-
-
-
Unscrew the two JIS#00 screws holding the lens mount cover in place on the sides, near the flash unit.
-
Unscrew the JIS#00 screw holding the lens mount cover in place on the bottom.
-
These three screws are slightly shorter than the previous two, so store them separately.
-
-
-
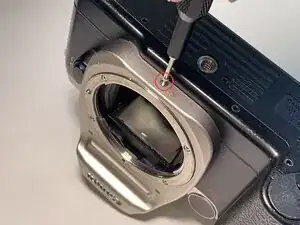
Place the camera face up on the table.
-
Gently lift the lens mount cover. It should slide easily and come off without any resistance.
-
-
-
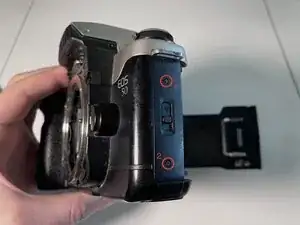
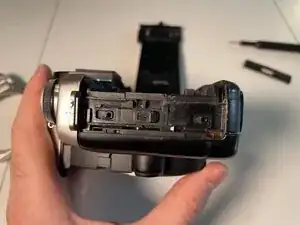
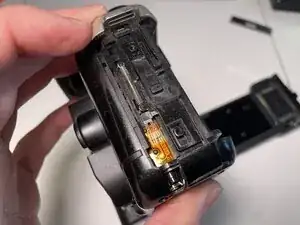
Locate the film door latch cover on the side of the camera.
-
It is located on the right side of the camera, near the model number inscription.
-
Unscrew the two JIS#00 screws holding it in place.
-
Then, gently lift the front panel of the camera and wiggle the film door latch cover out of place.
-
It is not clipped into any parts and should come off without any resistance.
-
-
-
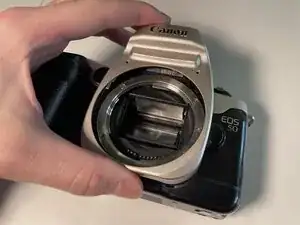
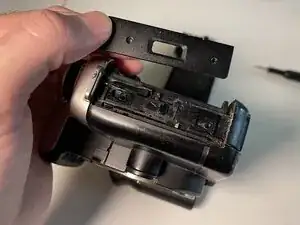
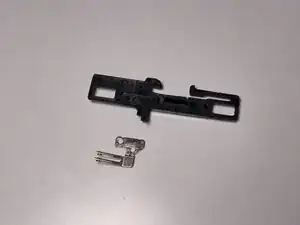
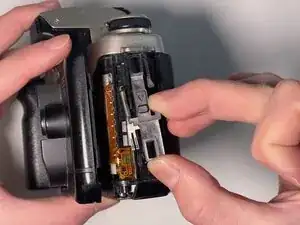
Locate the broken latch. It is a black plastic part bearing an engraved arrow.
-
Gently lift the front panel of the camera to expose the entire latch part. Then, gently lift it off and unhook it from the spring.
-
-
-
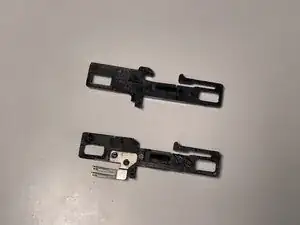
Place the broken latch flat on a table, with the metallic part face up.
-
Unclip the metallic part from the plastic latch.
-
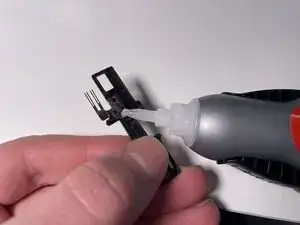
The two plastic prongs might need to be trimmed down a little to allow the metallic plate to slide off. If so, use a sharp object like a knife to gently drill into them and gently scrape off any excess plastic until the metal plate is free.
-
Make sure not to damage the four gold-plated contacts sticking up from the plate.
-
-
-
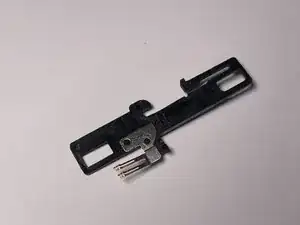
Clip the metallic part onto the replacement latch, as shown in the image.
-
If it doesn't clip on firmly or feels too loose, add two small drops of heavy duty glue on top of the prongs to stick them to the metal, then let it dry for a few minutes.
-
-
-
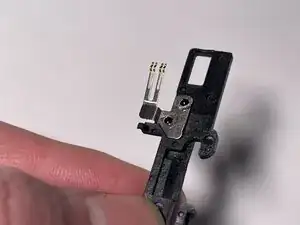
Gently lift the front cover of the camera to reveal the spring.
-
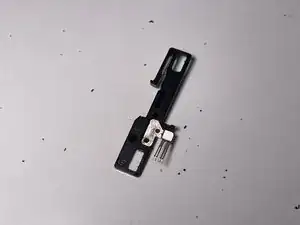
Grab the latch as shown, with the arrow facing towards the bottom of the camera.
-
Hook the latch into the spring and pull down slightly to place the latch back into its guide, flush with the camera body.
-
If installed correctly, the latch should click into place when pulled down, and should release when closing the film door of the camera.
-
-
-
Place the latch cover back onto the latch assembly, making sure to correctly align the two screw holes.
-
The cover is slightly asymmetrical; use the image for reference. It should sit flush with the camera body once installed.
-
Screw the two JIS#00 screws back into place.
-
You can now close the camera's film door; it should latch shut and operate normally.
-


That's it! To reassemble your device, follow these instructions in reverse order.

Um comentário
Incroyable !
CDM -