Introdução
This guide will go over replacing the CAT 22 Flip daughterboard. The daughterboard is responsible for connecting the motherboard to the touch screen, back screen, and cameras.
A faulty daughterboard can cause a myriad of issues from frozen touch screen to camera issues.
To be sure the daughterboard is the issue, check the CAT S22 Flip troubleshooting guides
Ferramentas
-
-
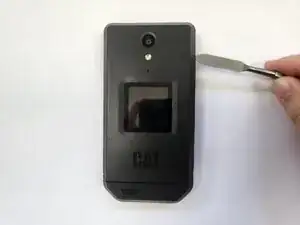
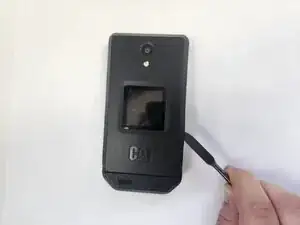
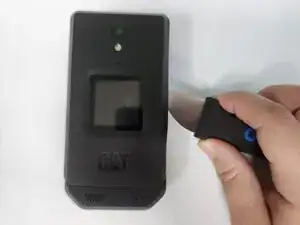
Insert a metal spudger into the seam of the phone frame.
-
Apply a downward force on the metal spudger to create a gap.
-
-
-
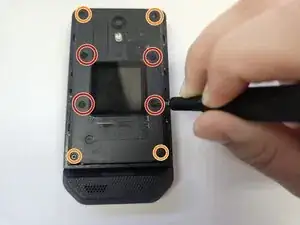
Use a J00 JIS screwdriver to remove the four wide 3.3 mm-long screws.
-
Use a J00 JIS screwdriver to remove the four narrow 3.3 mm-long screws.
-
-
-
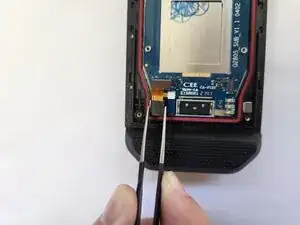
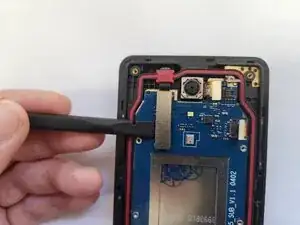
Place the spudger at one side of the metallic connector of the motherboard ribbon and apply a light upward force.
-
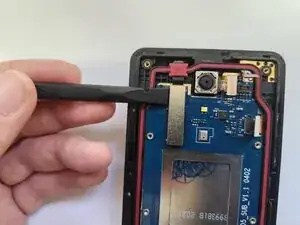
Repeat the previous action across the sides of the connector.
-
-
-
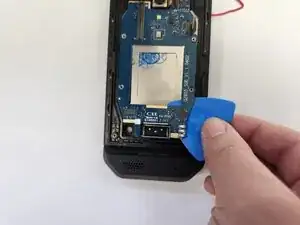
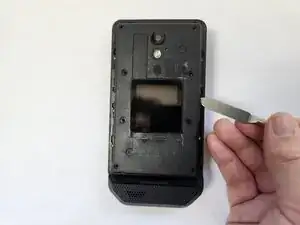
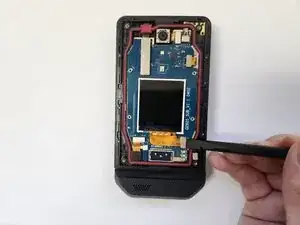
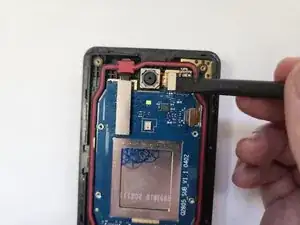
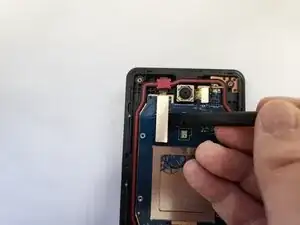
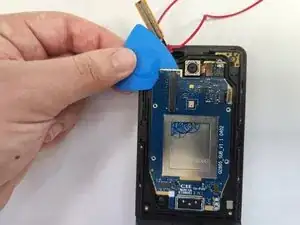
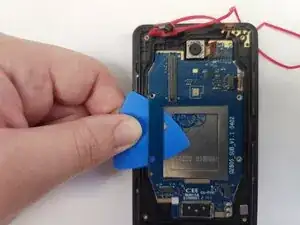
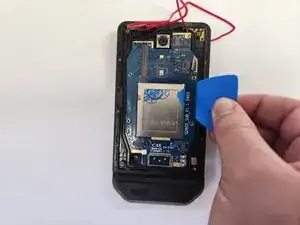
Insert an opening pick between the frame and the top of the daughterboard. This spot should be where you removed the motherboard ribbon cable and should have the least amount of adhesive.
-
Move the opening pick down, slicing through the adhesive.
-
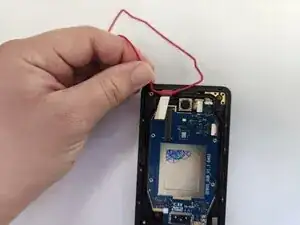
While moving the pick down, apply a ligh upward pressure to fully seperate the the daughterboard from the frame.
-
-
-
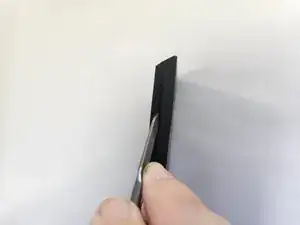
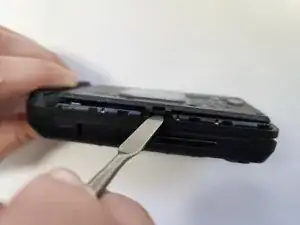
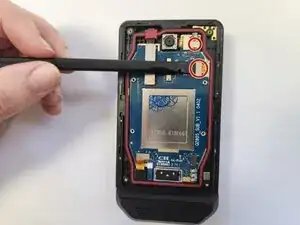
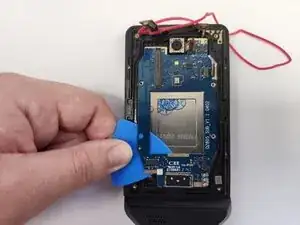
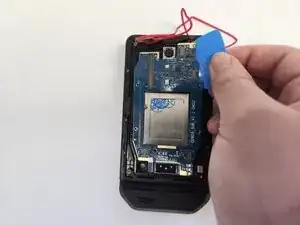
Insert the opening pick between the frame and the top right of the daughterboard. There may be some resistence inserting the pick.
-
Move the opening pick down, slicing through the adhesive.
-
While moving the pick down, apply a ligh upward pressure to fully seperate the the daughterboard from the frame.
-


To reassemble your device, follow these instructions in reverse order. It is recommended to add new adhesive to between the daughterboard and frame

The hinge is too loose how to get tighten
channveer shankad -