Introdução
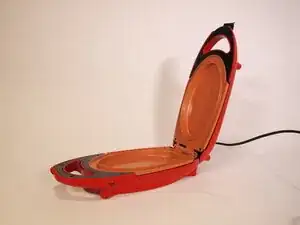
Did you ever want to find out the inner workings of your Red Copper 5 Minute Chef? Curious how it heats up your food?
This guide will show you how to completely disassemble the BulbHead Red Copper 5 Minute Chef model number 22852A. This guide will take you through how the electrical components are connected and how they work.
Make sure it's unplugged and not hot before starting on this disassembly.
Ferramentas
-
-
Open the 5 Minute Chef.
-
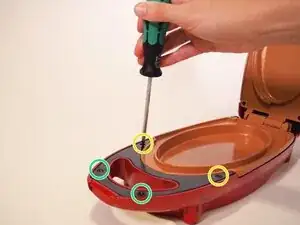
Remove the two 11.9 mm screws from the black plastic piece using a Phillips #1 screwdriver.
-
Remove the two 10 mm screws from the black plastic piece using a Phillips #1 screwdriver.
-
Repeat this for the other half of the machine; this step is the same for the top and bottom half.
-
-
-
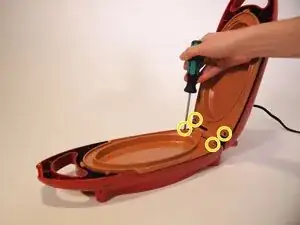
Remove the four 14 mm screws from the orange hot plates on both sides of the 5 Minute Chef using a Phillips #1 screwdriver.
-
-
-
Separate the hot plate from the red casing on the top half of the 5 Minute Chef.
-
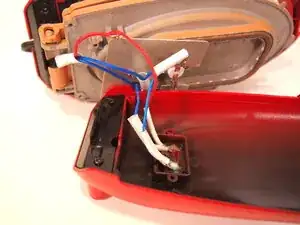
In the red casing, remove the 5.5mm screw using a Phillips #1 screwdriver and remove the silver plate to reveal the lights.
-
-
-
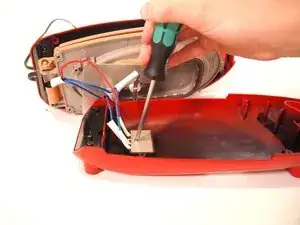
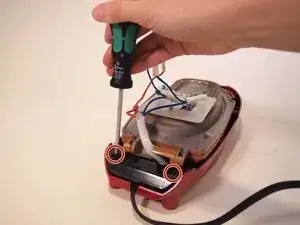
Remove the two 11.9 mm security screws from the bottom half of the machine near the power cable using a Phillips #1 screwdriver.
-
-
-
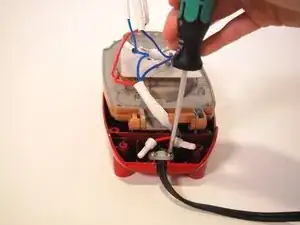
Remove the two 5.5mm screws from the white piece holding down the power cable using a Phillips #1 screwdriver.
-
-
-
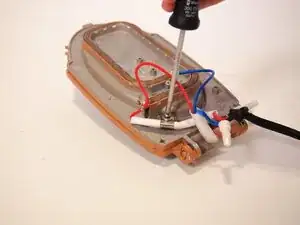
On the bottom half of the machine, remove the single 5.5 mm screw from the silver plate on the underside of the orange hot plate using a Phillips #1 screwdriver.
-
-
-
Remove the single 5.5 mm screw on the bottom that holds the red wire to the hot plate using a Phillips #1 screwdriver.
-
-
-
Flip the hot plates over to the top.
-
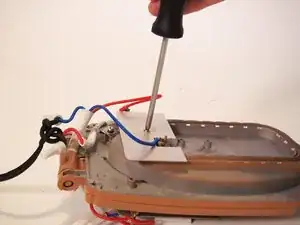
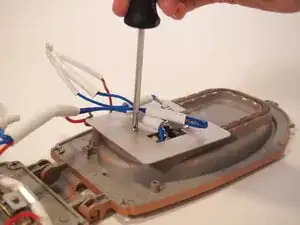
Remove the single 5.5 mm screw from the silver plate using a Phillips #1 screwdriver.
-
-
-
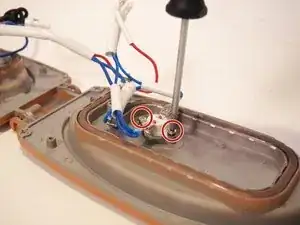
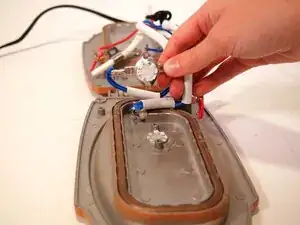
Underneath the silver plate from the previous step, remove the two 5.5 mm screws at the sides of the round white thermal switch using a Phillips #1 screwdriver.
-

To reassemble your device, follow these instructions in reverse order.