Introdução
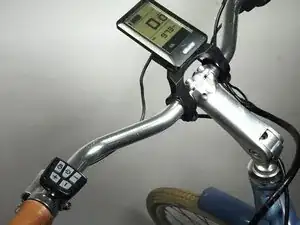
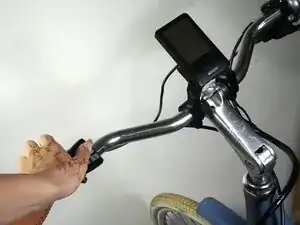
This guide goes over how to replace a broken mileage cord on a Bluejay Premiere Lite e-bike. The mileage cord connects the mileage sensor located on the back wheel to the control panel display attached to the e-bike’s handlebars. The mileage sensor tracks the bike's speed, while the control panel displays the rider's speed in miles per hour. When the cord is broken, the mileage panel cannot display the speed tracked by the sensor. This creates error 84, which means that the bike can’t properly measure the speed. As a result, the bike will not power any energy to the pedals; therefore, the bike won’t work electrically. This guide assists with removing the broken cord and attaching a new cord to restore the electrical connection between the sensor and control panel.
Warning: This guide involves using a soldering iron, which can reach very high temperatures and can cause serious injury. It is advised to complete the steps that require the soldering iron with a second person. Anyone under the age of 18 must have guardian supervision while handling the soldering iron and the exacto knife.
Soldering is the process of creating a strong bond between metals that can conduct electricity. It involves melting a thin metal material called solder with a soldering iron to attach the two pieces of metal together. In this guide, soldering is used to connect the new mileage cord to the wires on the sensor and mileage panel.
For first-time users of a soldering iron, watch this video
For a step-by-step guide for soldering and safety tips, check out this guide.
-
-
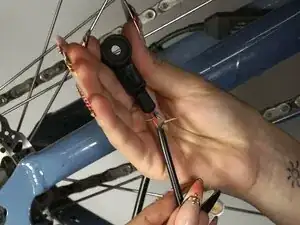
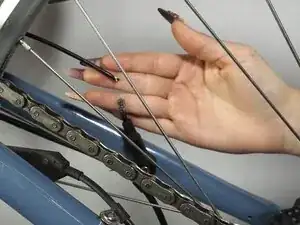
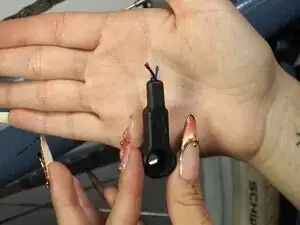
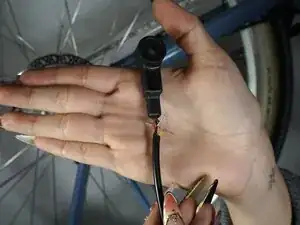
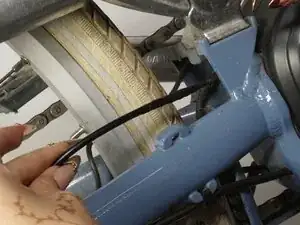
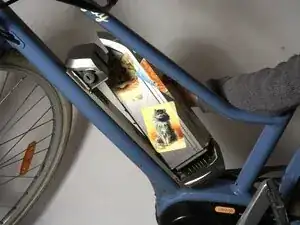
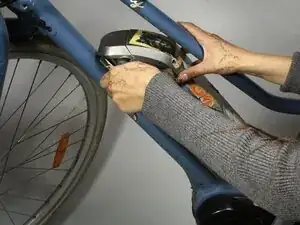
Unscrew the mileage sensor with a 3/16’’ Allen key to get better access to the broken cord.
-
Remove the sensor from the bike.
-
-
-
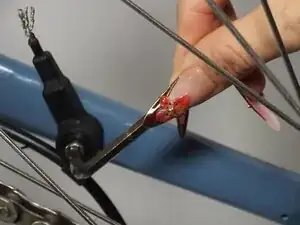
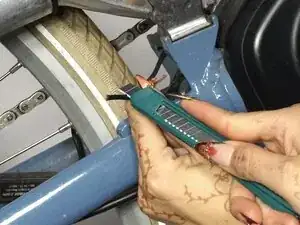
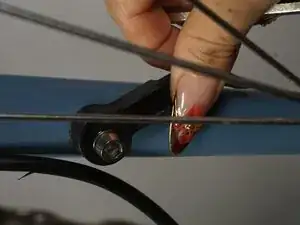
Use the box cutter and cut the cord protector at an angle.
-
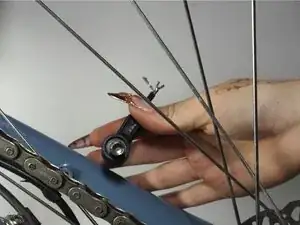
Scrape until the three-color wire is revealed.
-
-
-
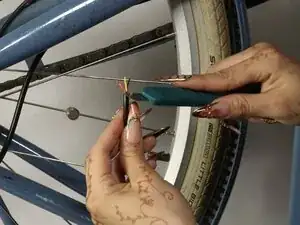
Repeat step 5 for the end of the cord still attached to the bike motor and both ends of the replacement cord.
-
-
-
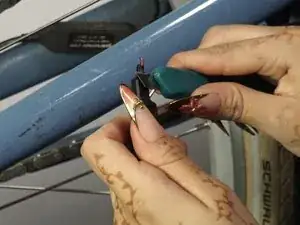
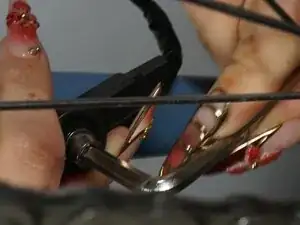
Use pliers to twist each colored wire in the replacement cord so the individual strands spread apart.
-
Do this for every exposed wire in the mileage sensor and the cord attached to the bike motor.
-
-
-
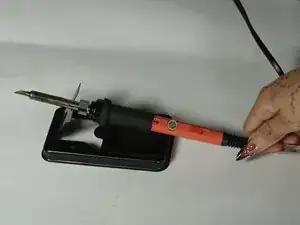
Turn on the soldering iron at 400 degrees Fahrenheit.
-
Wait 1-2 minutes for the soldering iron to heat up.
-
While waiting, align both the replacement cord and the mileage sensor.
-
-
-
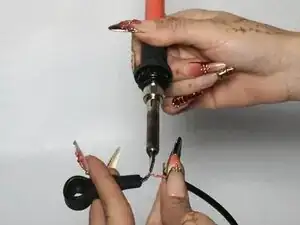
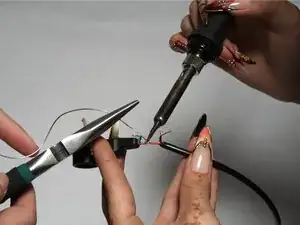
Use a soldering iron to carefully melt each one of the colored wires in the replacement wire and the mileage sensor.
-
Have a second person hold the solder with pliers to the tip of the soldering iron to solidify the bond.
-
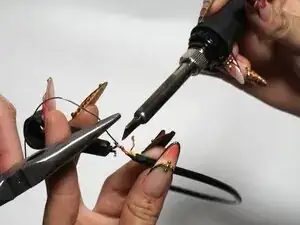
Repeat this process for every colored wire between the replacement cord and the mileage sensor.
-
Then, repeat for every colored wire between the replacement cord and the cord attached to the motor.
-
-
-
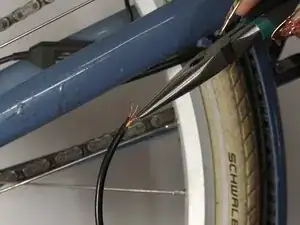
Pull together the exposed wires.
-
Wrap electrical tape over all the exposed wire to seal the repair on both ends of the replacement cord.
-


Turn on the E-bike and you're done!