Introdução

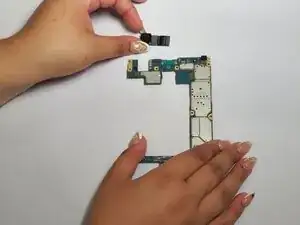
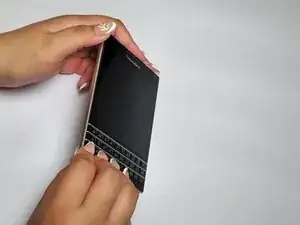
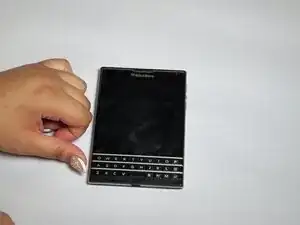
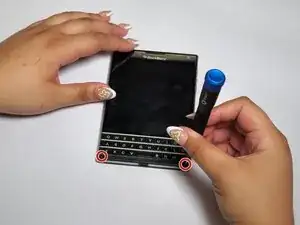
This guide contains the steps needed to replace the BlackBerrySQW100-1 camera if it no longer takes pictures. Camera malfunctions can be caused by water damage, fall damage, and overheating. BEWARE the dangers of puncturing a battery as it can explode, cause a fire, and cause other harmful hazards!

  1. AsKihjRqx1CQFVa2
    AsKihjRqx1CQFVa2
    ISTun4jFmT5CbJFc
    SOI4ueHR6rWSHGTg
    • Flip the phone on its front.

  2. XPCbX4sRaLJaVL5R
    XPCbX4sRaLJaVL5R
    PqcJjsgdNr1OfcZy
    • Remove the top SIM/microSD card cover by the notch.

  3. NMabnDWXKFwMjxZR
    • Remove the top two 7 mm screws using a T4 Torx screwdriver.

    • Remove the bottom three 5 mm screws using a T4 Torx screwdriver.

  4. nQaKFBElBd3eRUvE
    nQaKFBElBd3eRUvE
    HgsEvpIuVGZan6ei
    YWgUXwOt3sLeYacH
    • Flip the phone to its back.

  5. YyC4NCUnSeuqv1NS
    YyC4NCUnSeuqv1NS
    alOvQgWO4s1YHPSM
    T14iFBQ3Yl2bFlxL
    • Remove the cover located under the keyboard.

  6. Y1NQn3rnBj2uVOkd
    • Remove the two 6 mm screws using the T4 Torx screwdriver.

  7. xfNrCSQAFHsjkfrJ
    xfNrCSQAFHsjkfrJ
    jf2KTNqkmr1XUKXy
    LnwMkvBRZslREb4g
    • Flip the phone on its front.

  8. PMeiAlYN4cauY2XD
    PMeiAlYN4cauY2XD
    ibwN31xvxZZC2K2W
    EHE46xfPADeuARBd
    • Remove the back cover.

  9. 1hrL4MeRwZQ1Q6uv
    1hrL4MeRwZQ1Q6uv
    GIZLn45UaejKY2nV
    Z6kbWrNcVYFINqFl
    • Remove the black tape from the battery and the motherboard.

  10. bUFBtMZaBrkAMBo6
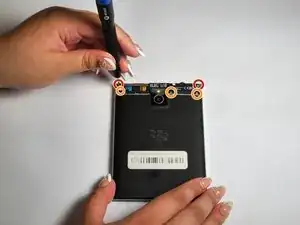
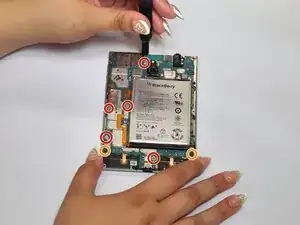
    • Remove the five 4 mm screws using a T4 Torx screwdriver.

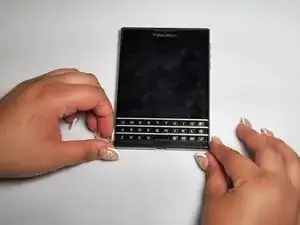
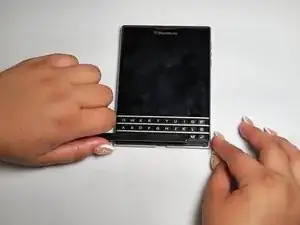
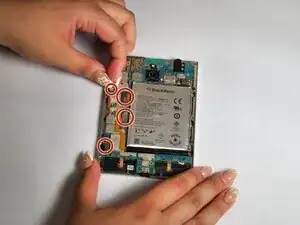
    • Remove the two 3 mm screws using a T4 Torx screwdriver.

  11. b2W1xnVMeoWdGpXA
    • Disconnect the left four connectors.

  12. MlUycu3nqnXT131p
    MlUycu3nqnXT131p
    sKbDQedW6QMZWCw6
    MiLSdiZrTJwRnmJZ
    • Remove the motherboard.

  13. WP3DhAGZJSL1eJZv
    WP3DhAGZJSL1eJZv
    wRg5XrPu4LNxIGFR
    A5jOytVNfZHlDLCL
    • Flip the motherboard so the back of the board faces upwards.

  14. QCLy6GyPdCgCUvsh
    QCLy6GyPdCgCUvsh
    YDLB5UMpLB2poncB
    SWfowrZ246XLI2NJ
    • Remove the connection to the motherboard and remove the camera.

Conclusão

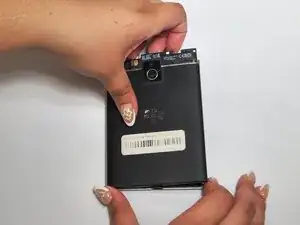
To reassemble your device, follow these instructions in reverse order.

Kristen Gismondi

Membro desde: 12/11/14

103918 Reputação

0 comentários