Introdução
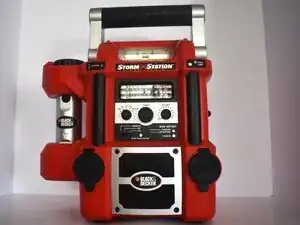
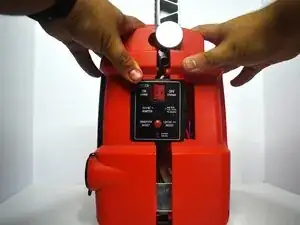
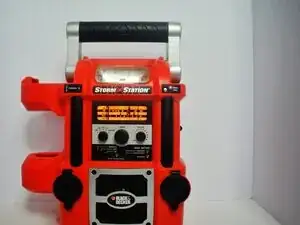
When a Black & Decker Storm Station Model SS925 ( or just Black & Decker Storm Station) can no longer charge, there is a high chance that the battery is dead and needs to be replaced.
A functional battery is supposed to provide power for your Storm Station. Its main purpose is to provide an emergency power source for any given situation. If left unused or uncharged for an extended period, the battery can degrade, resulting in reduced charging capacity or complete failure. Luckily, a simple battery replacement should help it function once more.
Caution: If handled improperly, lead-acid batteries pose risks of electric shock, chemical burns from sulfuric acid, and fire or explosion. Take appropriate precautions before beginning this repair. Wear acid-resistant goggles or a face shield and gloves, and use an apron if available when handling or charging the battery. Store and recharge lead-acid batteries in a well-ventilated area away from sparks or open flames.
Once the device is unplugged from an outlet, it's time to start.
Ferramentas
Peças
-
-
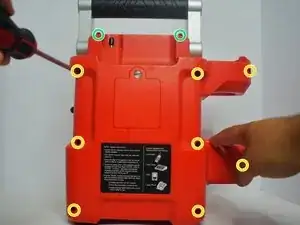
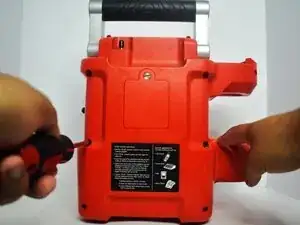
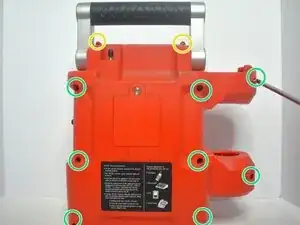
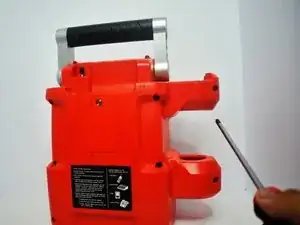
Use a Phillips #2 screwdriver to remove the ten screws from the back of the device:
-
Eight 3 mm-long screws
-
Two 2 mm-long screws
-
-
-
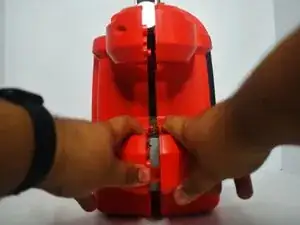
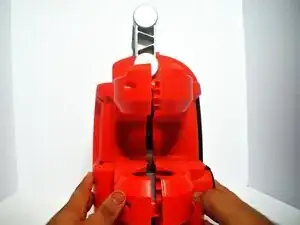
Use a plastic opening and your hands to carefully pry open the cover.
-
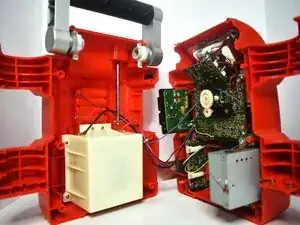
Gently separate the front and back casing.
-
-
-
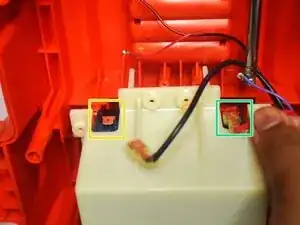
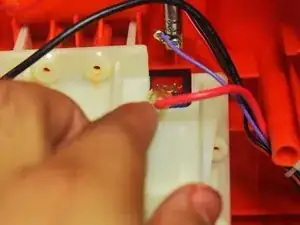
Use your fingers or tweezers to disconnect the black power wire connector first.
-
Carefully unplug the red power cable connector from its terminal.
-
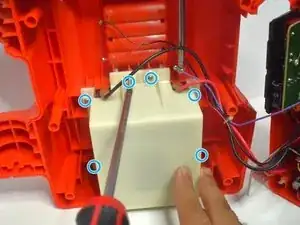
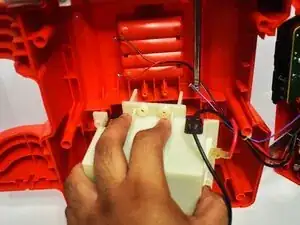
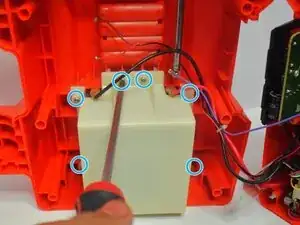
Use a Phillips #2 screwdriver to remove the six 3 mm screws securing the white battery housing.
-
-
-
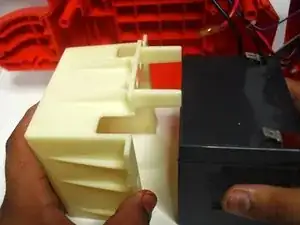
Pull the white battery housing out of the device with the battery still inside.
-
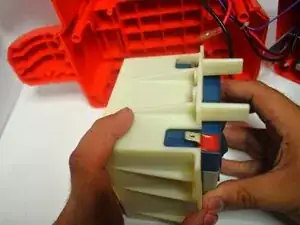
Remove the old battery from the housing.
-
Place the new battery into the compartment, ensuring the positive (+) and negative (-) terminals on the battery are facing the correct direction to match the internal connectors.
-
-
-
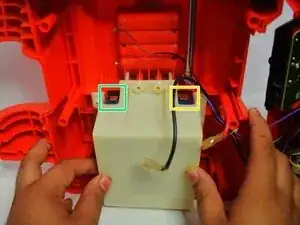
Place the white battery compartment with the new battery back into its original position in the device.
-
Plug the red wire into the positive (+) terminal
-
Plug the black wire into the negative (-) terminal.
-
Push firmly on the connectors until they are securely in place.
-
Replace the 3 mm Phillips #2 screws in their original locations.
-
-
-
Align the front and back covers and press them together firmly until you hear all the plastic latches click into place.
-
-
-
Use a Phillips #2 screwdriver to put the ten screws back into their original locations on the back case.
-
Two 2 mm-long screws
-
Eight 3 mm-long screws
-


To reassemble your device, follow these instructions in reverse order. Take your e-waste to an R2 or e-Stewards certified recycler.