
Introdução
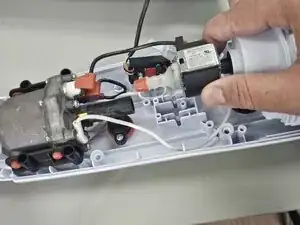
Is the valve of your Bissell PowerFresh Steam Mop wearing down, damaged, or have excess mineral buildup? This can cause leaking in the mop or improper steam flow. This guide will show you how to replace the valve in your Bissell PowerFresh Steam Mop.
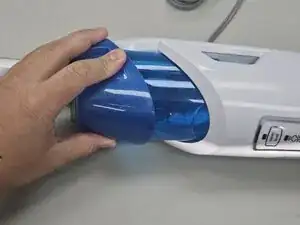
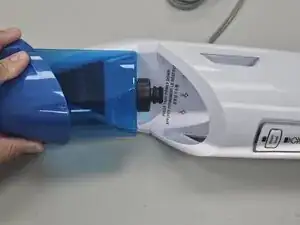
Before beginning this replacement, make sure to empty the tank and unplug the mop from the wall.
Ferramentas
-
-
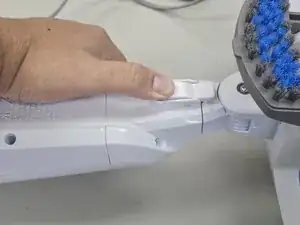
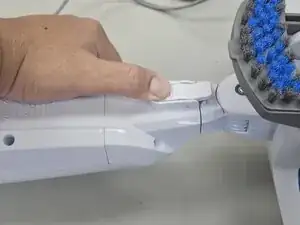
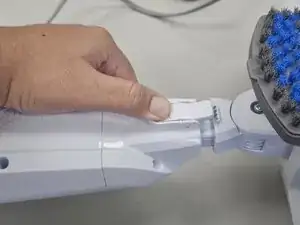
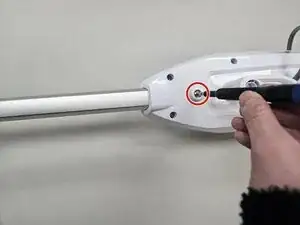
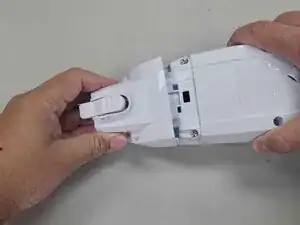
Use a Phillips #2 screwdriver to remove the 40 mm screw from the handle.
-
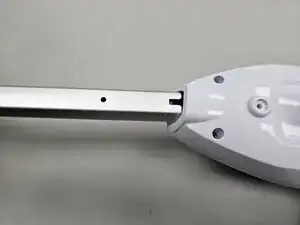
Slide the handle out.
-
-
-
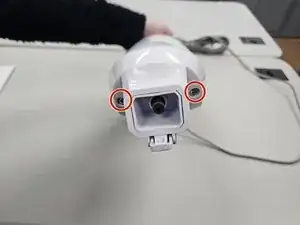
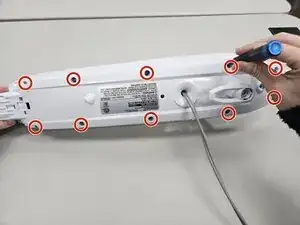
Use a Phillips #2 screwdriver to remove the two 16 mm screws on the bottom of the unit.
-
Slide the cover off.
-
-
-
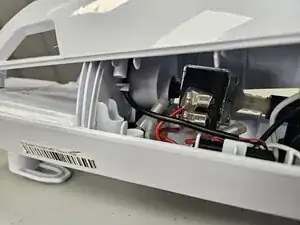
Insert an opening tool into the seam between the front and back sections. Slide it around the perimeter to release the clips securing the casing.
-
Gently separate them.
-
Use a Phillips #2 screwdriver to remove two 14 mm screws from inside the unit.
-
-
-
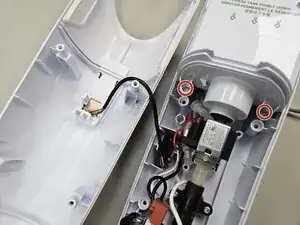
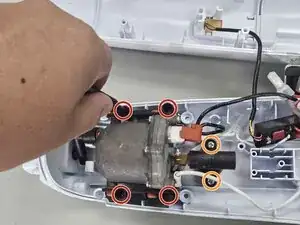
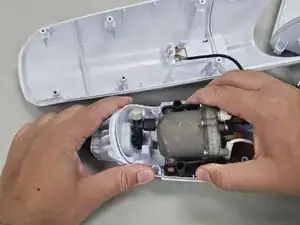
Use a Phillips #2 screwdriver to remove the four 14 mm screws securing the pump.
-
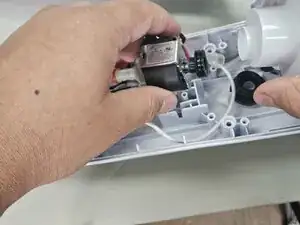
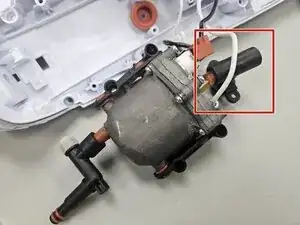
Remove the two 14mm PH2 screws securing the valve.
-

To reassemble your device, follow these instructions in reverse order. Take your e-waste to an R2 or e-Stewards certified recycler.

Um comentário
Thank u but I have and extra piece and no idea where it goes