Introdução
In an effort to increase the lifespan of my Beats Studio 3 Wireless, I recently replaced the battery following another guide, and realized that the USB Type-C PCB From the Beats Studio Pro is the same size and pinout as the original Micro USB board in the Studio 3. I wrote this guide to show that if you are replacing the port, it is fairly easy to perform one extra step in order to upgrade from Micro USB to Type-C. Unfortunately the Type-C board is not as widely available, but there are some good secondhand retailers who offer them.
Good luck!
Ferramentas
-
-
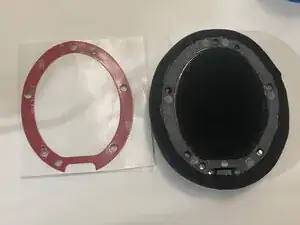
Locate side with the USB port, and use a flat tool such as the spudger to begin to separate the ear cup from the headphones plastic shell. Slowly continue to separate the adhesive all around the ear cup until it is removed entirely.
-
Pictured second is the earcup separated from the main headphone body, with a sheet of replacement adhesive next to it.
-
-
-
Remove any remaining adhesive.
-
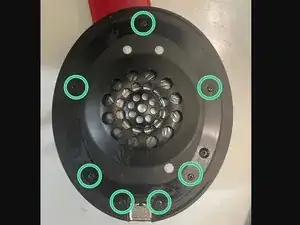
Remove the 7 Phillips head screws that were previously covered by the ear cup adhesive.
-
-
-
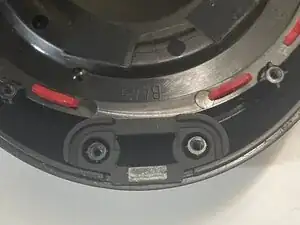
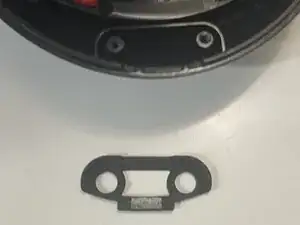
Inside the cover that was just removed is a silicone spacer which presses against the USB port. Set this aside with the panel so it can be reattached later.
-
-
-
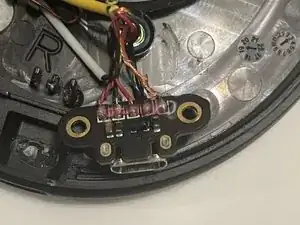
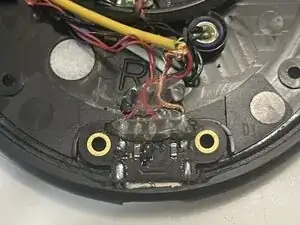
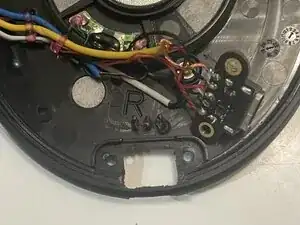
Underneath the panel that was previously removed is the small USB port PCB. It and the wires are held in place with hot-glue. Use a small heat gun or hair dryer if necessary to soften the glue and lift the PCB away from the plastic shell.
-
-
-
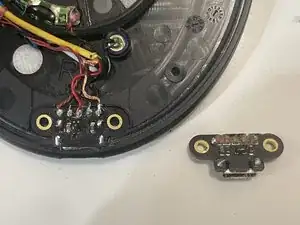
Take your replacement PCB and set it next to the original. The wires connect in the same order for both the Micro USB and USB Type-C versions of this PCB.
-
From left to right:
-
Twisted pair of red wires
-
Green wire
-
Single red wire
-
Black wire
-
Bare copper wire
-
-
-
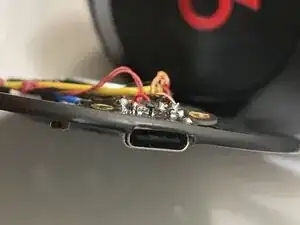
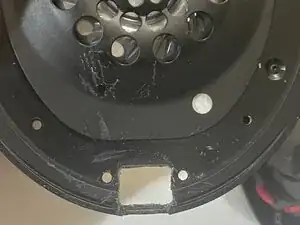
If you wish to replace the original Micro USB port PCB with a USB Type -C port (from the Beats Studio Pro) you will have to remove some material from the plastic shell surrounding the port. The plastic will no longer wrap around the top side of the port, but it will be covered by the earcup adhesive anyway.
-
I recommend using a very fine saw or a small rectangular file.
-
To reassemble your device, follow these instructions in reverse order. Don't forget to reinsert the silicone spacer!