Introdução
This is a repair guide to replace a defective speaker driver in Beats Solo (1st Generation) headphones. A failing speaker may produce no sound, low volume, or distortion. You will need very basic soldering skills to remove and reassemble the wires connecting the speakers.
Warning: Soldering tools become extremely hot. Use heat-resistant gloves and avoid touching nearby plastic components.
Ferramentas
-
-
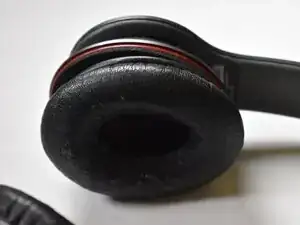
Hold the ear cup securely with one hand.
-
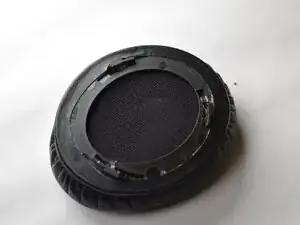
With the other hand, turn the speaker cushion counter-clockwise while gently pulling it upwards.
-
-
-
Remove five 3 mm screws from the speaker cover using a Phillips #0 screwdriver.
-
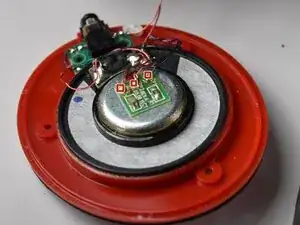
Carefully lift the red speaker cover, exposing the speaker driver and speaker wires.
-
-
-
Use the soldering iron to warm up each of the solder joints and gently remove the three wires connected to the speaker driver.
-
Wait for the solder to soften before removing the wires so as not to damage the copper wires.
-
Remove the old speaker and align the new speaker in the same direction.
-
Connect each wire to the originally intended solder spot. Dab a small amount of new solder to hold each wire in place. Verify the wire sequence is also correct to avoid audio problems.
-


To reassemble your device, follow these instructions in reverse order.