Introdução
This repair guide will assist you in replacing a defective auxiliary (AUX) port on the 1st generation Beats Solo headphones. Issues associated with a defective AUX port include audio drop-out, audio static, and audio loss when connected to a 3.5mm auxiliary wire.
This is a basic soldering job, and it involves the four wires which are connected to the port. You will only have to detach and reattach the wires.
Ferramentas
-
-
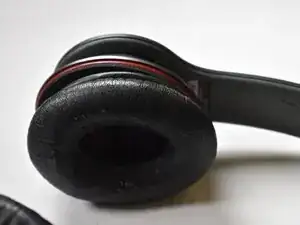
Hold the ear cup securely with one hand.
-
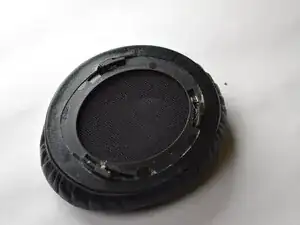
With the other hand, turn the speaker cushion counter-clockwise while gently pulling it upwards.
-
-
-
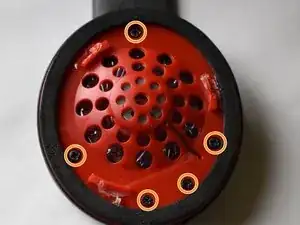
Remove five 3 mm screws from the speaker cover using a Phillips #0 screwdriver.
-
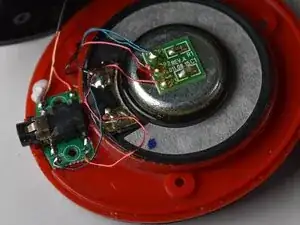
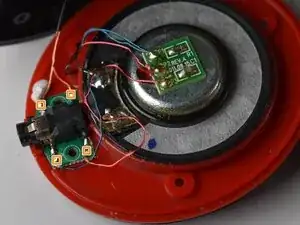
Carefully lift the red speaker cover, exposing the speaker driver and speaker wires.
-
-
-
Use a soldering iron, melt each solder joint and remove the four wires soldered to the auxiliary port.
-
Remove the old AUX port and place the new port facing in the same direction.
-
Connect the wires to the preexisting solder locations. When completed, add a small amount of new solder to hold the wires in place. Check if the wiring is correct to ensure the audio is working properly.
-
To reassemble your device, follow these instructions in reverse order.