Introdução
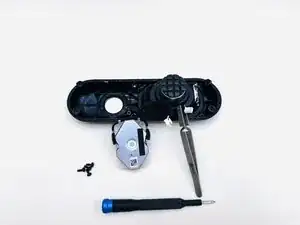
This guide gives details about how to replace the tweeter (speaker) in the 2024 Beats Pill. A speaker replacement might be needed after unsuccessful troubleshooting of a gargled sound or a non-functioning speaker.
There is a prerequisite guide that follows steps to replace the pill's subwoofer. Please follow the Subwoofer Replacement guide up to step 6, then use the rest of the speaker guide for its replacement.
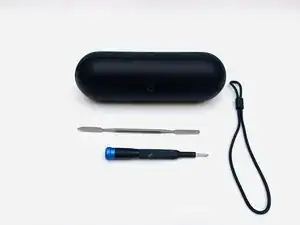
Ferramentas
-
-
With the Beats Pill sitting on a flat surface, insert a spudger into the seam between the chassis and grille.
-
Slide the spudger around the entire perimeter of the grille to sever the adhesive securing the grille.
-
Remove the grille.
-
-
-
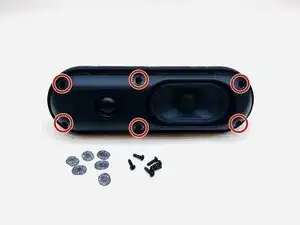
Use a Phillips #1 screwdriver to remove the six 14.3 mm screws that secure the driver assembly and speaker body together.
-
-
-
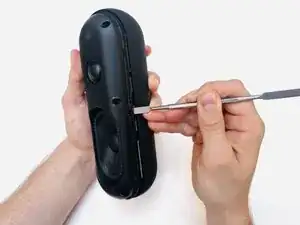
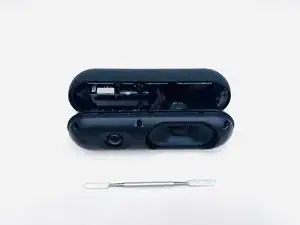
Insert a spudger into the seam between the driver assembly and speaker body.
-
Gently slide the spudger around the perimeter while prying to separate the driver assembly from the speaker body.
-
-
-
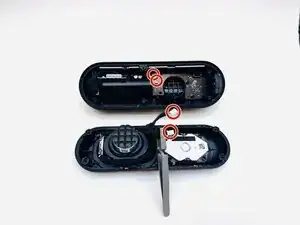
Use a Phillips #1 screwdriver to remove the four 12.4 mm screws securing the subwoofer.
-
Use a spudger to lift the subwoofer up and off of the driver assembly.
-
During reassembly, apply an adhesive to the new subwoofer before reinstallation.
-
-
-
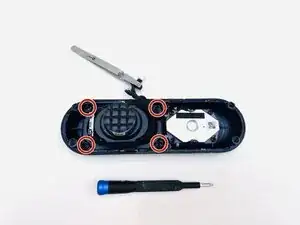
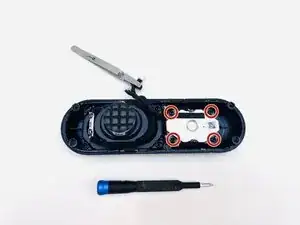
Use a Phillips #1 screwdriver to remove the four 12.4 mm Phillips screws that secure the tweeter.
-
Use a spudger to pry the tweeter away from the driver assembly.
-


To reassemble your device, follow the above steps in reverse order.
Take your e-waste to an R2 or e-Stewards certified recycler.
Repair didn’t go as planned? Try some basic troubleshooting or ask our Answers community for help.