Introdução
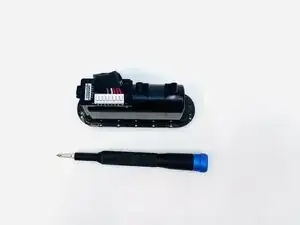
This guide gives details about how to replace the control board connected to the battery box on a 2024 Beats Pill.
There are prerequisite guides that must be completed to start the steps of this guide. Please ignore steps 7-8 on the subwoofer replacement guide and the battery removal step on step 12, as they are not needed for the Daughter board replacement.
-
-
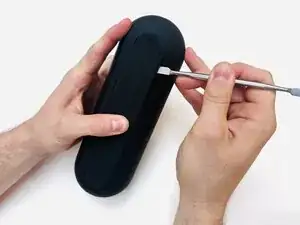
With the Beats Pill sitting on a flat surface, insert a spudger into the seam between the chassis and grille.
-
Slide the spudger around the entire perimeter of the grille to sever the adhesive securing the grille.
-
Remove the grille.
-
-
-
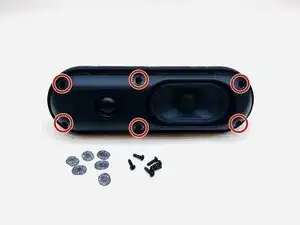
Use a Phillips #1 screwdriver to remove the six 14.3 mm screws that secure the driver assembly and speaker body together.
-
-
-
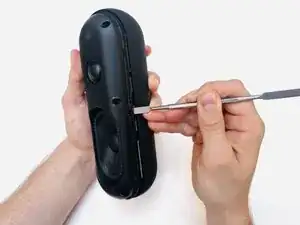
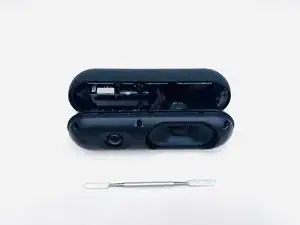
Insert a spudger into the seam between the driver assembly and speaker body.
-
Gently slide the spudger around the perimeter while prying to separate the driver assembly from the speaker body.
-
-
-
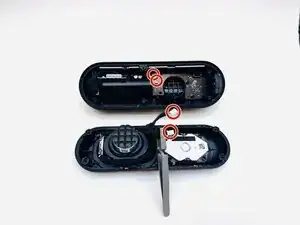
Use a Phillips #1 screwdriver to remove the four 12.4 mm screws securing the subwoofer.
-
Use a spudger to lift the subwoofer up and off of the driver assembly.
-
During reassembly, apply an adhesive to the new subwoofer before reinstallation.
-
-
-
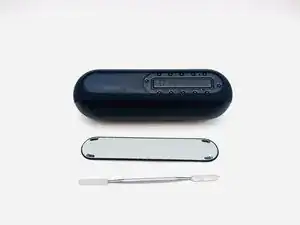
Use a hairdryer to lightly heat the bottom foot of the speaker.
-
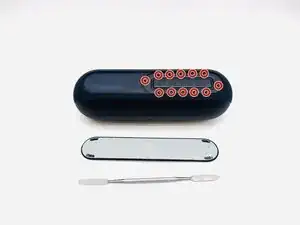
Insert a spudger into the seam between the bottom foot and speaker body.
-
Pry around the perimeter of the foot until it fully releases.
-
-
-
Using a T5 Torx screwdriver to remove the two 8.6 mm screws securing the battery compartment.
-
-
-
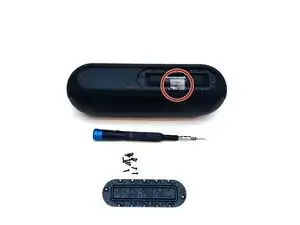
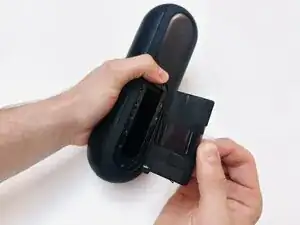
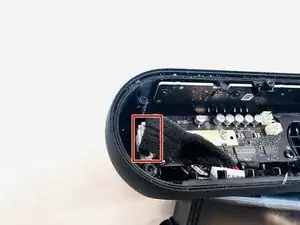
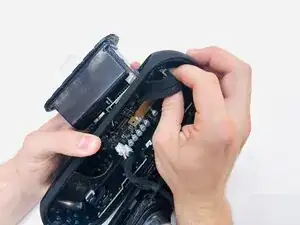
Disconnect the battery compartment connector from its motherboard socket.
-
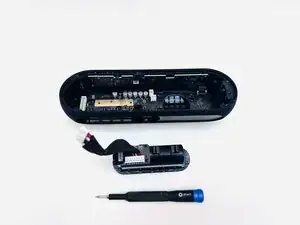
Remove the battery compartment.
-
-
-
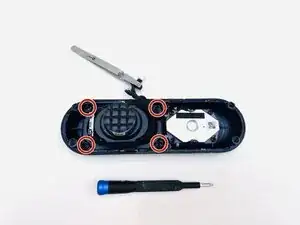
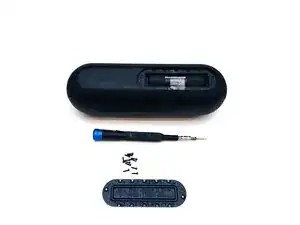
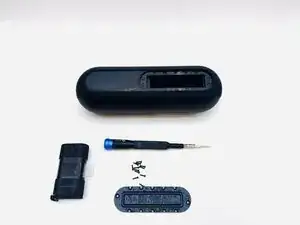
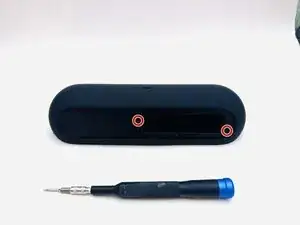
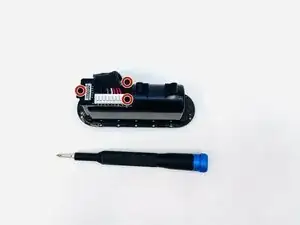
On the underside of the battery compartment, remove the three 12.4 mm Phillips screws that secure the daughterboard to the battery compartment.
-


To reassemble your device, follow the above steps in reverse order.
Take your e-waste to an R2 or e-Stewards certified recycler.
Repair didn’t go as planned? Try some basic troubleshooting or ask our Answers community for help.