Introdução
This guide demonstrates how to complete a hand sewn backstitch to repair a loose hem on a pair of woven cotton shorts. This technique is incredibly versatile and can be used on most seams, hems, and patches.
Hand sewn repairs are a fun and effective way to extend the life of gear at home. DIY repairs won't void the Patagonia warranty—they're actually encouraged!
Patagonia items can also be taken in to a local retail store for repair evaluation or sent in to Patagonia through their mail-in repair service.
Let's get fixing!
Related Articles
Ferramentas
-
-
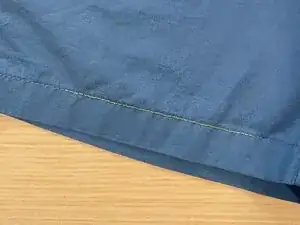
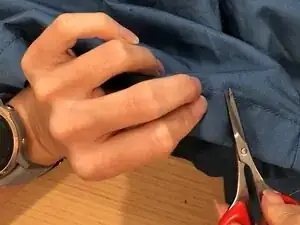
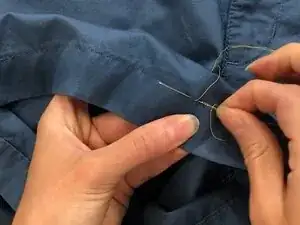
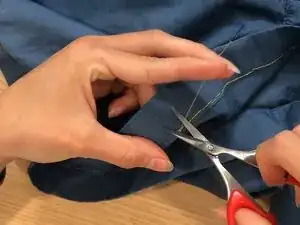
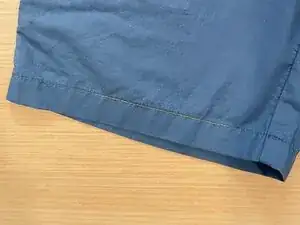
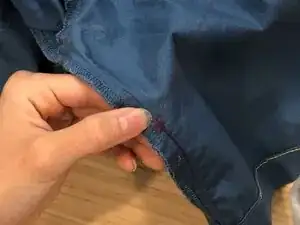
Locate the area with missing stitching and trim away any loose or hanging threads.
-
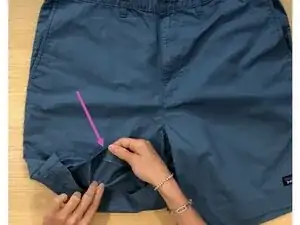
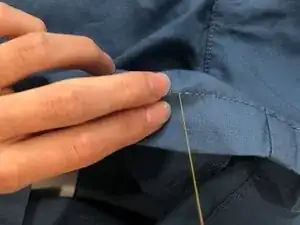
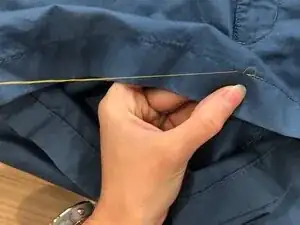
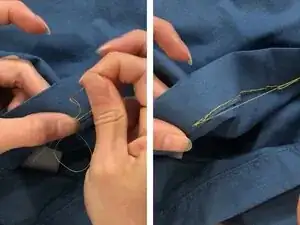
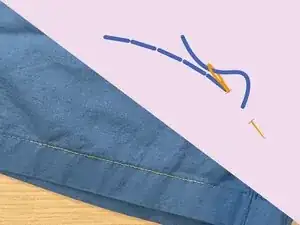
Mark the new stitch line with chalk or a heat-erasable pen.
-
If the opening is larger than a few inches, use pins or binder clips to secure the pieces of fabric together while sewing.
-
-
-
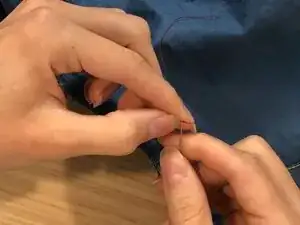
Thread the needle with a length of thread approximately 24 inches (~61 cm) long and tie a knot at one end of the thread. For more details see Needles and Thread.
-
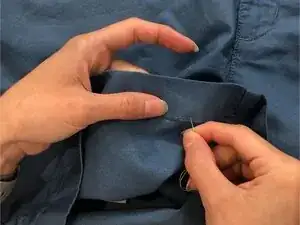
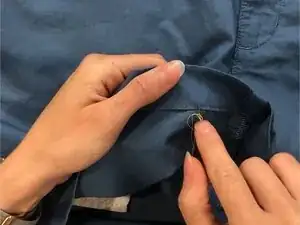
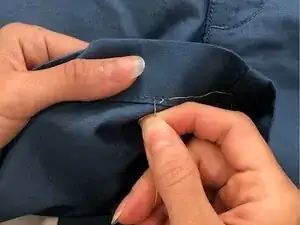
From the backside of the seam, pierce the needle through to the front, overlapping any existing stitching by at least 1/2 inch (~13 mm).
-
Pull the thread through until the knot lies flush against the fabric.
-
-
-
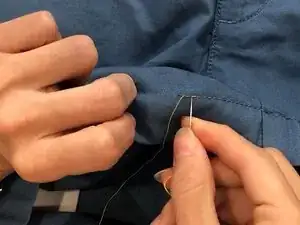
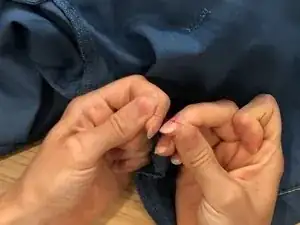
From the front side, pierce the seam one stitch length behind the point where the thread emerges, moving in the opposite direction of the stitching path.
-
Pull needle and thread through to the backside.
-
-
-
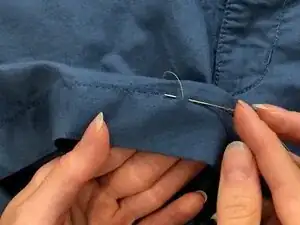
From the backside, pierce the seam two stitch lengths forward, moving in the direction of the stitching path.
-
Pull the needle and thread through to the front side.
-
Repeat steps 4 and 5 to create a continuous backstitch along the marked seam line.
-
-
-
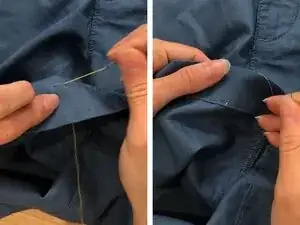
To backstitch without repeatedly flipping the fabric, insert the needle into the seam one stitch length behind the current position and guide it to exit one stitch length forward.
-
Pull the thread through to secure the stitch.
-
-
-
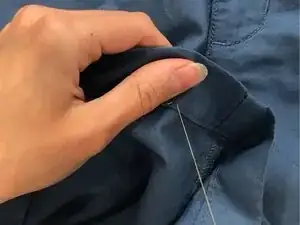
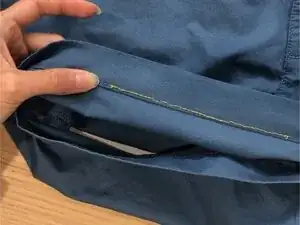
Continue until the original stitch has been overlapped by at least 1/2 inch (13 mm) and finish with the needle on the backside.
-
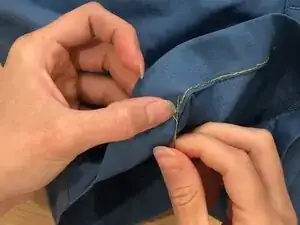
Without pulling the needle all the way through, begin making a small stitch on the backside of the fabric.
-
Wrap the working thread around the needle point three times.
-
Pull the needle through the fabric and loops of thread. The wrapped thread will create a knot that lies flush with the fabric.
-
-
-
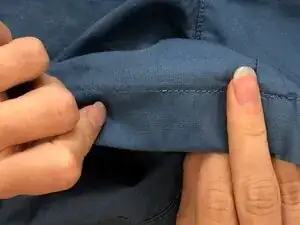
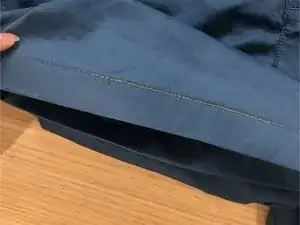
Ensure the stitch securely closes the seam and can withstand tension.
-
Add additional lines of stitching if necessary.
-
-
-
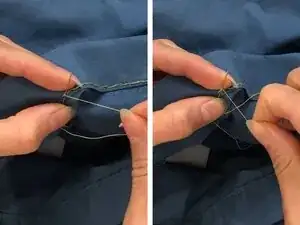
TANGLED THREAD: To address tangles or knots in the thread:
-
Start by using the tip of the needle to work the knot loose.
-
If this fails, gently tug on either end of the thread to pull out the knot.
-
If this method is also unsuccessful, cut the thread and start a new stitch, overlapping previous stitches by at least 1/2 inch (~13 mm).
-
Ensure any knot is cut out completely.
-