Introdução
This is a quick "step-by-step" guide of how to install a JXB Performance upgraded driveshaft carrier bushing in a 2010 Audi Q7 TDI. This exact guide will work specifically with the TDI trim, but similar to any of the Q7 vehicles from 2007-2016.
If you have questions at all, JXB Performance has extremely good write ups and videos here with corresponding videos and guides on the product pages.
The video specific to this particular install can by found here.
I would suggest reading through the guide first and watching the video before attempting your own installation to familiarize yourself with the necessary steps to be taken during the process.
Check out more on our Facebook at No Limits Motorsports and the other applications and products at JXB Performance.
Ferramentas
Peças
-
-
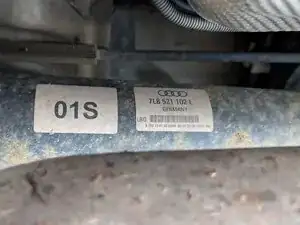
Verify your driveshaft part number
-
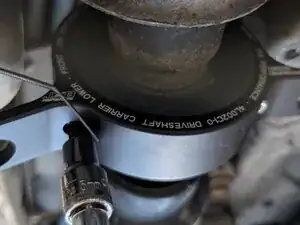
It takes two seconds to get under the car and get the part number off the driveshaft. You won't even need to remove any shielding covers!
-
*for vehicles equipped with air suspension, make it easy on yourself by putting the car in "off-road" or "lift" mode before climbing under the passenger side for the easiest access.
-
-
-
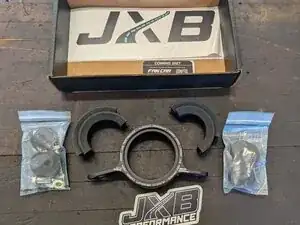
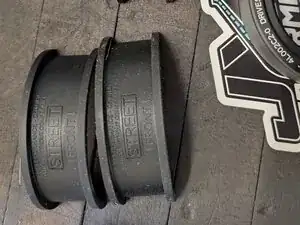
Check and verify the kit along with making sure everything is included. We are all human, so mistakes are made sometimes.
-
*this kit included both "street" & "track" bushings. Your kit may differ due to parts included in the application ordered.
-
-
-
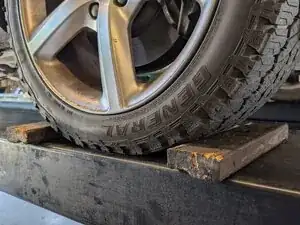
Lift or ground, SAFETY FIRST! Use some blocks to eliminate any possible chance of the car rolling away. I've seen it happen when people are doing any driveshaft work.
-
-
-
Just be mentally ready if you aren't the type that modifies your vehicle. Its an easy job, but some people freak out when they break out a tool and start cutting away.
-
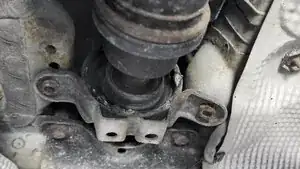
Take note of any wiring or tubing and either move out of the way or make sure to steer clear. There shouldn't be anything other than one harness near the area.
-
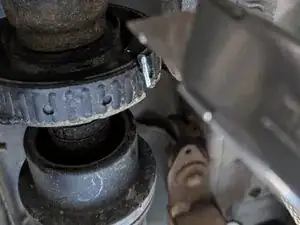
Notice the slop and look at just how much driveshaft flex is in the OEM unit. The replacement is much sturdier and there will be minimal play in the new bushing.
-
-
-
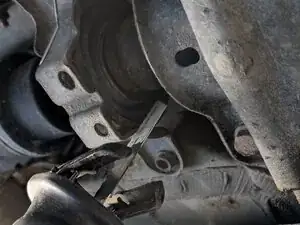
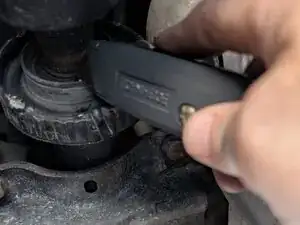
Cut the mount in a way that will allow you to spin the bearing carrier to the opposite side and access the thinner metal of the bracket.
-
*Video to show explanation in next step.
-
-
-
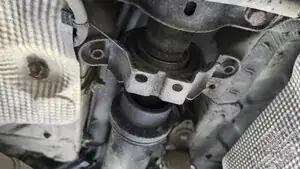
Rotate the bearing to the opposite side to access area to cut in order to fully remove the OEM bearing carrier.
-
-
-
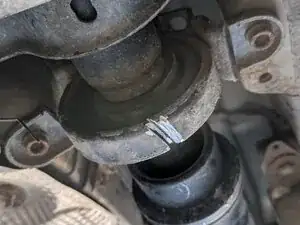
Once rotated and cut, you may need a screwdriver to spread the carrier enough to remove from the driveshaft assembly.
-
You will also need to cut through the additional metal surround that encompasses the stock rubber dampener.
-
Slice around the rubber to make it easy when spreading this portion to remove from the driveshaft assembly.
-
-
-
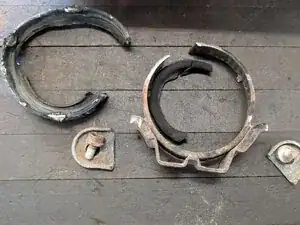
Trim the rubber off of the smaller portion in the middle, but leave the smallest portion that surrounds the actual bearing.
-
*including a picture of the disassembled OEM carrier for reference.
-
-
-
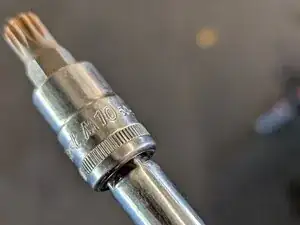
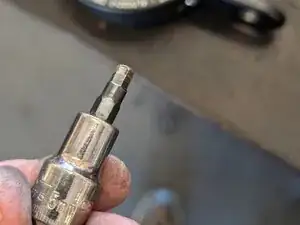
Your 5mm allen socket will be used to dissassemble the new JXB carrier assembly for the install.
-
Split the housing and familiarize yourself with how the new carrier is assembled.
-
-
-
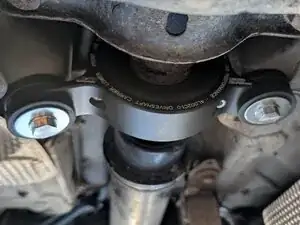
Make sure everything is lined up correctly and tighten the JXB Performance carrier onto the driveshaft center bearing.
-
Lettering on the JXB unit will face toward the FRONT of the vehicle.
-
*torque on the allen bolts is 25nm
-
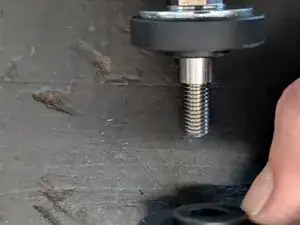
Check to ensure even fitment and the new driveshaft carrier bolts line up with the stock mounting location.
-
-
-
Assemble the mounting hardware and bolt the carrier back into proper placement reverse of how you removed.
-
Torque bolts to 19nm and use some threadlock blue on these.
-
-
-
Take the car for a brief test drive to make sure everything was done correctly!
-
You should have many years of use left in this quality replacement with an easy to replace solution if needed down the road.
-


Check fitment and torque hardware before test drive.
