Introdução
Skip the Step 6, it's a prerequisite guide to replace a USB-C Charging Port
-
-
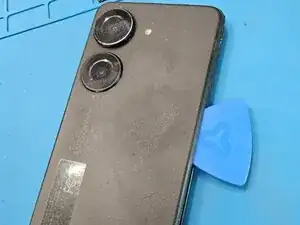
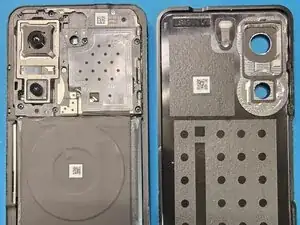
Using an heat gun, warm the adhesive around the edges of the back cover to soften it.
-
Run an opening pick around the edge of the phone to separate the back cover from the phone.
-
-
-
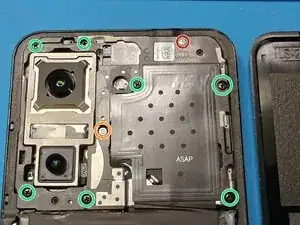
Use a Phillips #000 Screwdriver or a bit to remove the nine highlighted screws.
-
The screw highlighted in orange has a decal on top of it which you can easily remove with a sharp instrument like flathead screwdriver bit.
-
The screw highlighted in red differs from the others.
-
-
-
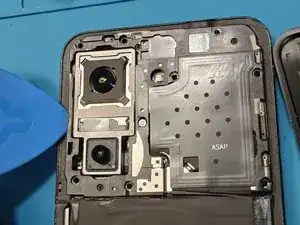
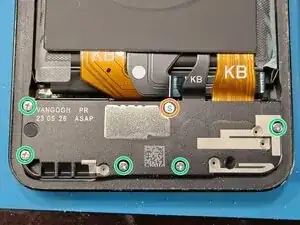
Use a Phillips #000 Screwdriver or a bit to remove the six highlighted screws.
-
The screw highlighted in orange has a decal on top of it which you can easily remove with a sharp instrument like flathead screwdriver bit.
-
-
-
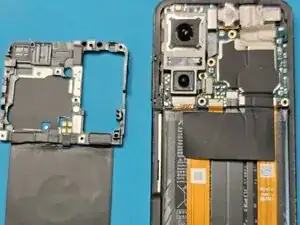
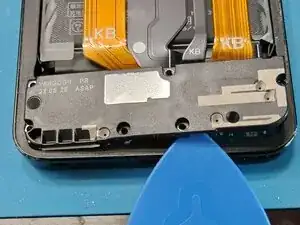
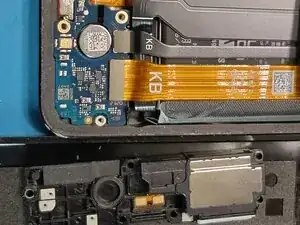
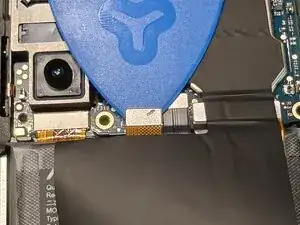
Using a opening pick remove the circuit board.
-
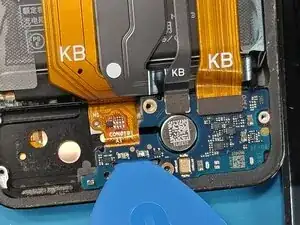
Using a opening pick disconnect the two flat cables.
-
-
-
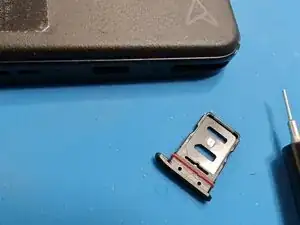
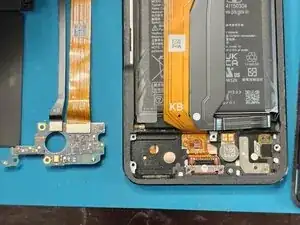
Detach the flat cable from the case to free the USB-C port.
-
Heat the flat cable to help loosen the adhesive if it feels stuck.
-
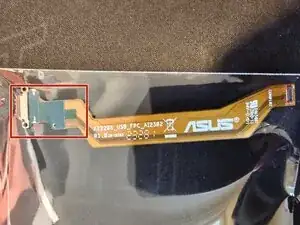
Insert the new part where the old one was.
-
Make sure to peel off the blue film covering the adhesive before installing the new cable.
-
-
-
Follow the Asus Zenfone 10 USB-C Charging Port Replacement -guide to the step 5.
-
Gently bend the charging port cable away from the working area.
-
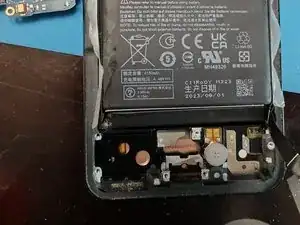
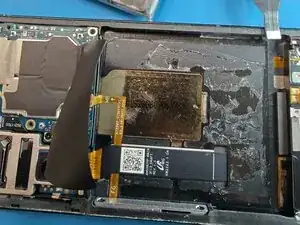
Disconnect the battery cable.
-
To make the battery easier to remove, apply a small amount of IPA along the perimeter to weaken the adhesive bond. Use a plastic prying tool to carefully lift and extract the battery.
-
You'll need to use some force here, but take care not to pierce the battery when prying it out.
-
Remove the old adhesive from the case with IPA and plastic prying tool.
-
Add a new adhesive between the new battery and case.
-
Install the new battery and connect the cable.
-


To reassemble your device, follow these instructions in reverse order. Use T7000/B7000 or suitable adhesive for the back cover and threadlocker for the screws.