Introdução

If you are having issues regarding your Asus TUF Gaming FX705G Laptop keyboard, this guide will help you replace it.

Keyboards are used to help you type out characters on your laptop. You might need to change it if you are facing the following dilemmas:

  • jammed keys
  • incorrect character input
  • multiple keystrokes for single press
  • uncomfortable to type on

You will need the following tools:

  • Phillips screwed size J0
  • Spudger
  1. uWrGGTNGdehEtQQI
    uWrGGTNGdehEtQQI
    xTNNYcHRsjMEKewk
    • Remove the eleven Phillips #0 screws that secure the back cover.

  2. wHpfhsliIHsdaI3u
    wHpfhsliIHsdaI3u
    MiwlmH2NS6FPGQL4
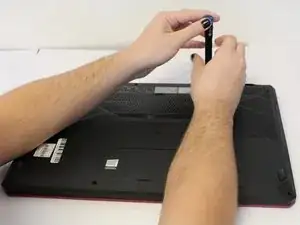
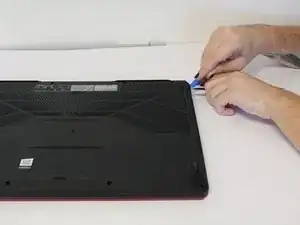
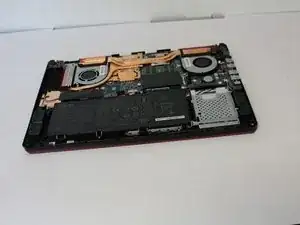
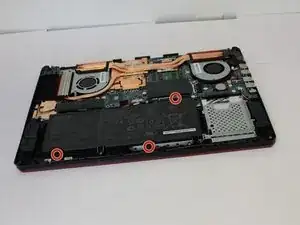
    • Use the iFixit opening tool to lift the back cover's seam, then insert the spudger parallel to the back cover and lift gently upward.

    • You will hear pops as the back cover releases.

    Hey so the screws are two different lengths. This would be more helpful if you could point out which screws go in which sockets!

    paul -

  3. oN1iYGtKv14vlhVR
    oN1iYGtKv14vlhVR
    afpjhcaP1iccKyud
    • Remove the three Phillips #00 screws from the battery housing.

  4. WDP2VVOlioRPX1Mk
    WDP2VVOlioRPX1Mk
    65IiRn1qMe2YZYPf
    • Disconnect the wire from the motherboard, and lift the battery from its housing.

  5. srkqGoP3GOlTcX5Y
    srkqGoP3GOlTcX5Y
    p2QBcprd5VAOIogR
    • Remove the five Phillips #00 screws from the fan casings.

    • The left fan has three screws and the right fan has two screws.

  6. HuEdMLlaQjn6biFo
    HuEdMLlaQjn6biFo
    DFwGb4lL3xCbZEHS
    K2o3gVYtuSRUXuTD
    • Unplug the cables that connect the fan to the motherboard.

    Hi! I’m having a problem removing the cable in the first picture, can’t seem to figure out what to pull out. Can you help me?

    Renz Badillo -

    The cable ends in that long, flat piece circled. Flip up the locki g mechanism on top of it, and that long flat piece should slide right out!

    Tyler Lange -

  7. 3TJmvjGAJNx4lqtj
    3TJmvjGAJNx4lqtj
    blL64YPEMiBwtFvu
    xJTu3vcAeEmnJUTl
    • Lift the motherboard to unclip the housing clip on the back of the fan.

    • Remove the fan.

    How hard was it to lift the heat pipe to get the back part of the fan housing out from under it? I have to do this to my fx 505dt which is almost identical with the same fans I have the fans but a nervous to do it. I have some experience, i have upgraded my own ram, hard drive , m.2 drive and my network card. I don't want to remove the heat pipes if I don't have to but it looks like you didn't have to is that correct? Thanks for any advice.

    danluse1987420 -

    You don't have to remove it, but it certainly can make it easier. If i remember correctly, the pipes are easy to remove, so long as you identify all of the screws. That said, you have much more experience than I did when I took this apart, no need to be nervous! You will do just fine.

    Tyler Lange -

    You will have to lift the pipes slightly to get the fan out, but removing them shouldn't be nessicarily.

    Tyler Lange -

    Could you clarify which is the GPU fan and which is the CPU fan.

    Thank You.

    1857classic -

    If you are looking at the bottom of the laptop either the fans or the parts they cool are named where they plug into the motherboard. The designation of each fan should be in small white blocky font. Pretty sure the GPU is on the left and is marked as “GPU” or RADEON.

    But it doesnt really matter, the instructions are the same for both fans except the one has three screws and the other has two. Both should be replaced at the same time.

    Andrew Stanton -

  8. HTFMM1bEgQOtVYAr
    • Remove the Phillips #00 screw on the left side of the M.2 SSD.

  9. IxE1BXNxEkf2UaVN
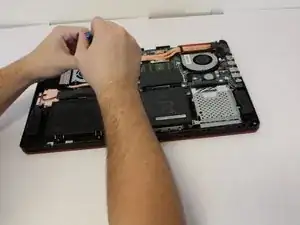
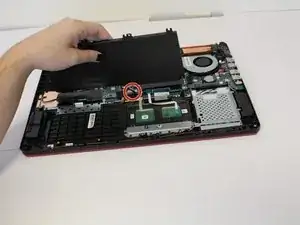
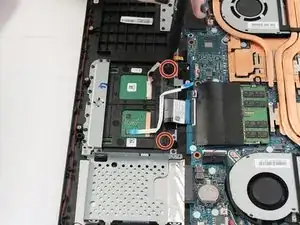
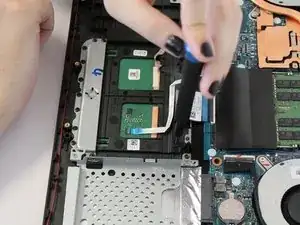
    • Gently lift the screw side of the SSD to approximately a 45 degree angle and pull away from slot to remove it from the laptop.

  10. fRFWROeuuZnQqHOg
    fRFWROeuuZnQqHOg
    MtUggkiQNHEmyyEd
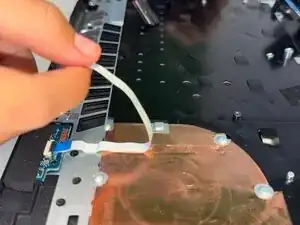
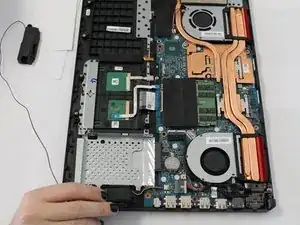
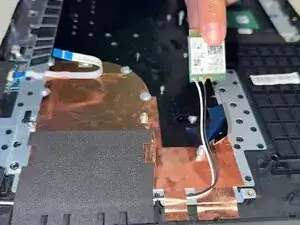
    • Use your fingers to lift the speaker from the housing and follow the wire path carefully, lifting the wire out of place around the base.

  11. 5WEYITjrJaheVq15
    • Repeat the removal process on the second speaker, being careful not to rip the wire.

  12. LJIaw1ADwKfGEm3T
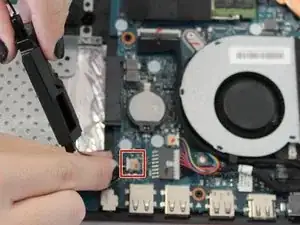
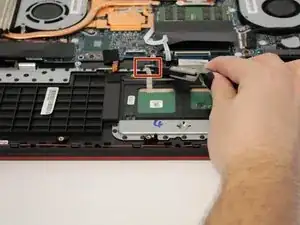
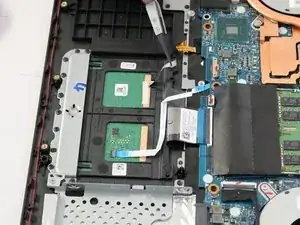
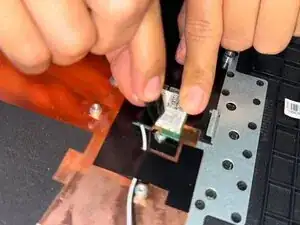
    • With the second speaker removed from the track, carefully disconnect the three wires from the insert on the motherboard.

  13. Vc2hjZaOxLrChL5j
    Vc2hjZaOxLrChL5j
    OfSZ2ZW41xduAOYY
    • Take the ribbon wire out of the track pad.

  14. MiEpqAenoiHOhgR5
    MiEpqAenoiHOhgR5
    tLKRJAsChESXjRW6
    • Use a Phillips #00 screwdriver to remove the two screws holding the track pad in place.

  15. FtUsGTNrWALc2FCD
    FtUsGTNrWALc2FCD
    Ai3S6HaMUTLIpvMp
    • Take the ground wire ribbon and pry it off of the motherboard housing with tweezers.

  16. SXgOvqTQRfnBRIEB
    SXgOvqTQRfnBRIEB
    sPbJscMLrvBHyIss
    13xyvIfLcN1XKVKL
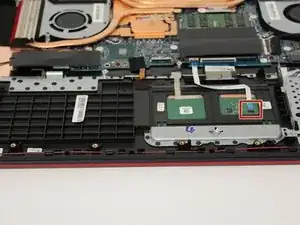
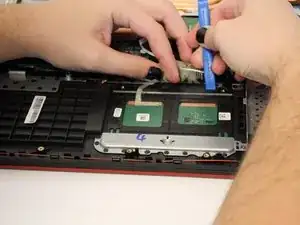
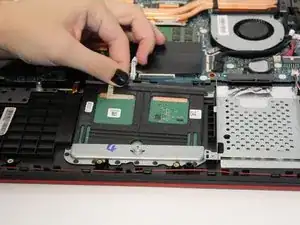
    • Use the iFixit opening tool to pry the track pad up slightly at the top and pull the latch at the top to free the track pad.

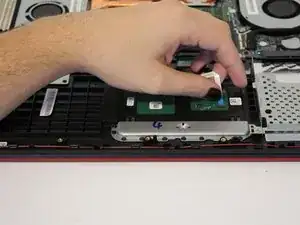
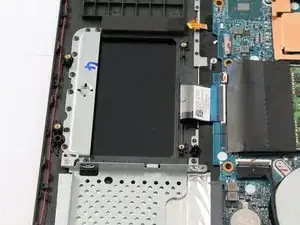
    • Slide the track pad up and out of the housing unit.

  17. GAqBwCaaUBENmNYD
    GAqBwCaaUBENmNYD
    VnFjECT2WYTENEx5
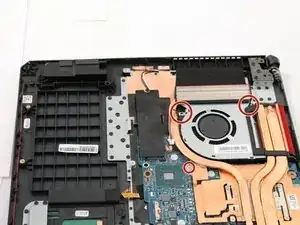
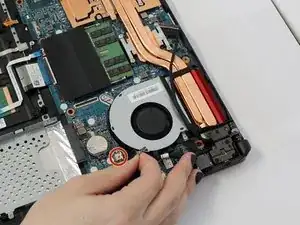
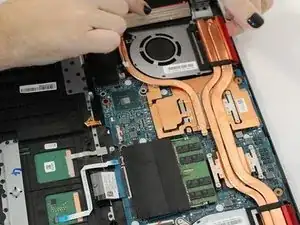
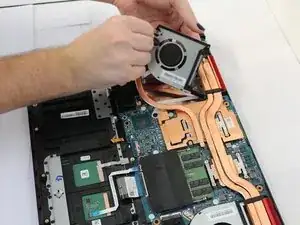
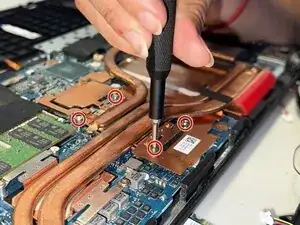
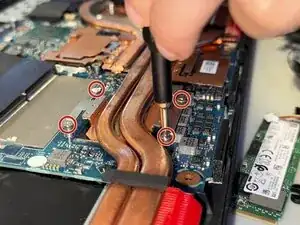
    • Remove the eight 1.9 mm-long screws securing the heat sink with a Phillips #00 screwdriver.

  18. G4rMLZHDe3U5YttT
    • Lift the heat sink up and out of the laptop.

  19. TOVxcR6CVUZE1jvF
    TOVxcR6CVUZE1jvF
    1LYdvbcSrOGXHLhI
    s5ELLVggW1T4FgJO
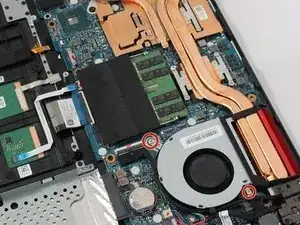
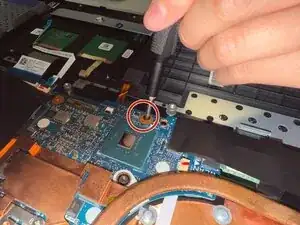
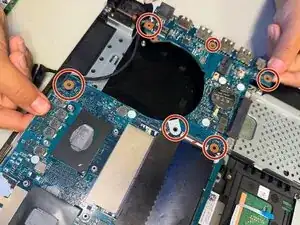
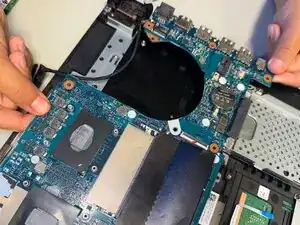
    • Use a Phillips #0 screwdriver to remove each of the six 1.8 mm-long screws securing the motherboard.

  20. M32DNjGPxjmsEAIP
    • Use your hands to gently lift up and remove the motherboard.

  21. 54qrXMYYlcRGguUW
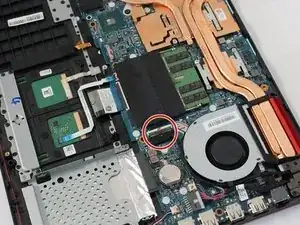
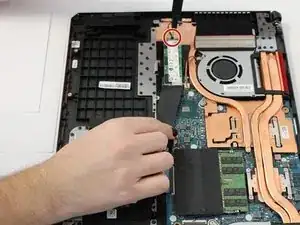
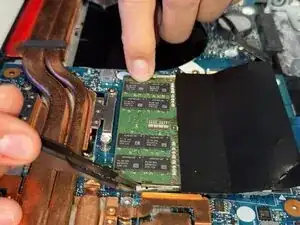
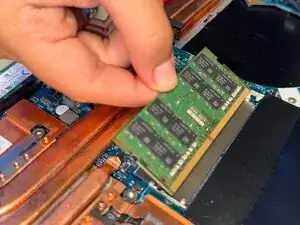
    • Two clips secure the RAM module in place, one on each side. Using your fingers, spread the clips away from the RAM module.

  22. Yd5G4yIXrgxynOC2
    • Pull the RAM directly out of its socket.

  23. WZRvQWuLIjihxiNh
    • Peel back the flex ribbon cable.

  24. ABZVyIXtsiHbkWR3
    ABZVyIXtsiHbkWR3
    ZdumXB6Zv5IAag6p
    • Peel back the film covering the Wi-Fi card.

    • Using your hands, disconnect the Wi-Fi card.

  25. SUM52Mhx6rnZbMMs
    • Peel back the black foam wire covering.

  26. 33ONZAYHSUOLJvap
    33ONZAYHSUOLJvap
    rIUFC1VhBsYhldw1
    QrGu5dExwqaY1FyM
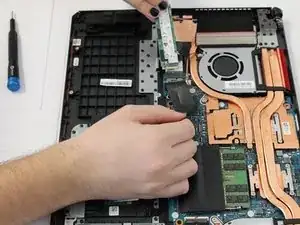
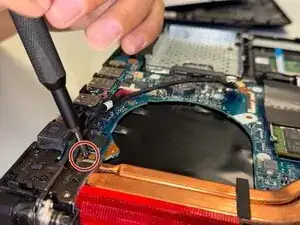
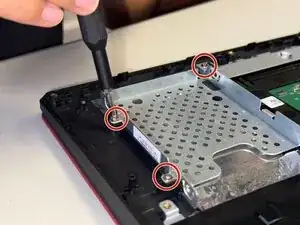
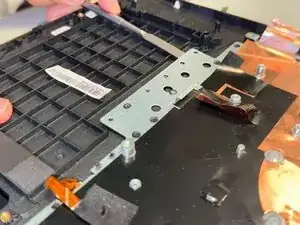
    • Unscrew the 2.4 mm-long screws with a Phillips #0 screwdriver.

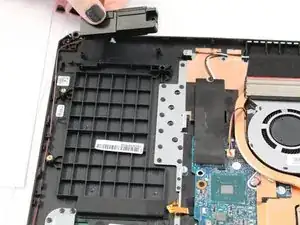
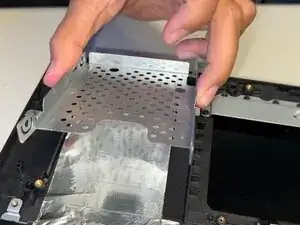
    • Lift the EMI shield plate with your hands and remove it.

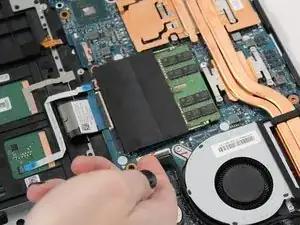
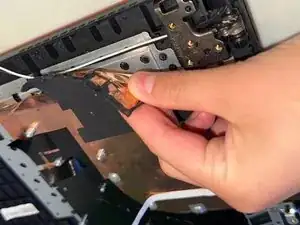
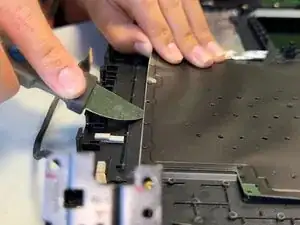
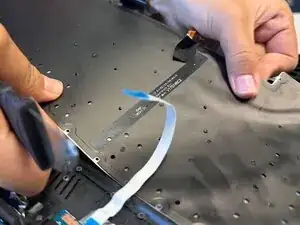
    • Using your hands, lift the black film to reveal the foil. Peel back the foil.

  27. S6l5CJN3LOGxYe1A
    • Using a spudger, pop off the plastic rivets around the plate.

  28. m6BEgKutaYRGmtPb
    m6BEgKutaYRGmtPb
    dHS13DdCwihLHF2V
    dQAxxkUTCJ3MnRFo
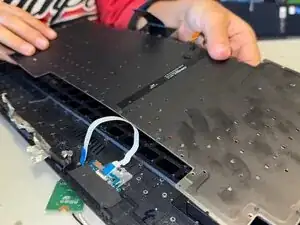
    • Using a spudger, pop off the plastic rivets around the keyboard.

    • Using your hands, remove the keyboard.

Conclusão

To reassemble your device, follow these instructions in reverse order.

Miranda Kuhn

Membro desde: 08/09/25

133 Reputação

0 comentários