Introdução

If you need to change the display for your Asus Chromebook Flip C302CA (model C302CA-DHM4 or C302CA-DHM5), then use this guide to help with your repair. An Asus Chromebook Flip C302CA is a convertible laptop that can be used both as a laptop and tablet. If the Display is damaged then it will cause what is displayed to look very off or not be able to display anything at all. This might not be a problem to someone who already knows about laptop interiors, but to someone who has no experience with laptops or repairing it can be appear very confusing. This guide has been made to include all details in simple format. Just be sure that you have the correct tools as listed as while you can use other similar tools, they can damage the screws or chassis if not used professionally.

  1. eN5WGYOBNDA246PG
    • Turn the laptop over so the bottom is facing you.

  2. fqiJTbWAkpPqZUK3
    fqiJTbWAkpPqZUK3
    PDvwJMiiS2HHDw51
    rCMNvDH2lyAsjNc1
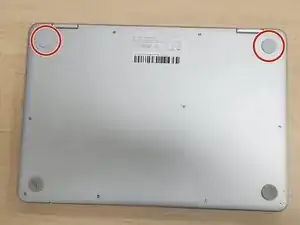
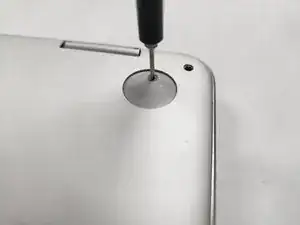
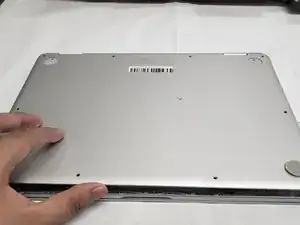
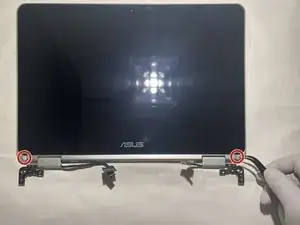
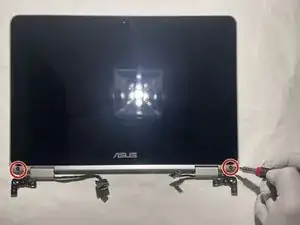
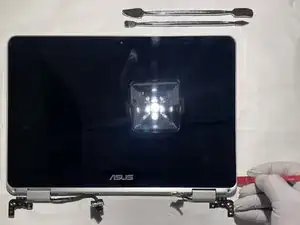
    • Remove two rubber caps on the top.

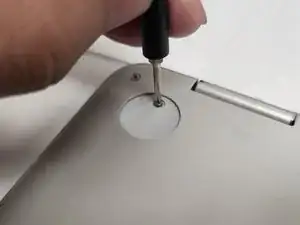
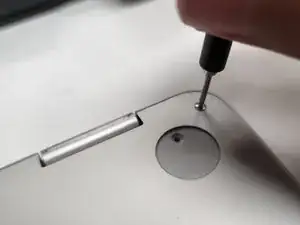
    • Remove the two 1 mm screws using the Phillips #00 screwdriver.

  3. SHXfqsvjFUHInpMI
    SHXfqsvjFUHInpMI
    llyDuWSR3BYpll1p
    KvGYvZYUIfIQTRND
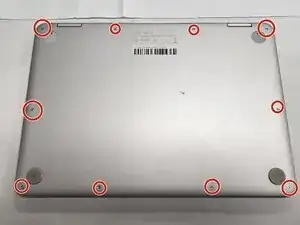
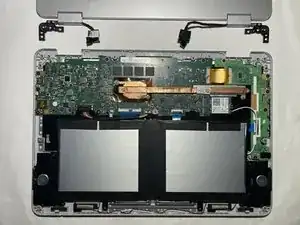
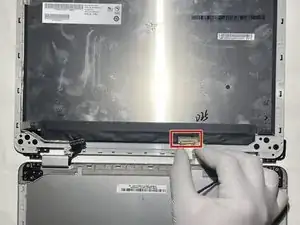
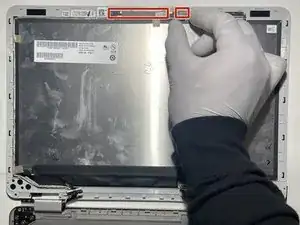
    • Remove the ten 2 mm screws from the back panel using a T5 Torx screwdriver.

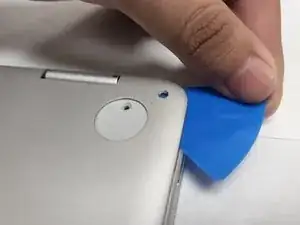
    • Carefully remove the back panel using an opening pick.

  4. bIBxc6YUjSG3nrco
    bIBxc6YUjSG3nrco
    ZfAdWLxLtKDygtIG
    • Remove the back panel from the laptop.

  5. 5OAM2Knt3KHkE5T5
    • Remove the black display ports from the motherboard.

  6. GDMjPf4FFaUYxY3U
    • Remove the six 2.54 mm Phillips screws from the left and right screen hinge brackets.

  7. I1cHmiraOkHrOgVq
    • Remove the display unit.

  8. rWYcjUvqLkZr6ssa
    • Use heat gun to loosen up adhesive on rubber covers for screw.

  9. WKjnn4m1qaYPXhTB
    • Remove rubber covers.

  10. FXYHioMY6IPbYVLn
    • Remove the two 2.5 mm screws.

  11. ucH6CBUpMrcyFsZu
    • Use prying tool to separate panel from monitor.

  12. BOsJTe5dikVny4Bj
    • Remove this connection by pulling to separate it from the monitor.

  13. FWLxu31Tk5KrwUa3
    • Remove connection point and the entire camera assembly including wires.

Conclusão

To reassemble your device, follow these instructions in reverse order.

NICKO SANTOS SALEM

Membro desde: 03/10/22

529 Reputação

0 comentários