Introdução
If the USB-C port or the USB-A port on the left side of your Asus Chromebook CX1500CN is not working, it may be due to a malfunctioning daughterboard.
The daughterboard is not a vital part of the computer, but it must be replaced if a functioning I/O port is missing. You will need a #1 Phillips screwdriver and, optionally, an iFixit opening tool.
Ferramentas
-
-
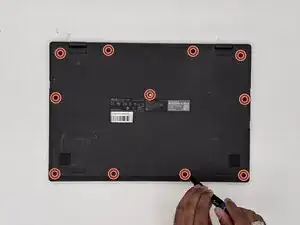
Orient the laptop so that the bottom of the laptop faces towards you.
-
Use a Phillips #1 screwdriver to remove the eleven 8 mm-long screws that secure the lower case.
-
-
-
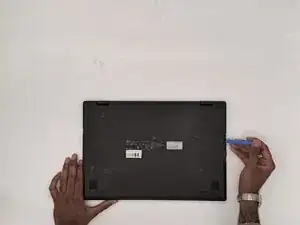
Insert an opening tool into the seam between the lower case and chassis.
-
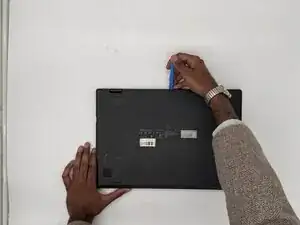
Pry around the entire perimeter until the lower case fully releases.
-
Remove the lower case.
-
-
-
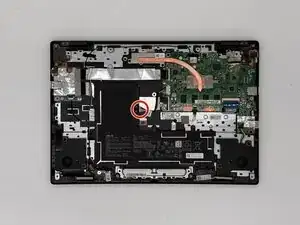
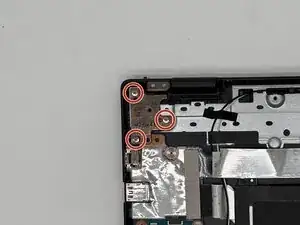
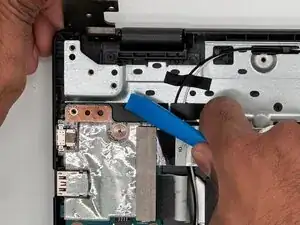
Unscrew the three 5 mm-long Phillips screws on the left hinge of the display.
-
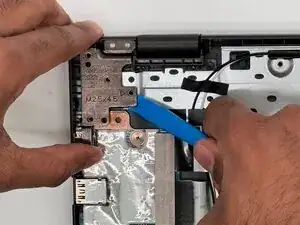
Use a prying tool or your hands to pry the left hinge upwards, until the hinge is clear of the daughterboard.
-
-
-
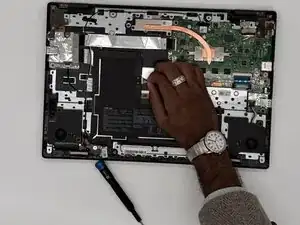
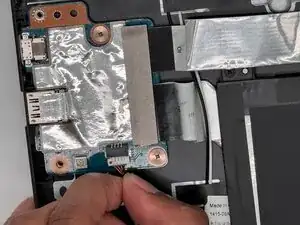
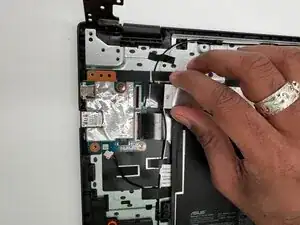
Grip the white daughterboard connector and pull it directly out of its socket.
-
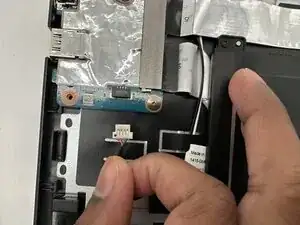
Peel off the gray tape strip covering the ribbon connections on the daughterboard.
-
-
-
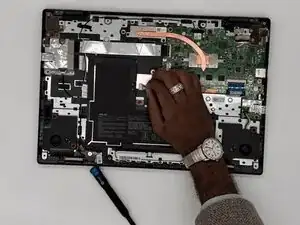
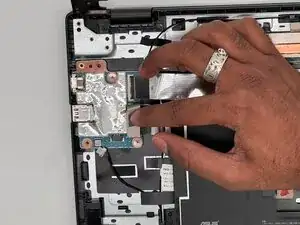
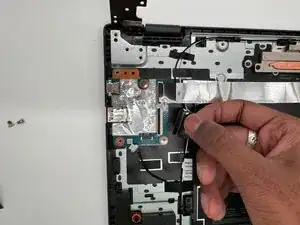
Flip up the two black locking flaps securing the two ribbon cables to the daughterboard.
-
Disconnect the two ribbon cables.
-
-
-
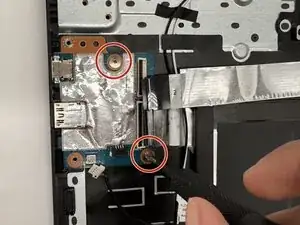
Remove the two 2.5 mm-long screws securing the daughterboard to the case.
-
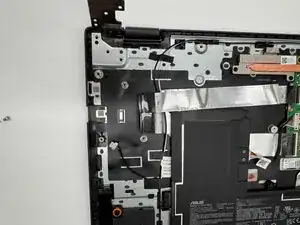
Lift the daughterboard out of the case to remove it.
-


To reassemble your device, follow the above steps in reverse order.
Take your e-waste to an R2 or e-Stewards certified recycler.
Repair didn’t go as planned? Try some basic troubleshooting or ask our Answers community for help.